What have you done to your Maserati today?

Messages
78
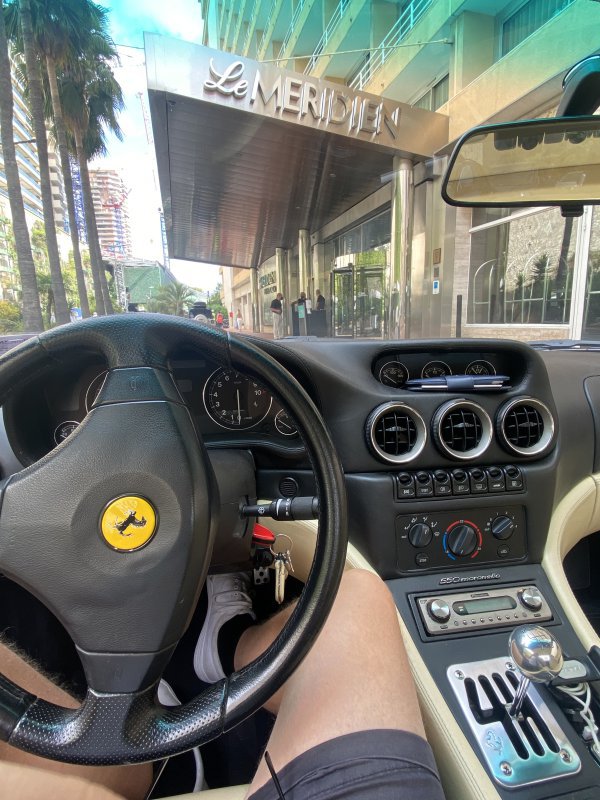
Started tackling the sticky buttons and vents on my QP V.
Before
IMG_5885.jpeg
After
IMG_5902.jpeg

Before
IMG_5889.jpeg
After
IMG_5903.jpeg

Still lots to do but I followed the instructions on here and purchased Goo-Gone as recommended. The instructions worked really well. I reckon a full day at it tomorrow and I’ll have it cracked. Many thanks particularly to @mowlas for his guide on here.
 
Last edited:

DLax69

Member
Messages
4,297
It rained, so I started looking at stuff...


Messages
348
It rained, so I started looking at stuff...


Same same! I have no room at the inn but Mrs Submariner and I were -this close- to a beautiful QP V Sport GT here in Seattle.


Sent from my iPhone using Tapatalk
 
Messages
348
Finished interior clean out of the Spyder and removed the rear wall to prepare for replacing the webbed elastic pouch - now on its way from Scuderia.
All leather cleaned and conditioned, and found all of the dastardly little threaded spring clips used throughout the dash!
“No washer left behind” as they say.


Sent from my iPhone using Tapatalk
 

F456M

Member
Messages
127
afd8b9c19f198531702926720969d29c.jpg

Feel like I’m monopolizing the thread these days but have been rather obsessed with cleaning up the Spyder while she is in pieces.
Happened upon this leather protectant, and it is outstanding. Cleaned up the (newly reglued) steering wheel, visors, console, and shifter boot. They were already well cleaned but now a much more even sheen to them, and a protective layer to ward off future abuse .
Dash and seats yet to go.
Heater core arrived at Brassworks today for rework to get the right sized hose connections.


Sent from my iPhone using Tapatalk

Did you take the leather off and re-glued it back? Was it difficult? I have the same wheel in my 550. Depending on weather and temperature, there are some air bubbles under the leather. Nothing serious, but of course it would be better if it was perfectly flat.
 

Attachments

  • 5B05031D-CBC8-40DC-A848-69F93B49F655.jpeg
    5B05031D-CBC8-40DC-A848-69F93B49F655.jpeg
    122.4 KB · Views: 21

philw696

Member
Messages
25,469
It rained, so I started looking at stuff...


Wish I could find a QPV for that money in France that could be a Good buy there.
 
Messages
348
Did you take the leather off and re-glued it back? Was it difficult? I have the same wheel in my 550. Depending on weather and temperature, there are some air bubbles under the leather. Nothing serious, but of course it would be better if it was perfectly flat.
When I removed the airbag from the steering wheel, I found there was no adhesive holding it on at all, and perhaps originally there may have been some tacking the edges in place, but nothing on the back. The center of the leather is held by that center button - though it can be removed, I left it in place so I wouldn't struggle getting things lined up again. Lifted up the leather from all sides, spread a little adhesive and smoothed it back out. Used some of those metal clips used for holding paper together to hold the edges taut while the glue set overnight.
 

DLax69

Member
Messages
4,297
When I removed the airbag from the steering wheel, I found there was no adhesive holding it on at all, and perhaps originally there may have been some tacking the edges in place, but nothing on the back. The center of the leather is held by that center button - though it can be removed, I left it in place so I wouldn't struggle getting things lined up again. Lifted up the leather from all sides, spread a little adhesive and smoothed it back out. Used some of those metal clips used for holding paper together to hold the edges taut while the glue set overnight.
Ah! So...do NOT staple into the airbag, then?
 

Lozzer

Member
Messages
2,285
First of 3 oil changes this year, oil, filter, aux belt, 1 aux belt idler, annoyingly I couldn't get the second idler off to change it, seemed to be seized on so I will have another go at that next time, discovered a hairline crack in the expansion tank so have one of those on order along with new thermostat and coolant. PSX_20231123_193353.jpg
 
Last edited:
Messages
78
Round 2 of operation sticky button not such a success.

Before:
IMG_5898.jpeg
IMG_5897.jpeg
After
IMG_5930.jpeg

Before
IMG_5899.jpeg
After:
IMG_5931.jpeg

Before:
IMG_5891.jpeg
IMG_5890.jpeg
After:
IMG_5929.jpeg
IMG_5928.jpeg
I’m not as happy with the result and it took me from 9.30am until 4.30pm with basically no break. It was the steering wheel controls (or the bits that surround them) which took the vast majority of the time and I’m now well and truly in the dog the house with my wife!
 

Ebenezer

Member
Messages
4,501
Good work! I've got more manky buttons to do as well.
Has anyone done the actual NIT? Mine is now very scuffy.
Eb
 

RoaryRati

Member
Messages
1,628
Wondered when I'll get the message from Matt to collect him, but quite grateful he isn't here right now as I can use his spot for my garden shredder that's currently in use as it's hedge laying time.
 

sionie1

Member
Messages
1,316
Pumped up the tyres after a few months of not using the motor, jumped in... flat battery... grr someone had unplugged the trickle charger. Hey ho, plugged back in and now waiting for a full battery again.