Two ladies out for fresh air

philw696

Member
Messages
25,669
Nah......... all cars are the same.....ish............clips,screws,nuts and bolts.
When I see what others peoples ladies were like under the bonnet, makes you realise what a :as005: Twit I have been !!!!!
"You cannot polish a turd" so I'm not letting her anywhere close to the brown stuff (Rust) anymore.
Love to have her up and elegant, ready for a trip around Europe.

Do the trip to Europe i did 2,500 miles in 7 days last August in my 4200 getting down to the Italian lakes via Switzerland and the alps best holiday i have ever had.
Phil.
 

Paulm

New Member
Messages
372
Phil, wifey is so looking forward to me getting ladies sorted......plus she's seen what other members do and that is not funny......tell you truth I am sick of earache. My lads do road trips and tell me I'm STUPID not doing hols in cars. So it's full steam ahead :)
 

philw696

Member
Messages
25,669
Paul i told her i was planning nothing other than the tunnel crossing but we were going to Italy italian job style and it would be fun but she would stay in nice digs with good food and wine plus she could have a swim in glacier lakes!
She loved every moment.
As much as its fun to be in a group its equally fun being a maverick.
Phil.
 

Paulm

New Member
Messages
372
LOL "TOPGUN" :p ........wifey loves suprises ! problem is I'd have to open the wallet......as she loves wine + dine :(
 

BennyD

Sea Urchin Pate
Messages
15,008
Ryanair? I'd much rather walk there over broken glass with a kick in the kn4ckers every third step.
 

davy83

Member
Messages
2,829
Hi PaulM strangely enough i also have all the body panels off my car just now going over and traces of rust and getting some paint work fixed up. Have you had the front bumper off before? If so have you got any tips for refitting? I have noticed these cars appear to have real problems with the plastic part of the bumper being uneven and not sitting well. i note there are shims which adjust the angle of the bumper plastic as it leaves the steel body so you can get the change in light minimised. I also note that on some cars the fitting of the bumper at the edges where the bumper meets the headlight surround is buckled and does not sit well at all. See attached examples of this. I just wondered if you or any other members had some tips for getting this to sit right? Notice also the green car in the attached photo's the shims have not been used properly and the light changes badly at the joint.
 

Attachments

  • bumper bad fit.jpg
    bumper bad fit.jpg
    7.6 KB · Views: 7
  • bumper bad fit1.jpg
    bumper bad fit1.jpg
    15.2 KB · Views: 6
  • bumper bad fit2.jpg
    bumper bad fit2.jpg
    4.6 KB · Views: 6

2b1ask1

Special case
Messages
20,314
Not noticed that one Davy but on both sides of mine the bottom front of the wing has been 'factory adjusted' just below the headlight so there is a perceptable ripple!

Will try and get the light right and photo them...
 

Paulm

New Member
Messages
372
Davy,
I take it you whipped it off. Did you note where the front shims were situated? as this may be why she's pulling abit. When the bumper was removed, was it stored in a way not to deform shape? as a friend had one deform by standing it on end.
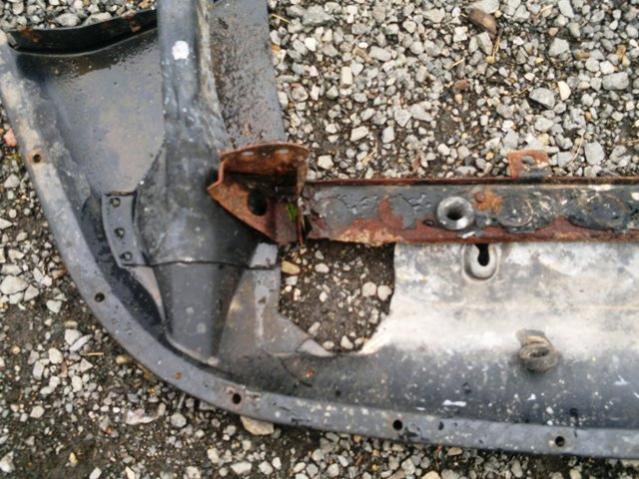
Had bumper off once before......what a pain getting it set right. This was about 5 years ago......so a little RUSTY :)
Found the best way to do it was
1.nip tight 5 on front making sure the shims went back where they were supposed to.
2.nip the 3 on main bumper (13mm ones) on either side.
3.I started alignment with the front centre and worked out doing the front 5 first, but always checking the 13mm undo - retighten a pain, as this is where I found lifting/dropping bumper easiest to get front right. make sure shims go back in their original position.
4.then 3 little blighters under each wing Small Hands required for this :p
5.the 3 little blighters under wings are same, dont do nearest first....do the adjustment one first, but also check front when you are done. Make sure the adjustment one sits right ! as it's quite easy to get it wrong.
Mine went back on with no problems.......just loads of swearing !
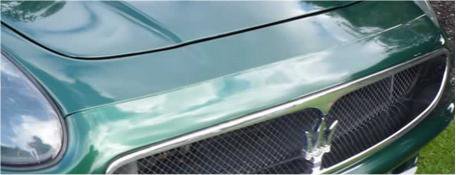
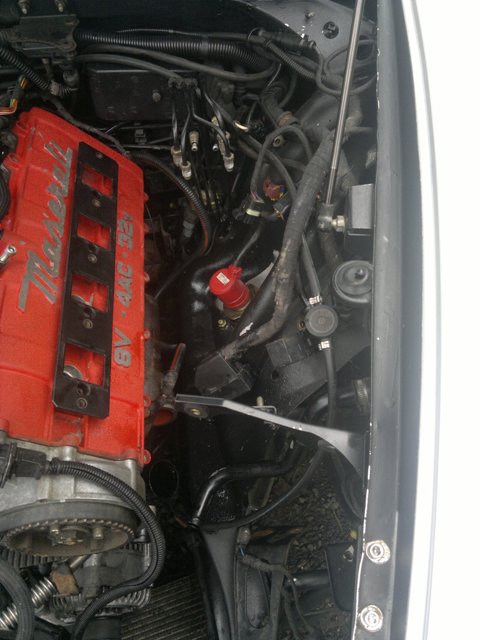
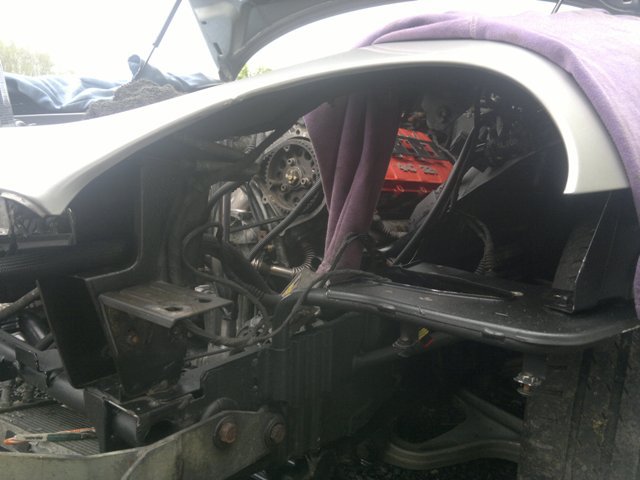
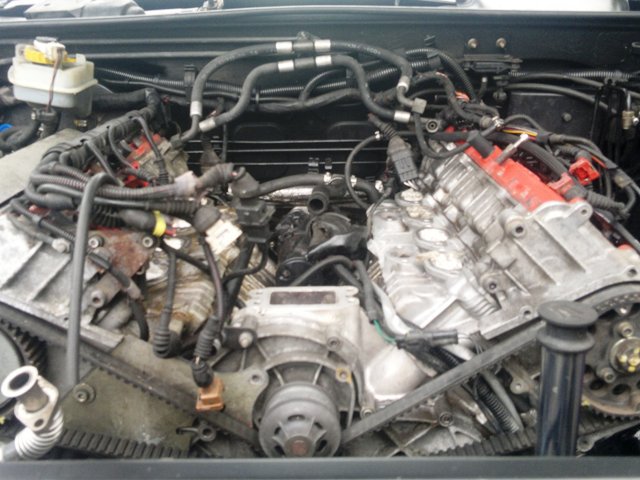
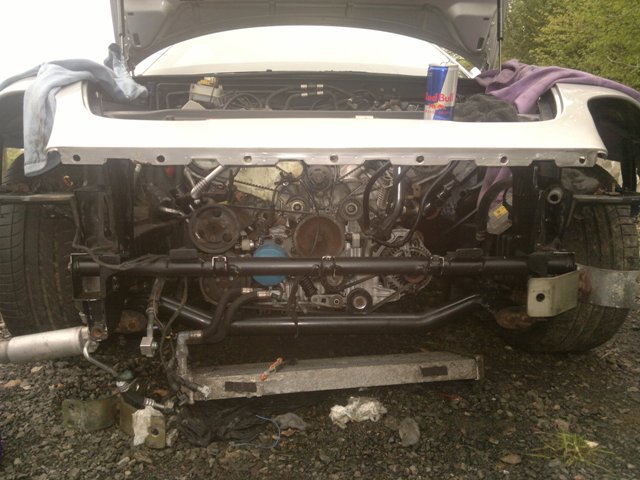
Hope this sort of helps. I'm going to do a photo shoot of my stripped lady, as she has the clothes put back on :)
 

Rex B

Member
Messages
657
Davy and Paulm

Have just refitted my front and back bumpers this is the procedure I went through.

Where possible we used all new, nuts bolts, self tapping screws and we checked all of the spring clips. The front and side of the bumpers use 6mm nuts and bolts, self tapping screws for the splash shields and under tray are size 12 and the bottom bumper irons are 13mm bumper. These were OK but we purchased 2 shorter bolts for the offside as we found the ones we took out were a tight fit in the space because of the additional equipment that is mounted in this area for the AC. We also made sure that all bolts would run down easily by hand before we started.

We laid old blankets in front of the car and had a shallow cardboard box with a towel on it to rest the bumper on, you don’t want to risk scratching a newly painted bumper

We carefully lifted the bumper up into position and located the studs into the front panel being very careful at the edges near the headlamps as these had to be sprung over the small locating flange. Once in position we fitted the nuts at each end and nipped then up while still supporting the bottom of the bumper as if you don’t stop the bumper and flange moving you will end up with chipped paintwork.

We next fitted the rear fix where the bumper joins the wing just nipped it up to take the weight.

We then fitted the 4 bumper iron fixing to the chassis and left these slightly loose.

Having got these in position we then returned to the front flange, we loosened just enough the 2 bolts we first installed and pulling the bumper away from front panel we inserted the shims in the original positions and then starting from the outside we care fully nipped each one up while making sure the joint is level. I am not sure that the fit you are looking for is possible on my car the bumper top panel is slightly concave and the top panel on the car convex. Whether a new bumper is like this I don’t know but after 11 years mine is certainly formed this way. In fact this is a poor design which was rectified on the 4200.

Once we had fitted and tightened all of the front nuts we returned to the fixings to the front wings and tightened these being careful to ensure the front inner flanges of the wing and bumper are fitted correctly in the front bracket and the wing and bumper line up correctly.

We then tightened the bumper irons bolts and fitted the fog and side lamp which I had left off to give me better access with a spanner to the bumper brackets. All new Bulbs were fitted as these are difficult to access afterwards and then we then fitted the headlamps which are another story all on its own.

Hope this helps and best of luck
Regards
Rex B
 

Paulm

New Member
Messages
372
Rex,
Thanks for detailed procedure....................... As I said a little rusty on re-fitting, it's a little delicate job, but when done correct it's a pleasure :)
The thing with headlights is..........as I found out was to fit them first !
 

davy83

Member
Messages
2,829
No the bumpers were stored like they were made of glass so no added distortion. got the bumper fitted today and its no worse than it was when i took it off, so that's some thing. I always replace bolts so agree totally on the new bolts and nuts comment. its not a great piece of design really, typical Italians instead of designing it properly they just add shims and a lot of hand adjustment to get it sitting right.
 

Paulm

New Member
Messages
372
Just thought I'd post a couple of pics..................3200 removing her clothes.......
Taken Sunday morning.....
Don't worry I know what I'm doing.............. no it's not :Suicide: :p
 

Attachments

  • 014.jpg
    014.jpg
    52.1 KB · Views: 59
  • 009.jpg
    009.jpg
    57.8 KB · Views: 57
  • 006.jpg
    006.jpg
    68.7 KB · Views: 57
  • 016.jpg
    016.jpg
    66.3 KB · Views: 0
  • 010.jpg
    010.jpg
    79.2 KB · Views: 56
  • 011.jpg
    011.jpg
    63 KB · Views: 57
  • 005.jpg
    005.jpg
    63.5 KB · Views: 57
  • 008.jpg
    008.jpg
    52.2 KB · Views: 56
  • 015.jpg
    015.jpg
    77 KB · Views: 57
  • 007.jpg
    007.jpg
    72.1 KB · Views: 57

philw696

Member
Messages
25,669
Looks good Paul very impressed and love the red bull in the picture.
I do the work on my own cars and looking forward to changing the cam belt on my 456.
Phil.
 

Paulm

New Member
Messages
372
Cheers Phil, that was first thing sunday morning needed it :) started @8 and finished @8.
2l of Jizer used on bottom end...still not perfect :(.....so more toothbrush work to do. Have loads of parts ready, just waiting for new brackets and a few nic nacs to come in.
cambelt done... peice of cake :) one of pics shows plate behind cam, last time it was done there should be 3 bolts holding it against engine ! mine had one :banghead1: the blinkin plate was touching belt......
cambelt on that 456...............walk in the park :) dirty hands and a couple of hours ?
 

Paulm

New Member
Messages
372
Quick update....spent Sunday standing back and scratching head.
The baby is looking 100% better than she did a few weeks ago.
Wheels are ready for pick up after a re-furb. Paintshop awaits...few touch ups required.
Just waiting for some bits to arrive from Stratstone and the pads from Opieoils !!!! should be here on Tuesday.
Completely re-wrapped the electrics in the engine bay.
Touched up scratched paint work, not perfect, but I think it's ok.... ish.
Replaced most of the "cheese" nuts and bolts......that Maserati liked to use when building these....... with stainless !
Pics to follow...
Now all that remains is some nice clear evenings and a good weekend.