You are using an out of date browser. It may not display this or other websites correctly.
You should upgrade or use an alternative browser.
You should upgrade or use an alternative browser.
Ghibli II winter works
- Thread starter spacecadet
- Start date
spacecadet
Member
- Messages
- 378
Thanks
Can't really tell much more about the re-grooving. It seemed that the rings and ring grooves are in a good condition, end gaps were slightly out of spec but after the ring mixup I wanted to go for sure and sent the pistons to match with the proper rings. Turned out the axial clearance wasn't good, so the original grooves were enlarged for the 1.5 rings. This means heavier weights (less sealing at TDC / BDC), more friction and higher required tension. More about the topic for example: https://blog.jepistons.com/why-do-piston-rings-keep-getting-thinner-. But the new contact reduction and accumulator grooves also reduce friction, and relieve pressure also meaning less flutter, also better explained for example: http://blog.wiseco.com/ring-grooves. All of these are RPM dependent too, so will see how everything behaves in real life on the dyno, but I guess we are only talking about a few HP here.
I didn't wanted to trial and error on this engine, so wanted ask a pro, but the one who I trust and is well respected here was already fully booked for the year (especially while the racing season was on) but he allowed me to work in his workshop where I can ask questions, best practices, have access to tools (precise measuring equipment, etc.) and they can help in and supervise my work. This also means I can only work on it during weekdays, requiring occasional day offs from my job, so this rebuild is a slow process now. But not in a hurry, and I can also learn.
spacecadet
Member
- Messages
- 378
Turbos were checked and still in good condition, so no need to rebuild them. I was told that the center part is identical to some other IHI RHB5 turbos used in Japanese cars from that era (like Mazda) and can be simply swapped with a new OEM center part, only the housing is Maserati specific. For these cars the oil delivery lines are recommended to be changed around ~60k km because the ID is small, and it's really hard to remove all the crud inside.
That means new hard lines were manufactured, rubbers, protecting hoses replicated.
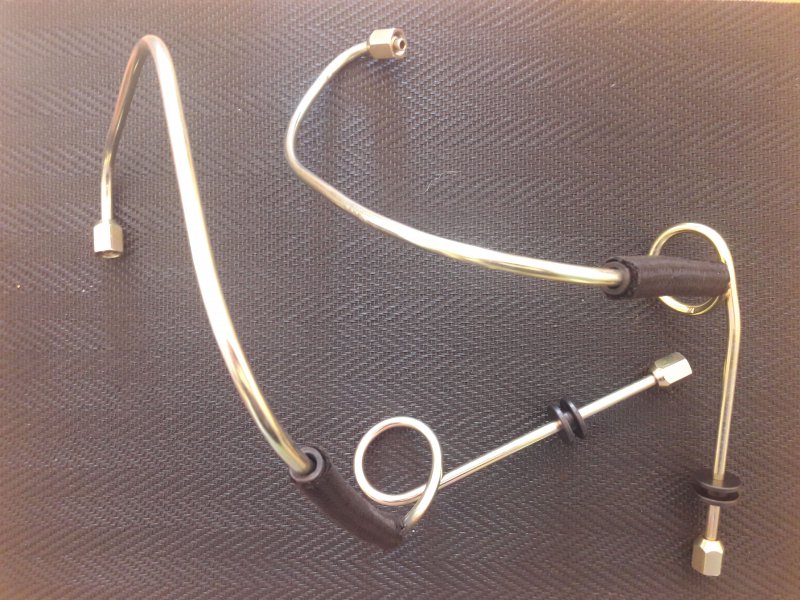
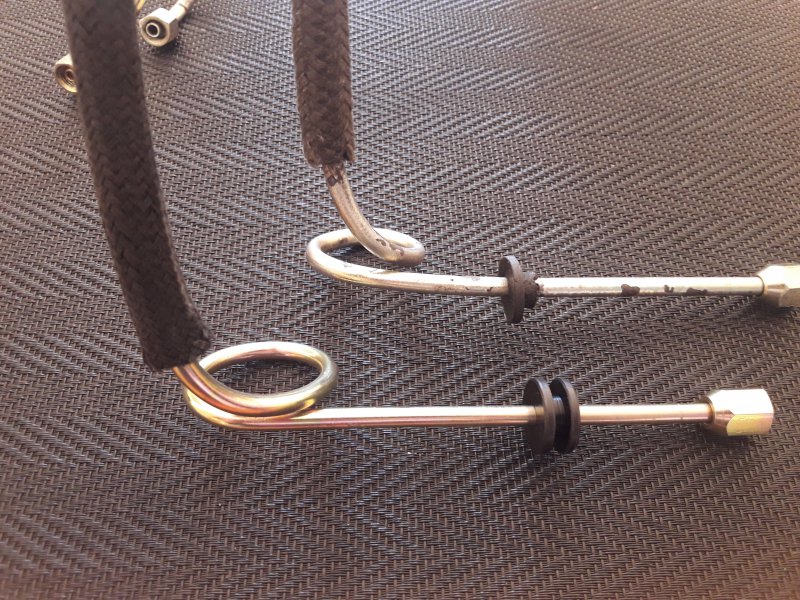
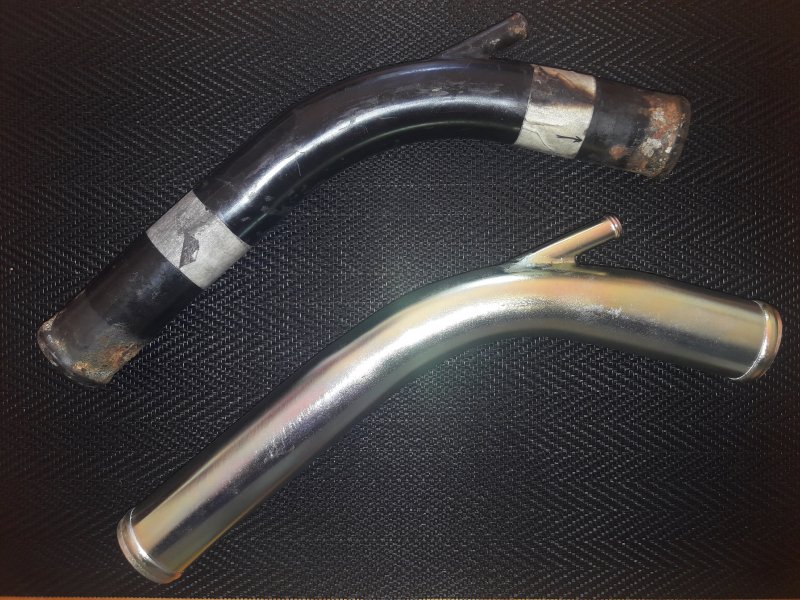
The weak spot in the cooling system is the small black steel tube prone to rusting
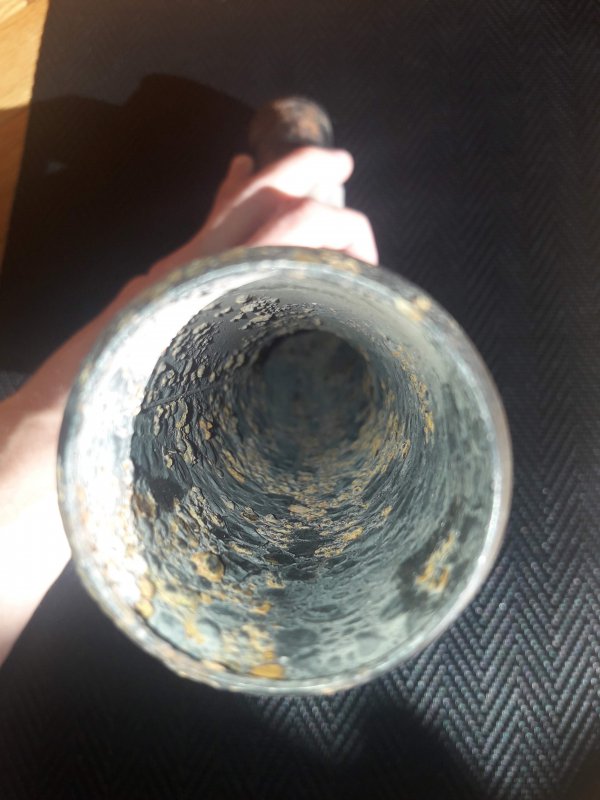
This was also remade and plated for extra protection. On top I will paint it black like how it was
That means new hard lines were manufactured, rubbers, protecting hoses replicated.


The weak spot in the cooling system is the small black steel tube prone to rusting

This was also remade and plated for extra protection. On top I will paint it black like how it was

lifes2short
Member
- Messages
- 5,833
This was also remade and plated for extra protection. On top I will paint it black like how it was
impressive work and a great read, I ordered one of these pipes from USA (new old stock) and will be getting it copied/made in aluminium, had thought about stainless but no real benefit over aluminium
spacecadet
Member
- Messages
- 378
I also wanted it from aluminium, but they don't make on offs only from steel where mine was made. Aluminium is better than stainless because it avoids possible galvanic corrosion, but don't know if it's a concern in practice here.
Seen the new MIE pipe as well, but with shipping and customs the price is 4x what I paid (30 EUR)
Seen the new MIE pipe as well, but with shipping and customs the price is 4x what I paid (30 EUR)
lifes2short
Member
- Messages
- 5,833
I also wanted it from aluminium, but they don't make on offs only from steel where mine was made. Aluminium is better than stainless because it avoids possible galvanic corrosion, but don't know if it's a concern in practice here.
Seen the new MIE pipe as well, but with shipping and customs the price is 4x what I paid (30 EUR)
do you not have any companies there that make aluminium radiators/pipes and things, I get my stuff made by these people, if they don't have a pattern on file they can copy an original part and the work is superb
http://www.proalloy.co.uk/
spacecadet
Member
- Messages
- 378
I'm sure there is, but the main priority were the oil pipes and I though they will do the coolant pipe too in aluminium. Turned out no when I dropped off the parts, and didn't wanted to look for another company. I knew that they are ok with fiddly work, which the oil pipes were (bend, take to platers, after plating add protection hose / rubber, finally the fittings). Maybe on the next coolant change 
spacecadet
Member
- Messages
- 378
do you not have any companies there that make aluminium radiators/pipes and things, I get my stuff made by these people, if they don't have a pattern on file they can copy an original part and the work is superb
http://www.proalloy.co.uk/
Just checked the page, indeed very nice work
lifes2short
Member
- Messages
- 5,833
your new oil pipes look great, rather odd that Maserati made the coolant pipe in steel and not in stainless or aluminium
spacecadet
Member
- Messages
- 378
Another batch of updates from the last ~2.5 months (I should keep this thread more up-to-date)
So in the end the cylinder heads were also rebuilt. New valve guides were installed. Strangely the factory supplied ones had an ID of 6.5mm for the the 7mm, which were obviously too small for just reaming, so they had to be drilled up, then installed (heads heated, guides cooled in liquid nitrogen as per the manual) and finally reamed. There was pitting and corrosion on the surface. This was cleaned up as much as possible by resurfacing, but some still remained. In theory could have been welded up, but the places who looked at it were afraid about the material foaming up too close to the combustion chamber so kept as they were.
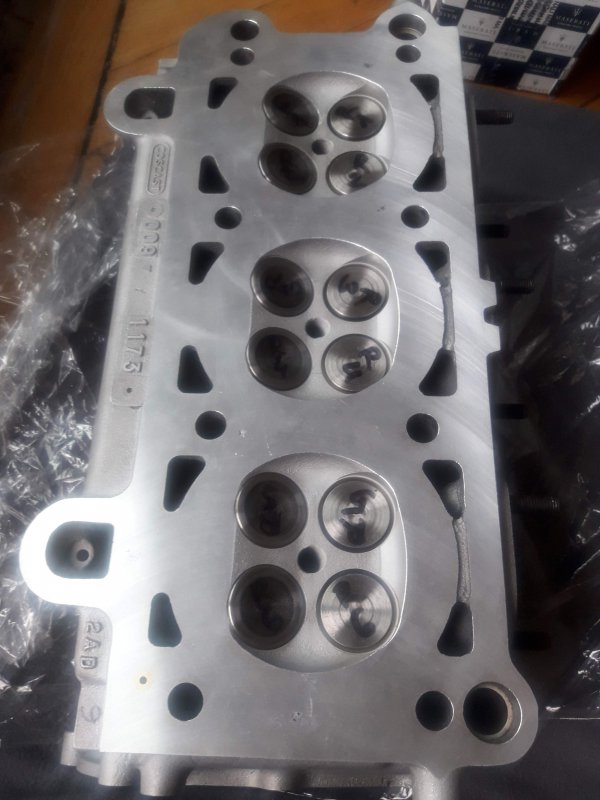
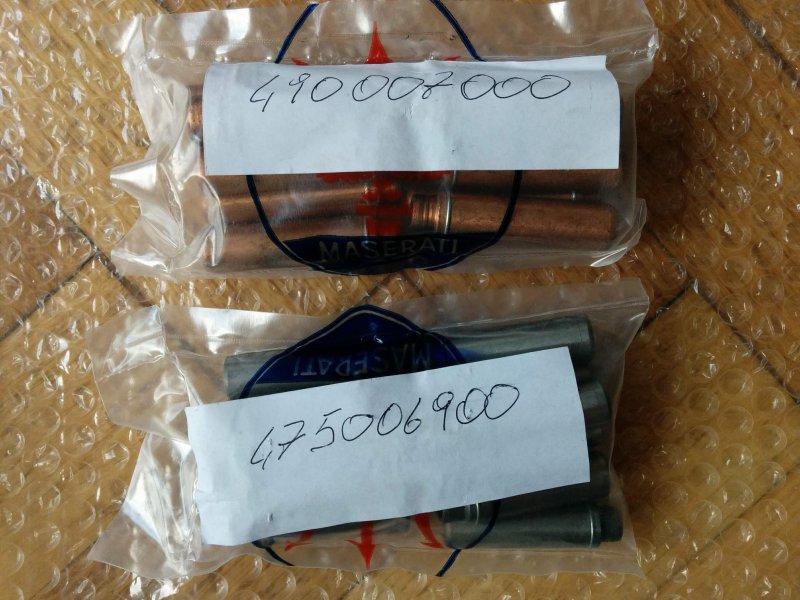
Unfortunately the machine shop did a pretty sloppy job with properly setting up the angles for the resurfacer so I found combustion chamber volume differences out of tolerance.
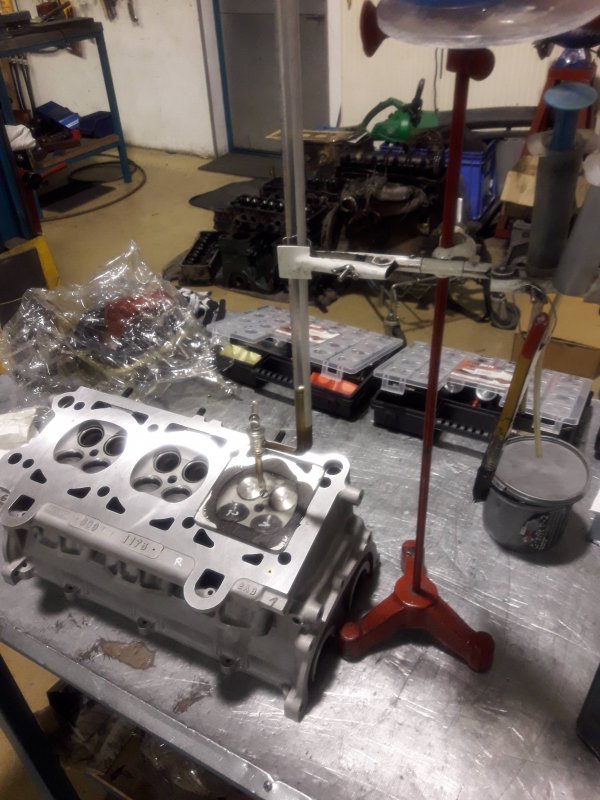
This was resolved by slightly reworking the chambers so we got into the ±0.5 cm3 range
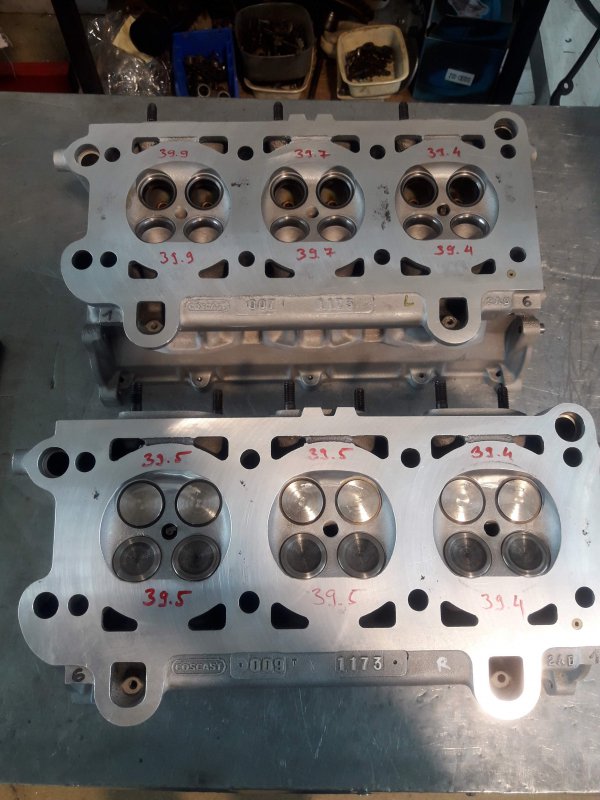
Heads were assembled with new exhaust valves too
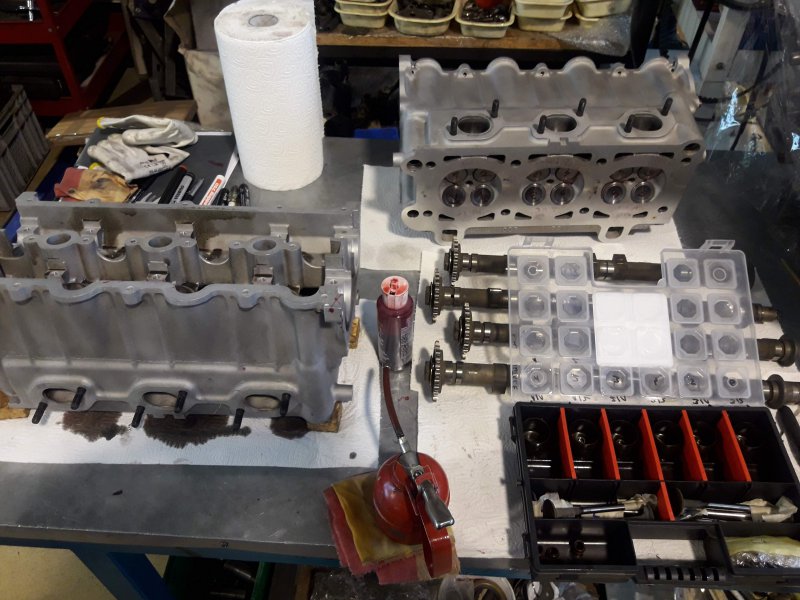
Installing the heads
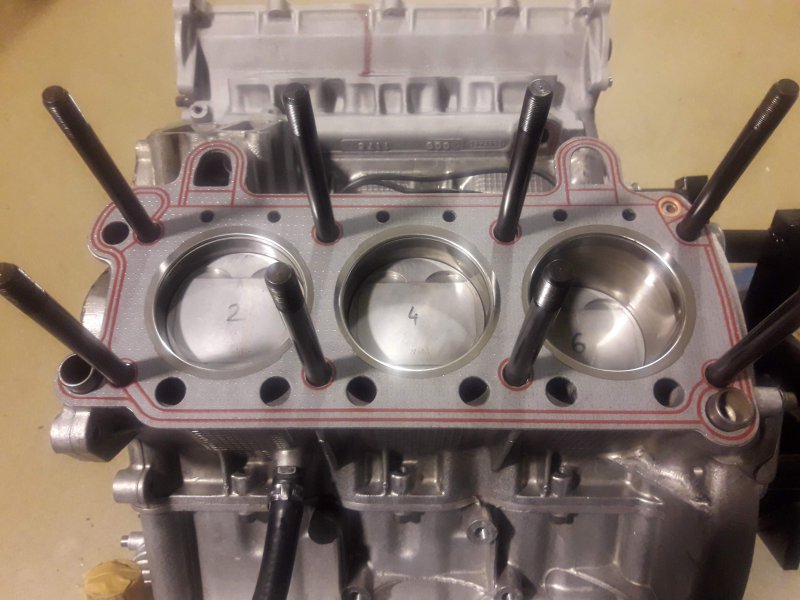
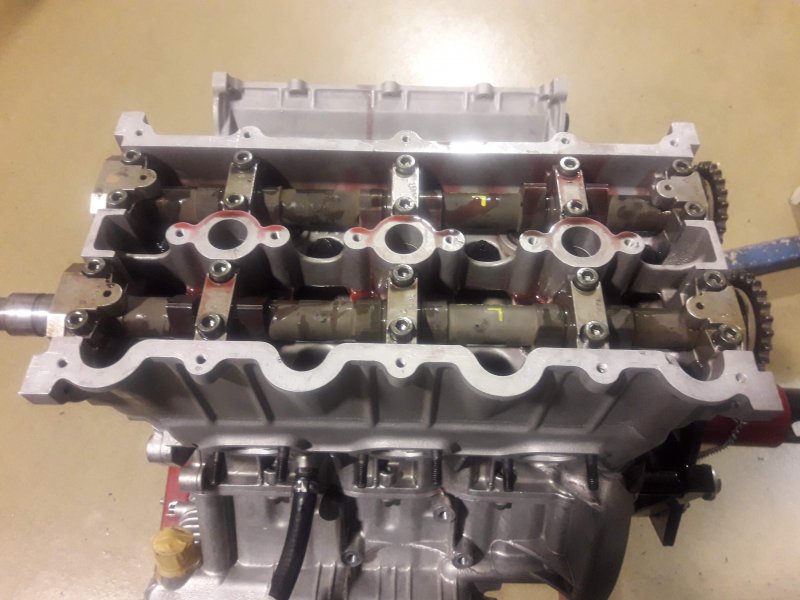
After installation I remeasured the valve clearances (to account for the distortion). New shims are already with me, waiting to be installed in the coming weeks.
So in the end the cylinder heads were also rebuilt. New valve guides were installed. Strangely the factory supplied ones had an ID of 6.5mm for the the 7mm, which were obviously too small for just reaming, so they had to be drilled up, then installed (heads heated, guides cooled in liquid nitrogen as per the manual) and finally reamed. There was pitting and corrosion on the surface. This was cleaned up as much as possible by resurfacing, but some still remained. In theory could have been welded up, but the places who looked at it were afraid about the material foaming up too close to the combustion chamber so kept as they were.


Unfortunately the machine shop did a pretty sloppy job with properly setting up the angles for the resurfacer so I found combustion chamber volume differences out of tolerance.

This was resolved by slightly reworking the chambers so we got into the ±0.5 cm3 range

Heads were assembled with new exhaust valves too

Installing the heads


After installation I remeasured the valve clearances (to account for the distortion). New shims are already with me, waiting to be installed in the coming weeks.
spacecadet
Member
- Messages
- 378
While slowly building up the engine in between I tackled some smaller areas.
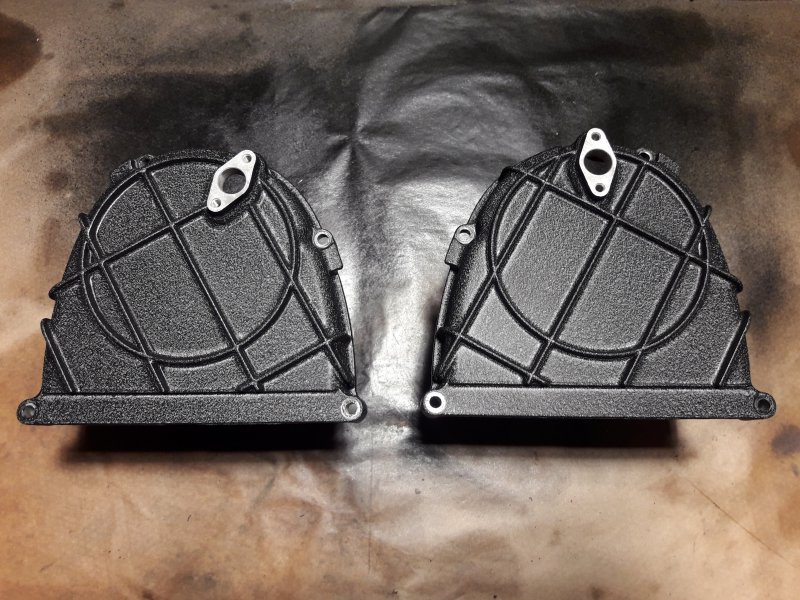
For a nicely looking engine the flaking covers had to be addressed.
Everything stripped to bare metal
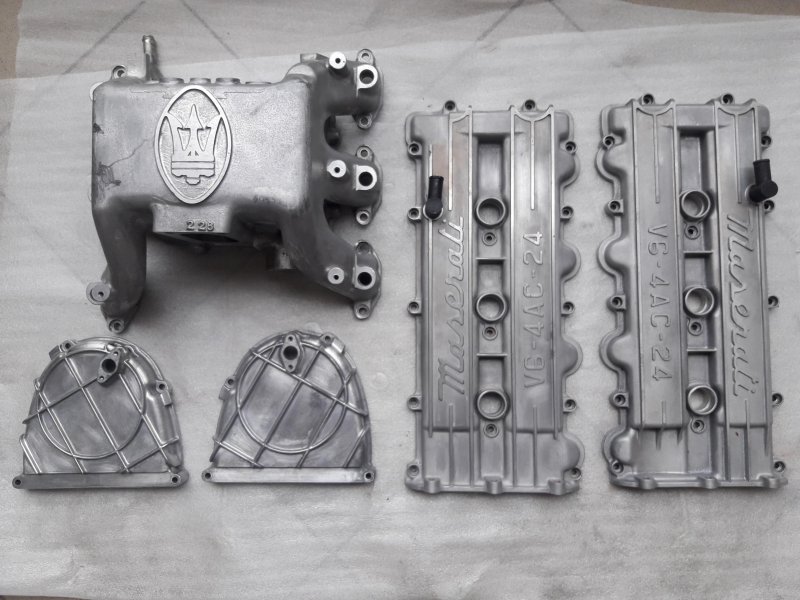
For the black parts I've used VHT wrinkle paint
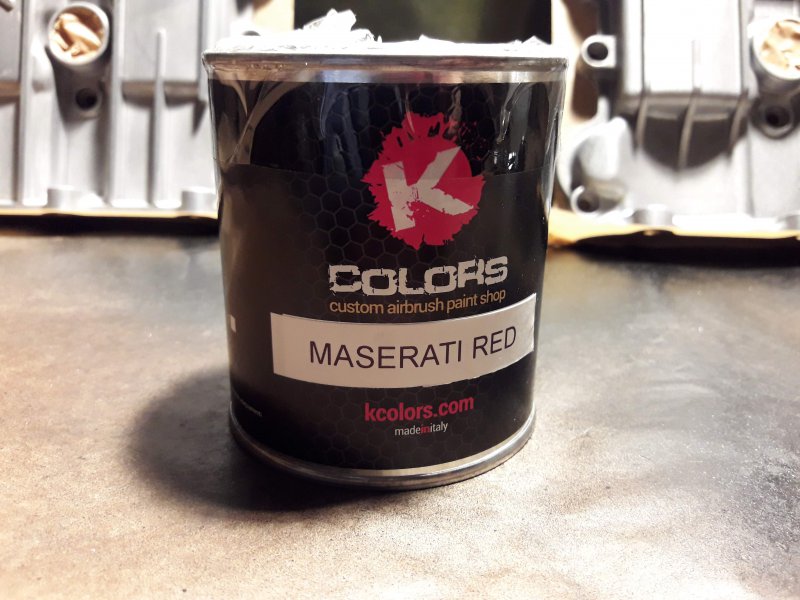
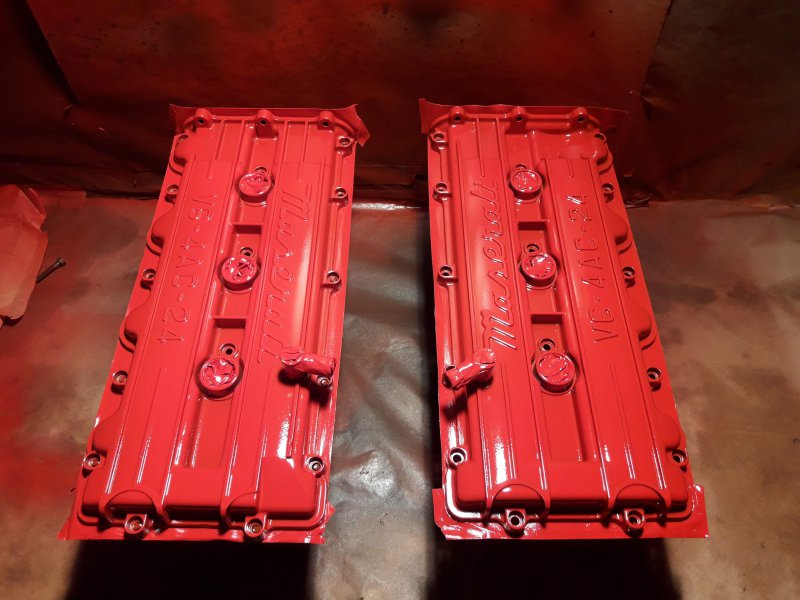
For the red parts I've used this paint, which advertises itself as a replacement for the original Gasup Riloplast
Rigth after painting
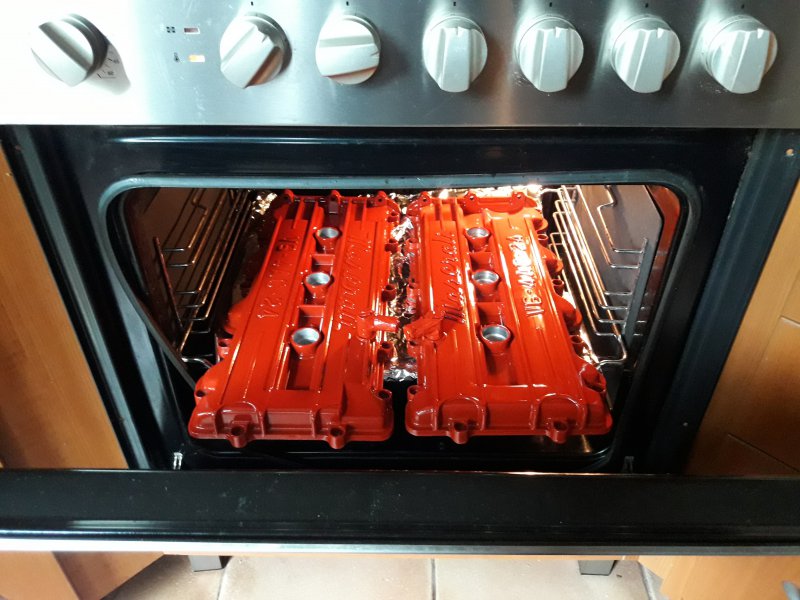
Baking (didn't fully fit the oven )
)
Paint removed from the script with a blade before it's fully cured
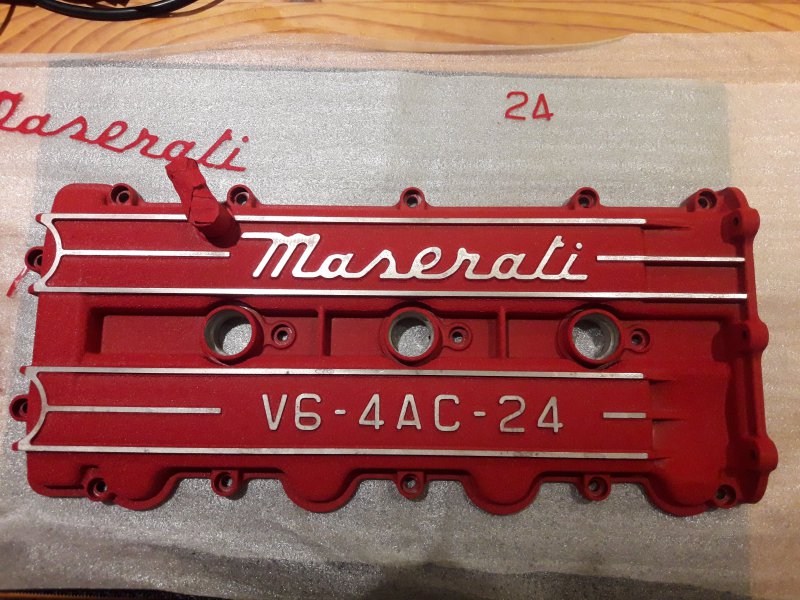
For a nicely looking engine the flaking covers had to be addressed.
Everything stripped to bare metal

For the black parts I've used VHT wrinkle paint

For the red parts I've used this paint, which advertises itself as a replacement for the original Gasup Riloplast

Rigth after painting

Baking (didn't fully fit the oven

Paint removed from the script with a blade before it's fully cured

spacecadet
Member
- Messages
- 378
spacecadet
Member
- Messages
- 378
spacecadet
Member
- Messages
- 378
I'm also replacing most of the old rubber hoses.
Both the vacuum hoses to the brake booster and the hydraulic hoses of the PS system were hard and cracking
- brake booster (Maserati 95742) is Aeroquip 2556-8
- PS is Aeroquip 1525-6
I did source 2556
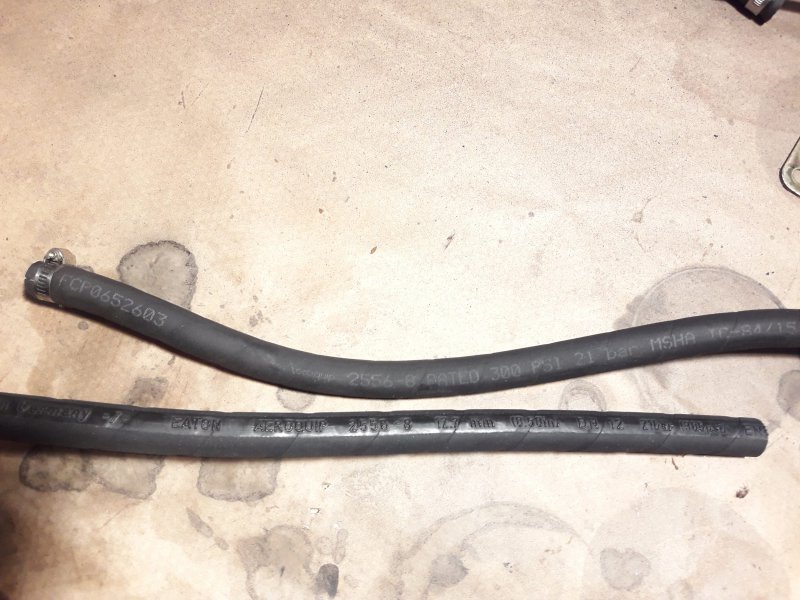
Clamps were single use Visa-9 clamps, which even if I could get, need a special tool to tighten, so I used stainless steel JSC Hi-Grip clamps
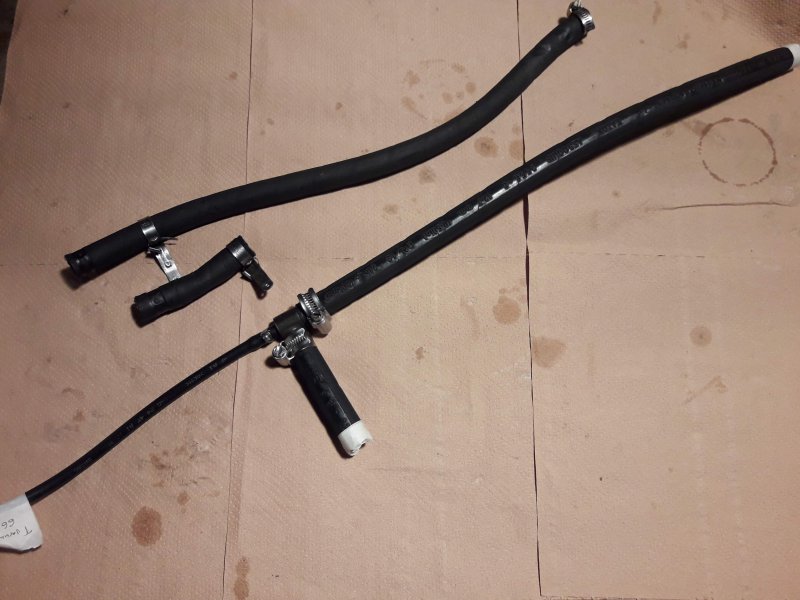
1525 is not available, so choose FC699 instead
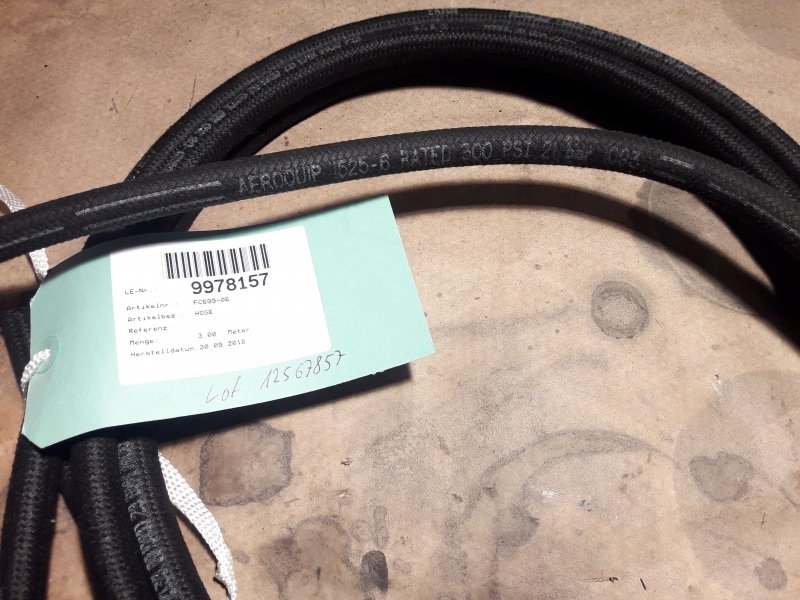
Both the vacuum hoses to the brake booster and the hydraulic hoses of the PS system were hard and cracking
- brake booster (Maserati 95742) is Aeroquip 2556-8
- PS is Aeroquip 1525-6
I did source 2556

Clamps were single use Visa-9 clamps, which even if I could get, need a special tool to tighten, so I used stainless steel JSC Hi-Grip clamps

1525 is not available, so choose FC699 instead

spacecadet
Member
- Messages
- 378
Replaced the pulley bearing of the AC compressor, because it was noisy and felt to be running without grease
The bearing is held in place with some tabs which I ground down with a dremel
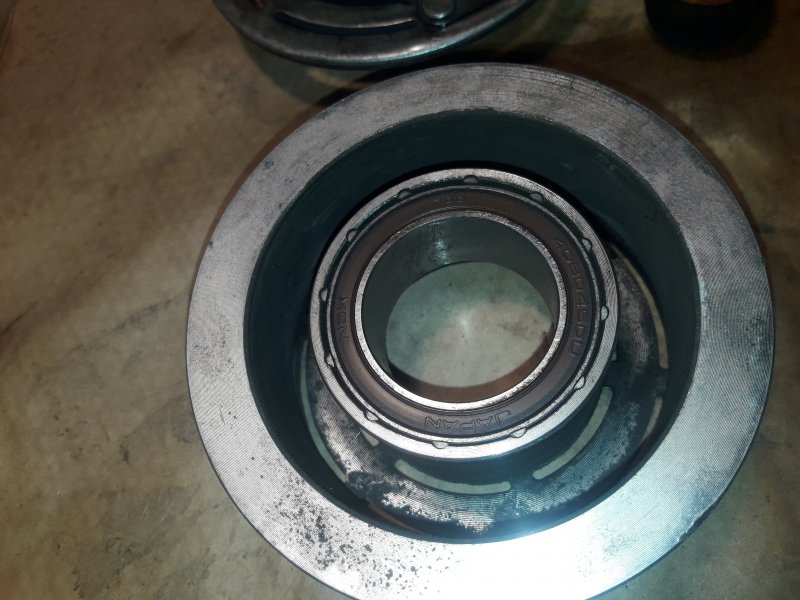
Everything cleaned end ready for reassembly
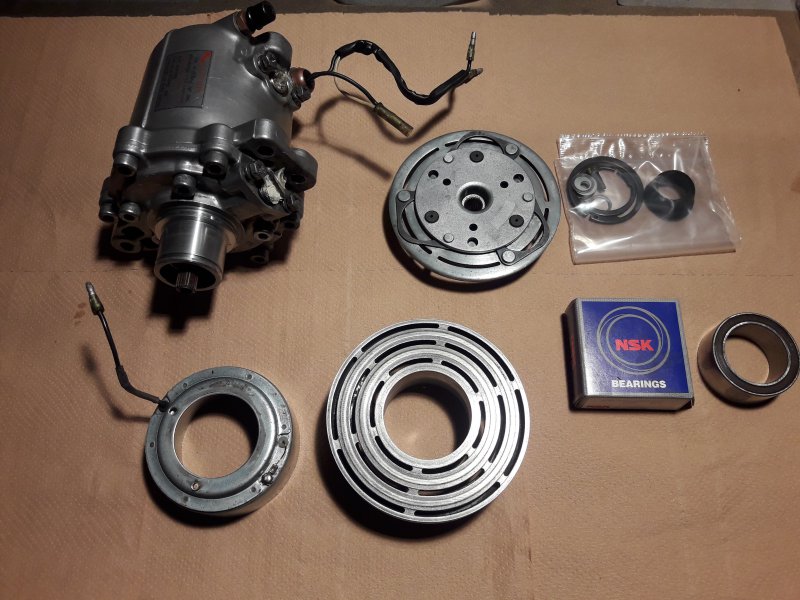
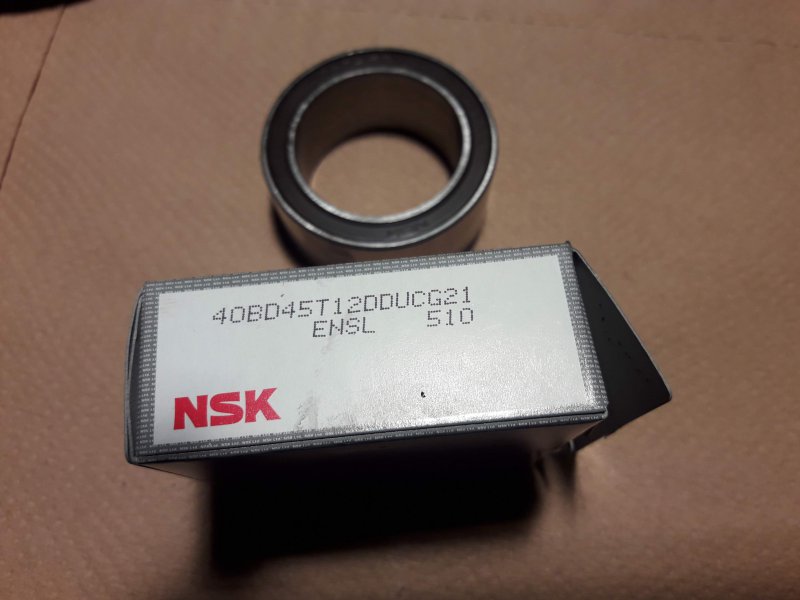
Bearing is an NSK 40BD45DU
The tabs were substituted with bearing retainer compound
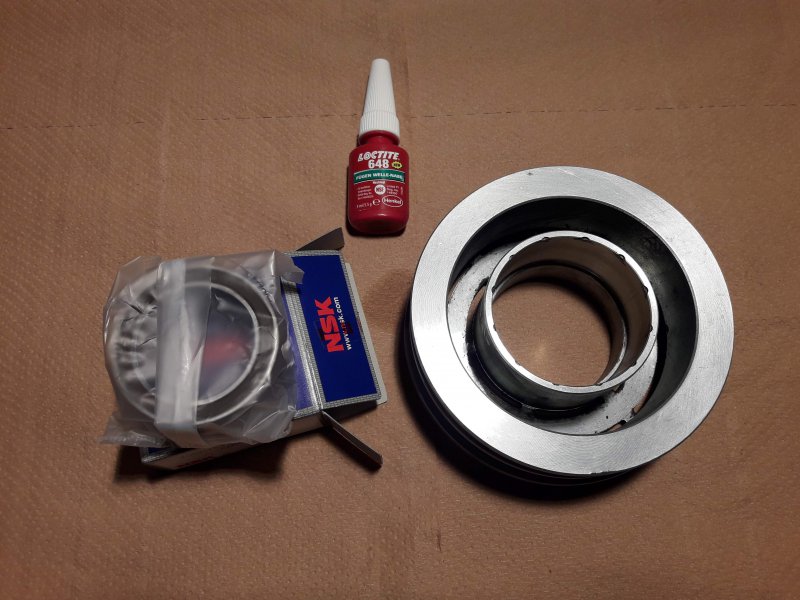
Pushed in and assembled
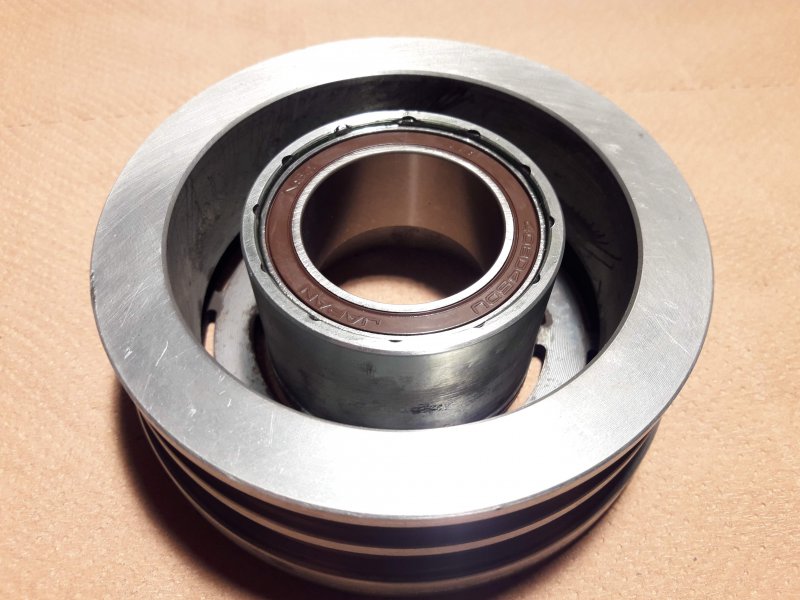
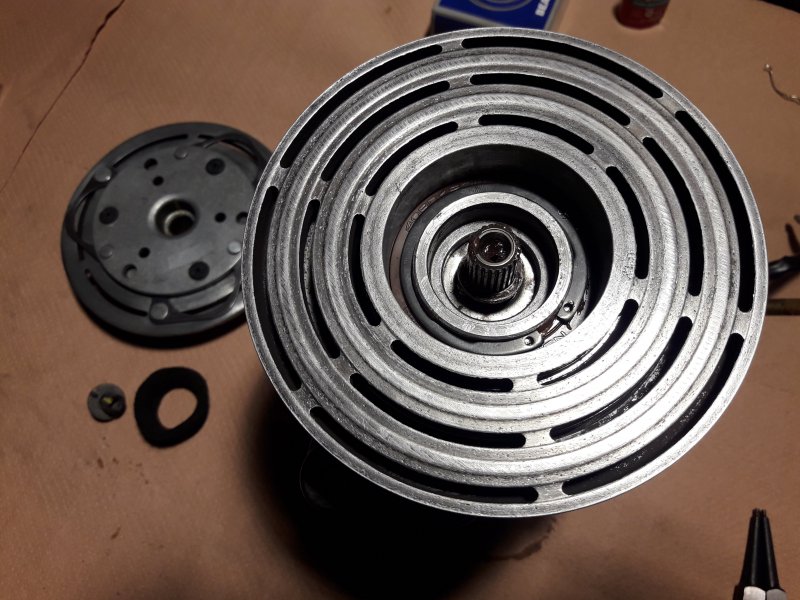
The bearing is held in place with some tabs which I ground down with a dremel

Everything cleaned end ready for reassembly

Bearing is an NSK 40BD45DU

The tabs were substituted with bearing retainer compound

Pushed in and assembled


spacecadet
Member
- Messages
- 378
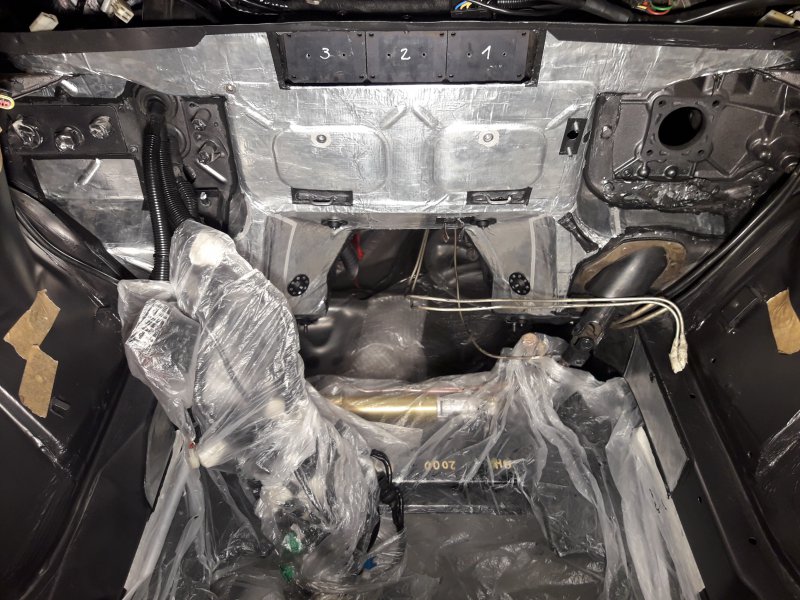
Didn't wanted to reinstall the perished firewall protection, which also is a source of rust because it can hold water. Instead used Zircoflex (2 layer) sealed up with some Loctite RTV where necessary. I've bought this before reading about Tecnofibra in the other thread, but checked that as well, I think both are pretty good materials.
