Ghibli II winter works

spacecadet

Member
Messages
378
Right, probably they didn't plan with running these 25 years where we are now. I was advised by my engine builder to take off 0.1 just for a bit nicer surface for the gasket. But those corroded spots will stay for sure. As B plan I'll try to ask around for some replacement heads.
 

conaero

Forum Owner
Messages
34,582
Personally, if the head gaskets was fine before, I would slap them on again as the fire rings will seal. Check for flatness across the FR's with a straight edge and a torch.
 

spacecadet

Member
Messages
378
I haven't given any update lately, but I would like to present the front suspension I've finished earlier.

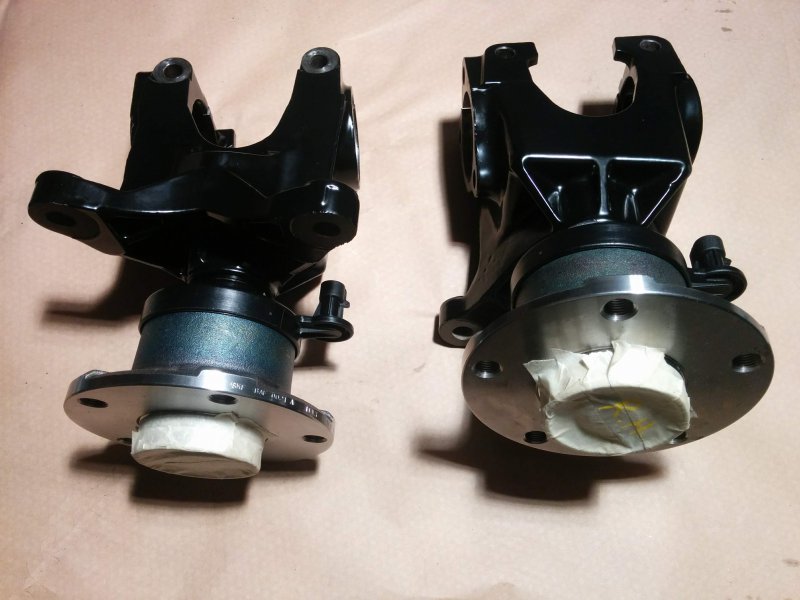
Since the shocks were already done, the next were the hubs
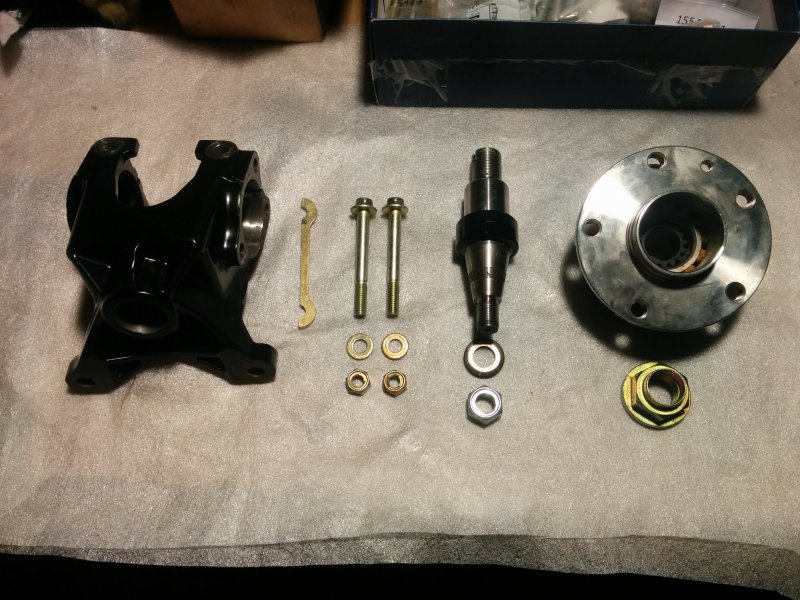
01.jpg

First I've installed the bearing on the stub axle because the workshop manual states this is only available as a preassembled part. Put a 42 wrench on the axle and made sure the ABS connector is parallel with the wrench. The alignment helps later so that the wrench will fit on the axle while mating the preassembled part to the hub carrier. Clamped the wrench in a vice and tightened down the bearing with a deep 36 socket. I've used Loctite 262 on the other threaded side of the stub axle, which connects it to the carrier. Originaly Loctite 271 was used (the red remains were still visible on the thread) which is unavailable, but based on the tech data 262 is pretty much the same (it's medium / high strength threadlocker). So when diassembling it's advised to heat up this nut.
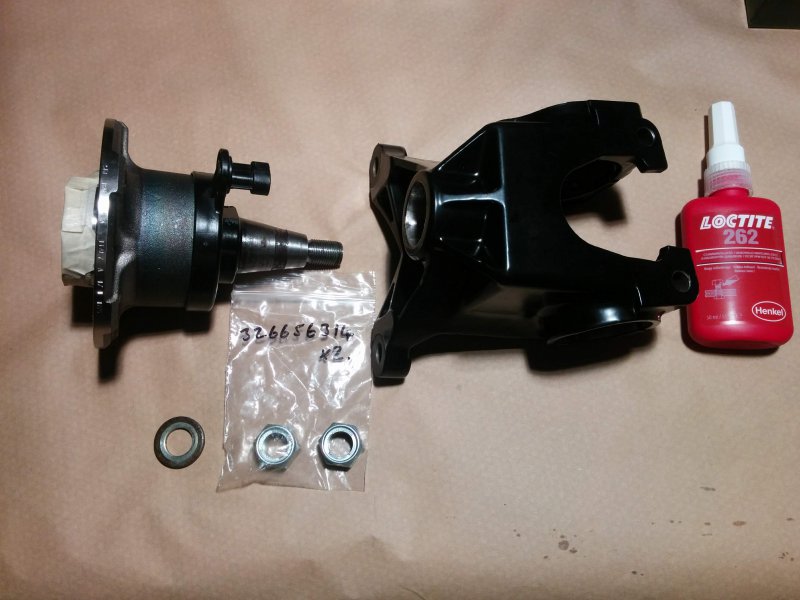
02.jpg

Both front hubs assembled

03.jpg

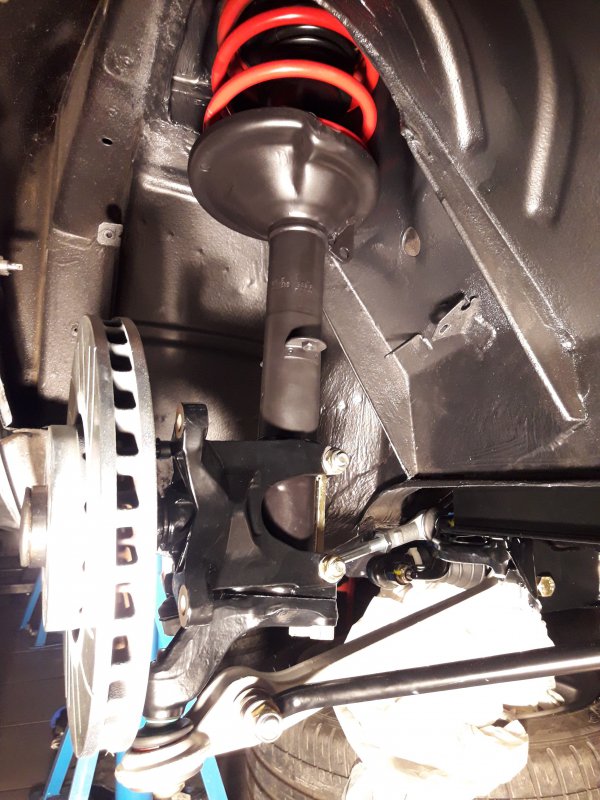
Finally hub installed on the shocks. This was pretty simple, there is only one way to do it
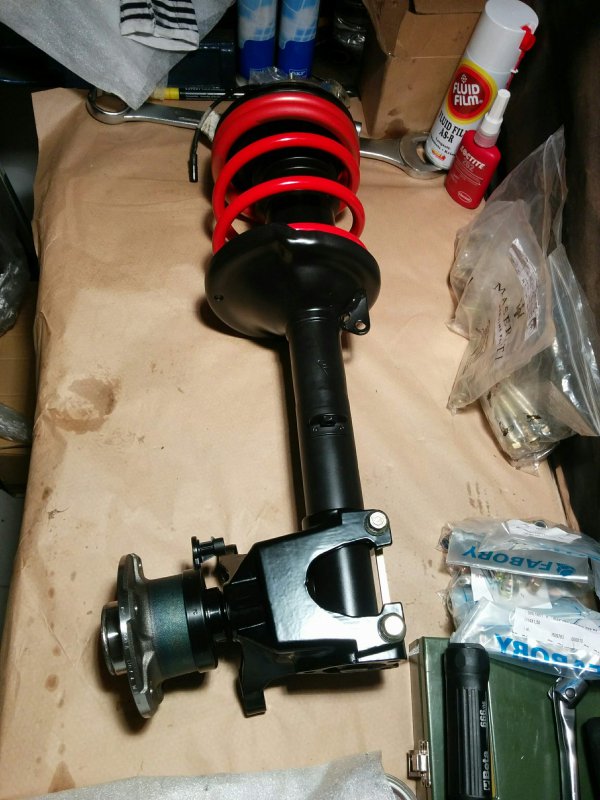
04.jpg

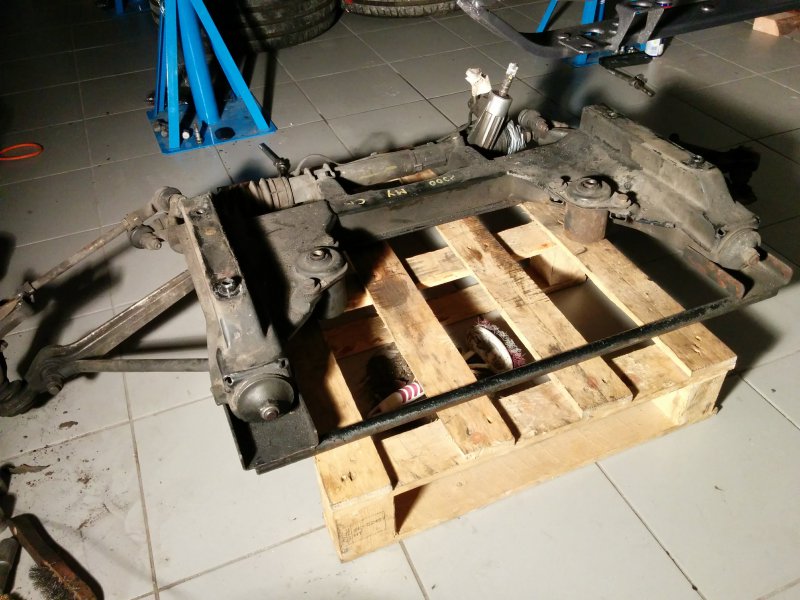
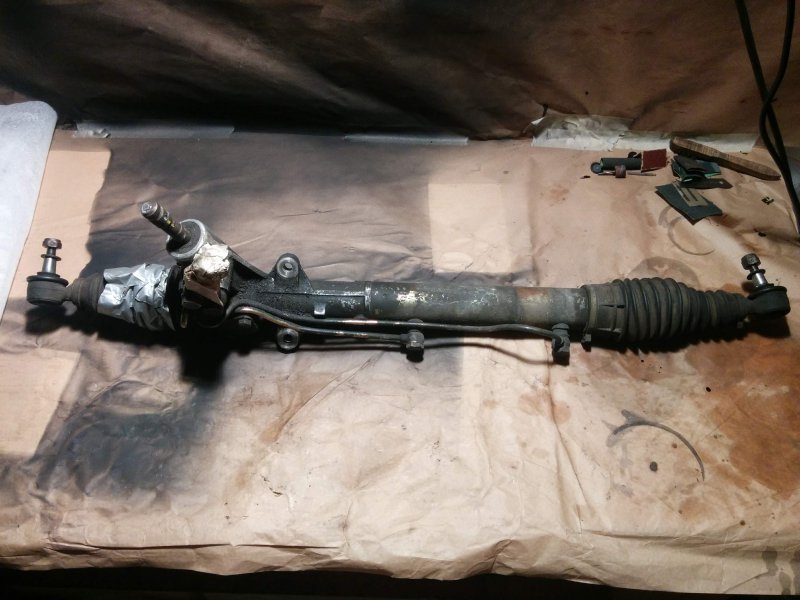
The steering rack was also pretty beat up, one of the bellow broken.
05.jpg

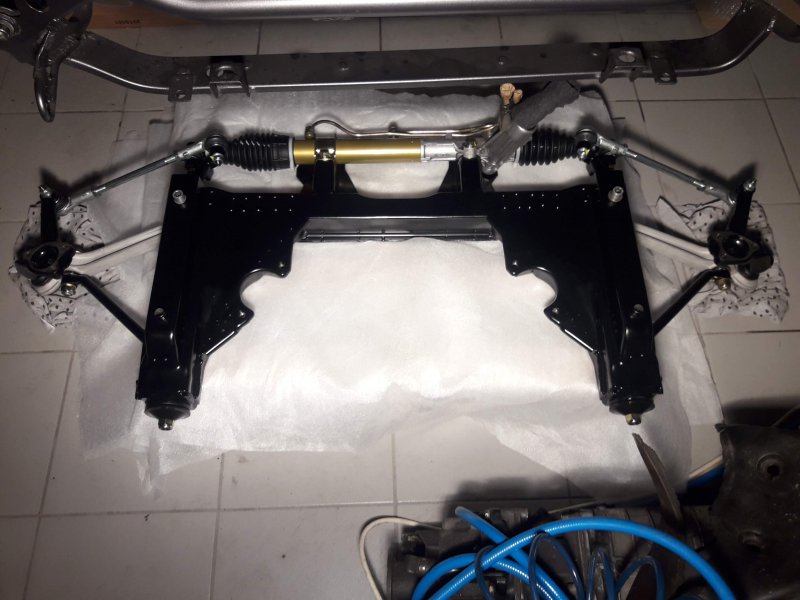
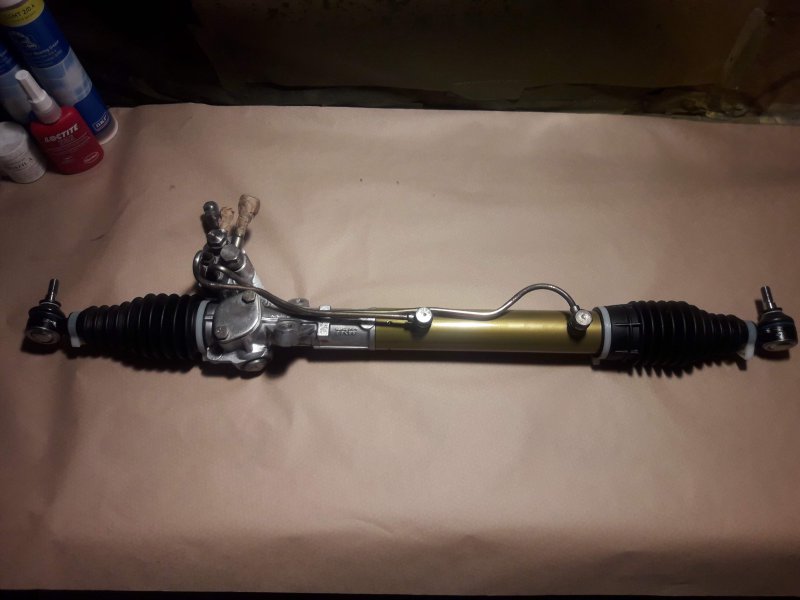
Cleaned up as much as possible, but the yellow zinc / cad (?) plating was corroded here and there so I got some colour matched paint (of course it's not plating) and painted (epoxy, base and clear) the main body. Replaced the bellows and while there the ball joints too.
06.jpg

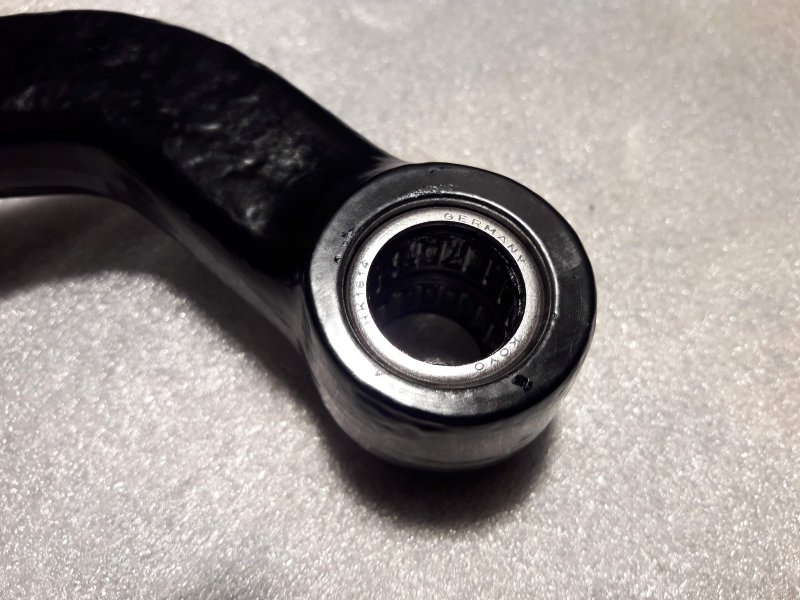
The bearings in the steering arms were also replaced
07.jpg

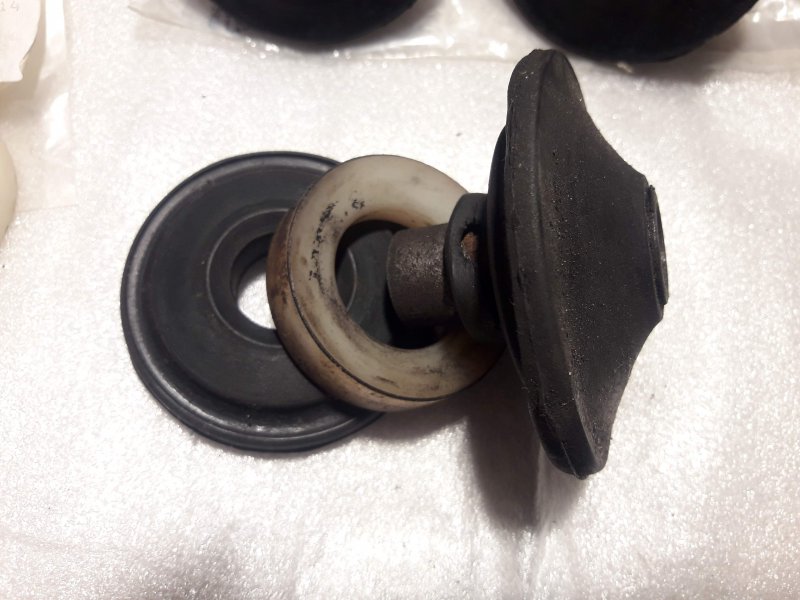
The rubber joints connecting the control arms to the front of the subframe were also broken (the GT / QP4 uses a modified joint, probably to fight this issue) so I've also replaced these (sourced some leftover stock from '97)
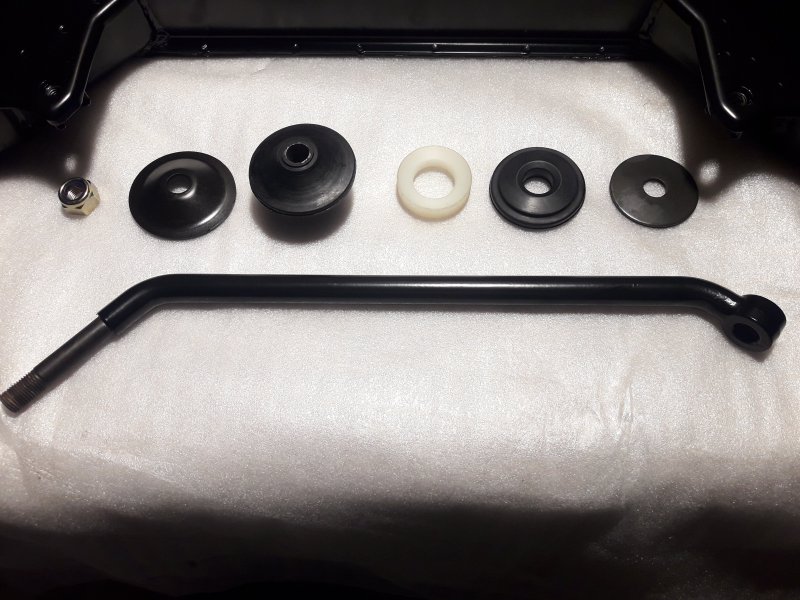
08.jpg

09.jpg
 

spacecadet

Member
Messages
378
All in all from this

10.jpg

went to this (I still have to do the factory marks on the subframe :))

11.jpg

Putting back, again pretty simple in the front. The rear shocks were tricky because they don't have a rotating upper mount, definitely mark them before disassembly. I didn't, but were lucky since the preload is much lower on rear springs so if the nut is loosened all the way up, the spring can be rotated on the shock. Once aligned, I've carefully removed, tightened down in the correct position and reinstalled.

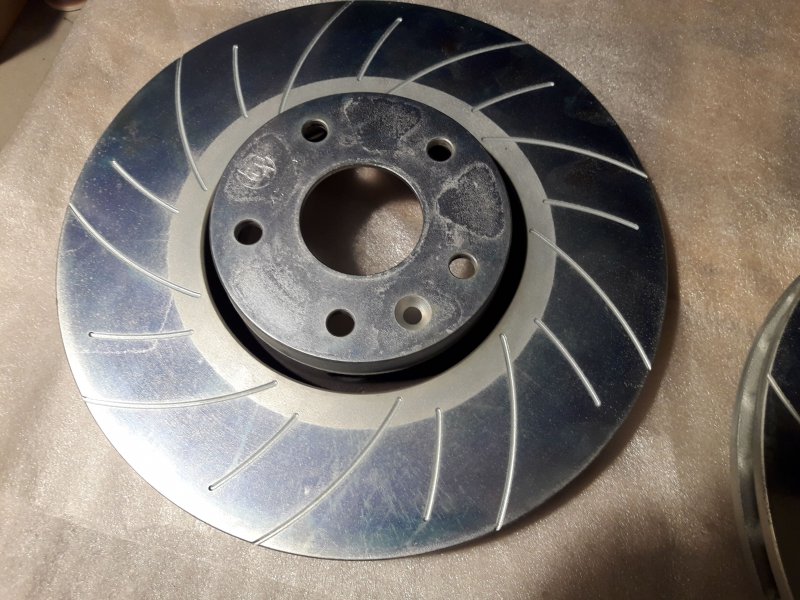
I've also clear plated the front brake disks which were rarely used but rusted.

12.jpg
 

spacecadet

Member
Messages
378
Thanks guy, no talent here either :) I also wish I had more time, so I wouldn't progress so slow, but steadily will be there.

The Eibach springs were still in stock one and a half year ago at Ross / Meridien Modena, maybe there is still some left there or at the factory.

The disks had an ugly surface rust visible on the face (different design than OEM and the pads don't fully reach through) and the edges. Don't have a before picture.

20180812_183955.jpg
 

TimR

Member
Messages
2,616
I’m due a set of discs.. I’d be interested in a zinc plate process before they see service- if you have any contacts, that’d be appreciated..? :)
 

spacecadet

Member
Messages
378
I have finally some update regarding the engine. I was thinking a lot, but given the situation - next winter is already here and I've also touched nearly everything in the car - I've decided to rebuild the lower part too.

First disassembly, which went pretty fast

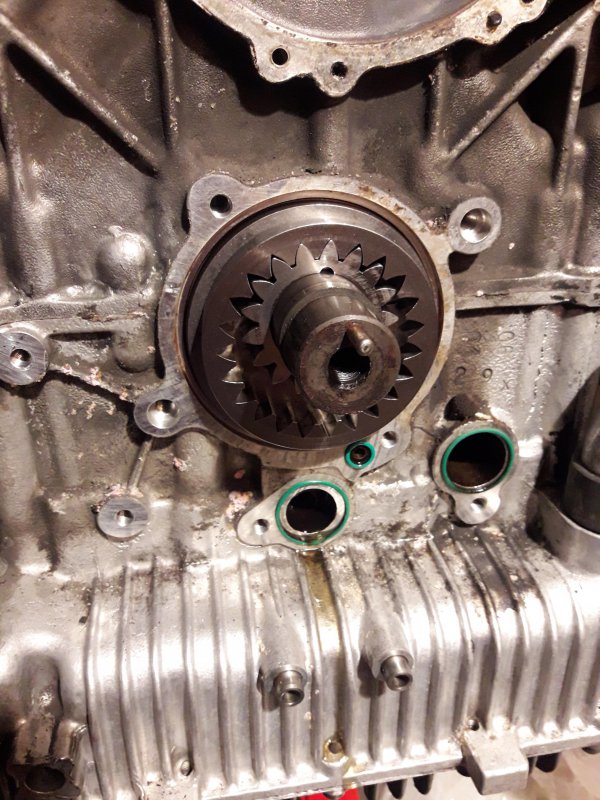
Removed crank pulley and oil pump

01.jpg

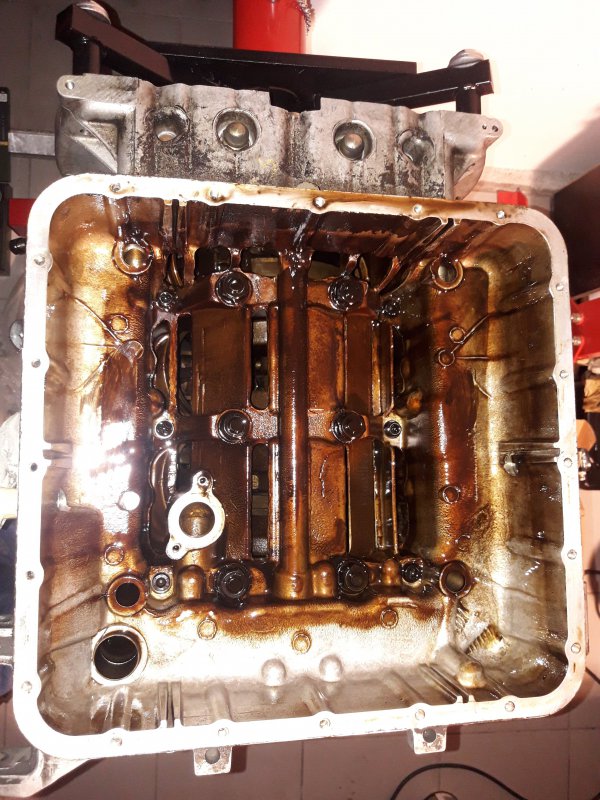
Inside the oil sump

02.jpg

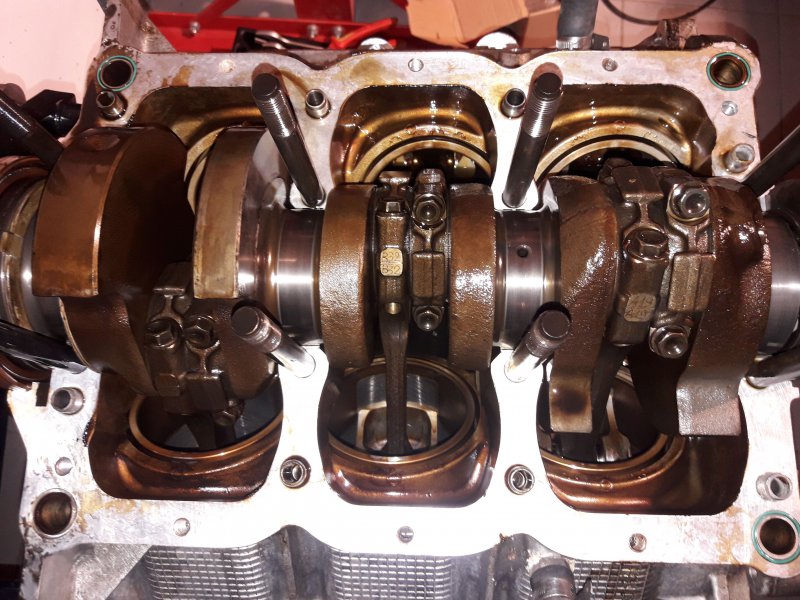
Block halves separated

03.jpg

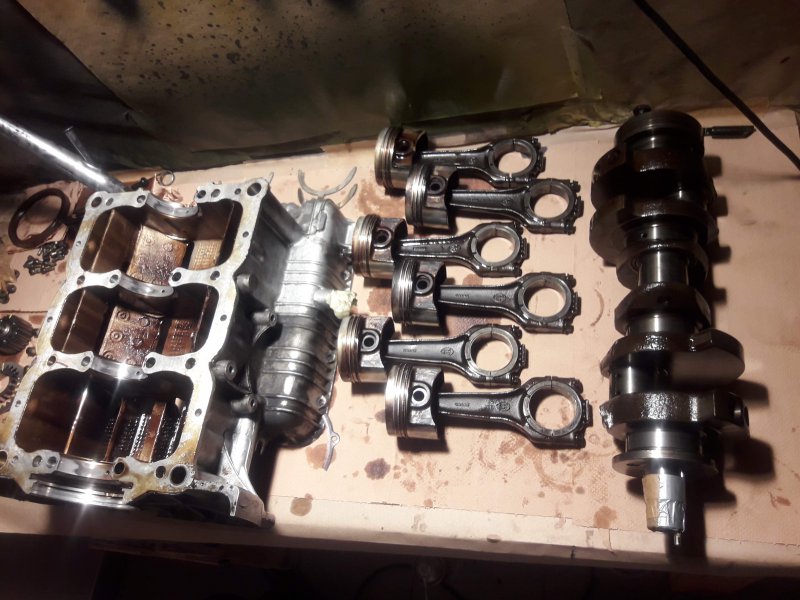
Everything pulled

04.jpg

05.jpg

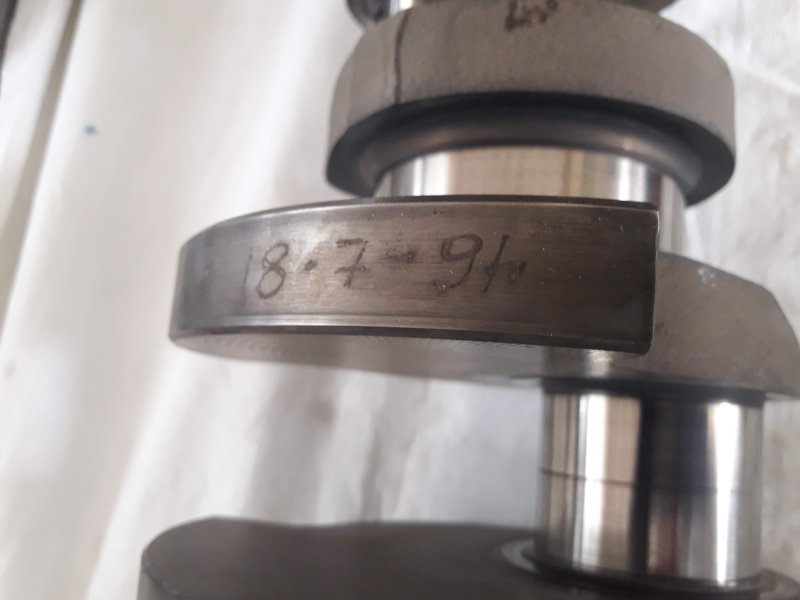
Crankshaft manufacturing date

06.jpg

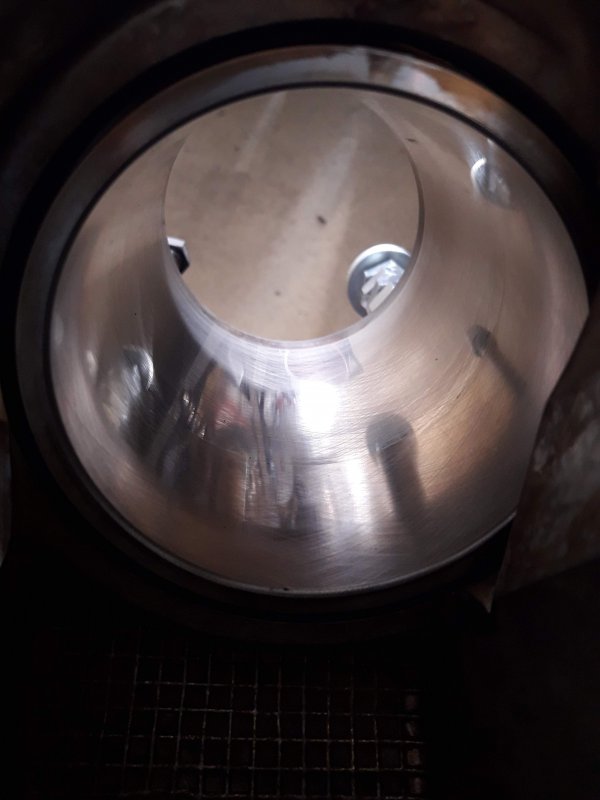
Machining marks fully visible on the liners after nearly 150.000 km.

07.jpg

Everything was measured, pistons have tiny wear, liners well within limit, crankshaft has no measurable wear.

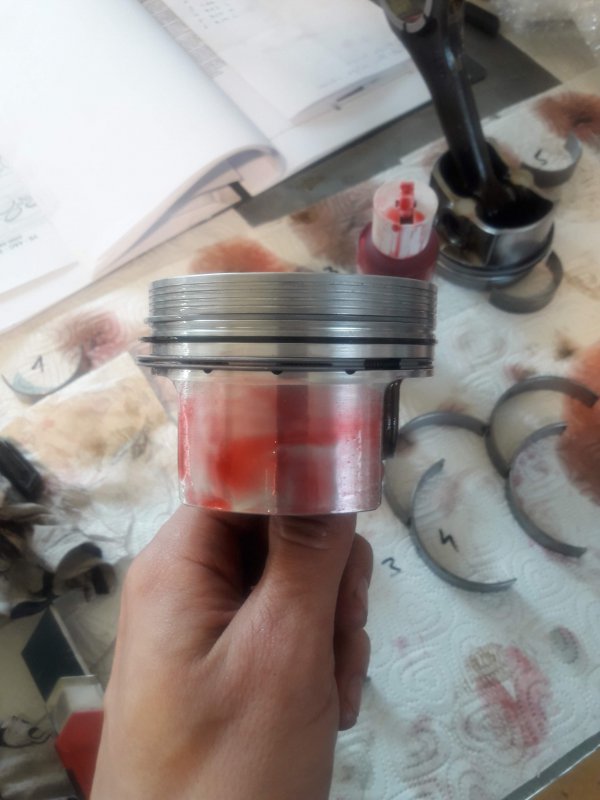
I've bought rings earlier from Campana, but realized too late that these were 1.5/1.5/3.0 rings not the required 1.2/1.2/3.0 rings, so I started hunting for a new rings set. Found https://wahl-spezialkolben.de (they stem from Mahle) who were kind enough to offer a 1.2 set to replace my 1.5 set. Since I wanted to go for sure I've also sent them the pistons to be verified and the pins to be re-"honed" (it's not actually honing but an even more gentle process). It turned out that the axial clearance was too big, so the pistons were re-grooved to 1.5 and were also cut contact reduction grooves above the 1st rings, and accumulator groove between the 1st and 2nd rings. Plus the 2nd rings received an undercut (Napier ring).

08.jpg
 

spacecadet

Member
Messages
378
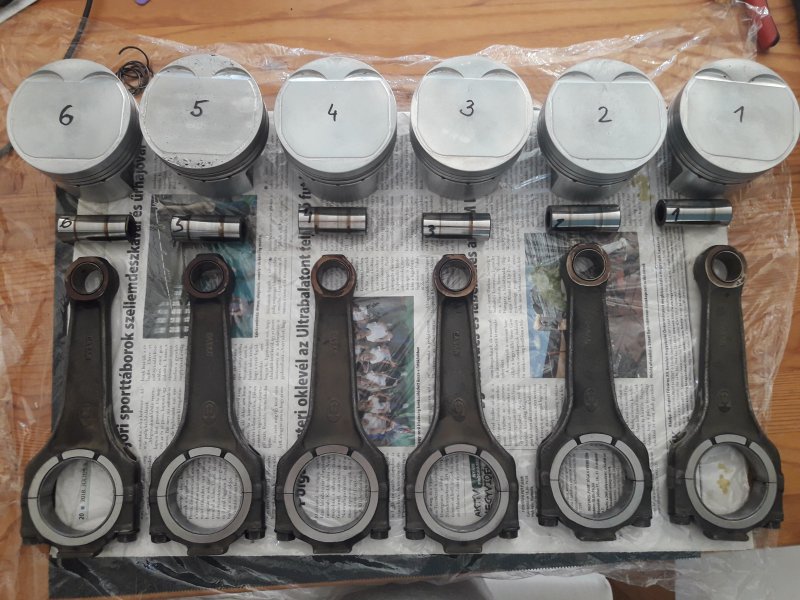
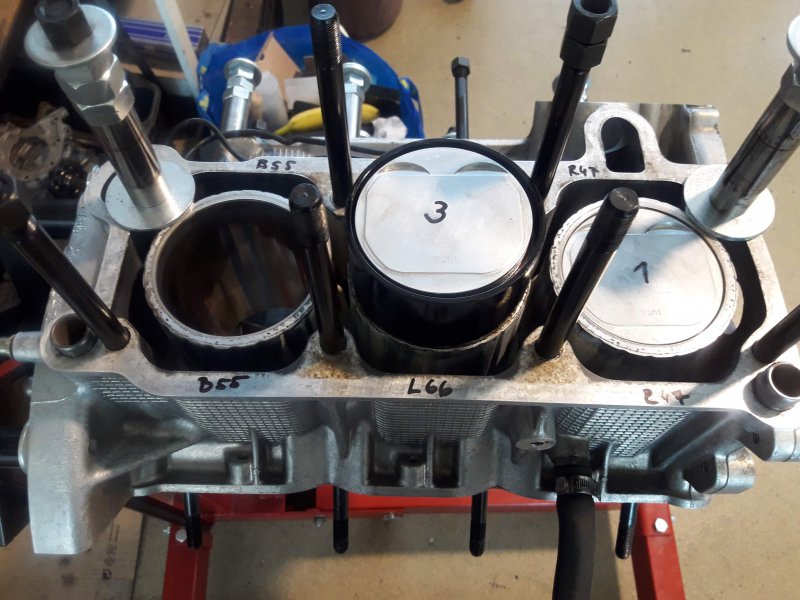
Everything was rechecked before reassembly (ring end gaps, etc. too), which I had to do twice because I've mixed up the rods... second time was already much faster, and with a tapered piston ring compressor (https://www.part-box.com/wiseco-ring-compressor-sleeve-82-00mm-wrcs08200) the process quite easy, just had to take it slow while double checking everything (as learned :))

09.jpg

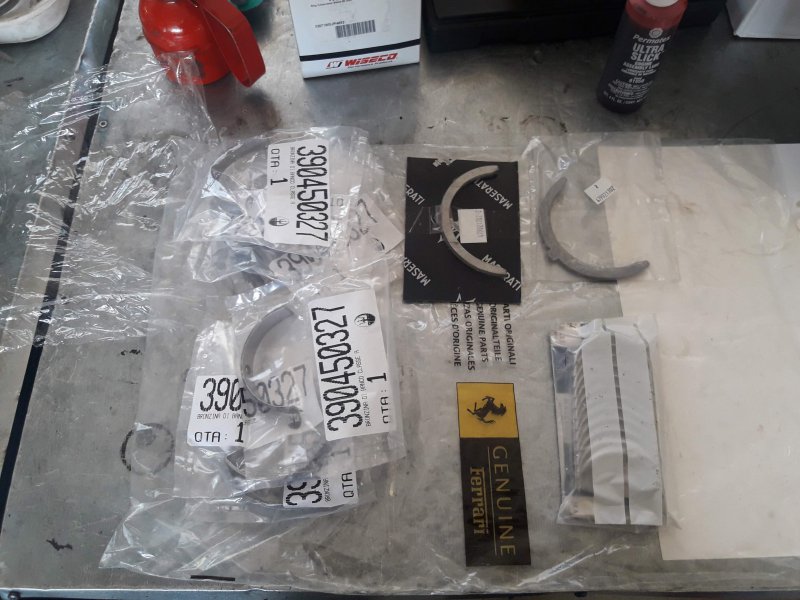
New bearings, one of the last thrust and big end bearings

10.jpg

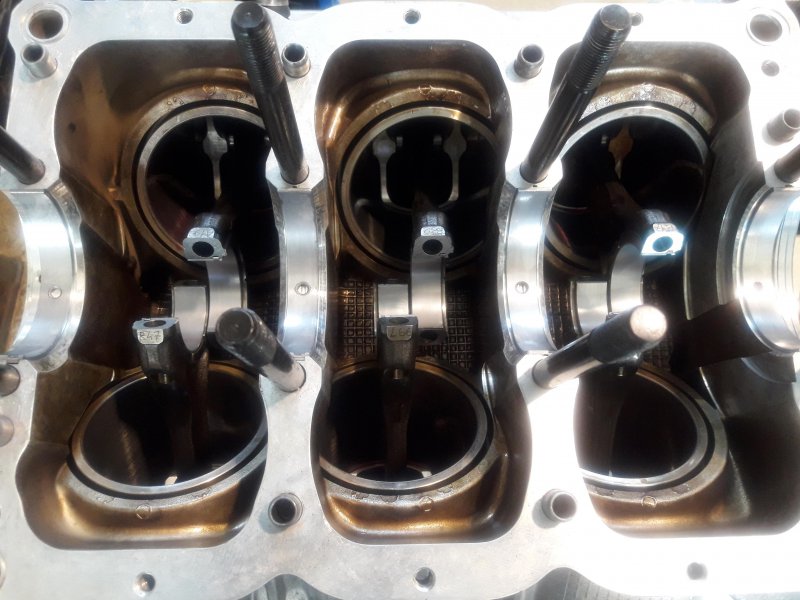
Reassembly

11.jpg

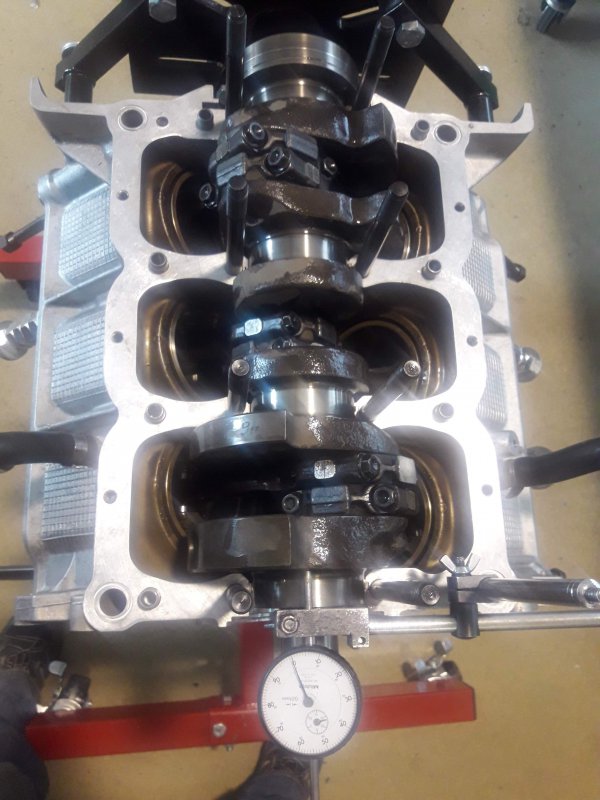
Crankshaft in, checking end float

12.jpg

Lastly the halves were glued with Loctite 518 and torqued down together.

Next will be the heads, which in the end were reground because they were not flat. But more about this later.
 

Wally

Member
Messages
244
I have been waiting for your update patiently.... marvellous job. (and nice pictures!) But like to know some more about the re-grooving. (if you have time....)