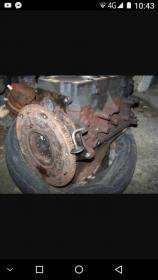
Ghibli II winter works

spacecadet

Member
Messages
378
Hi,

I'm soon starting this winter's work, will share progress here.

The planned items, it's a pretty long list, hope will finish before the season:

  • Pull engine and gearbox - DONE
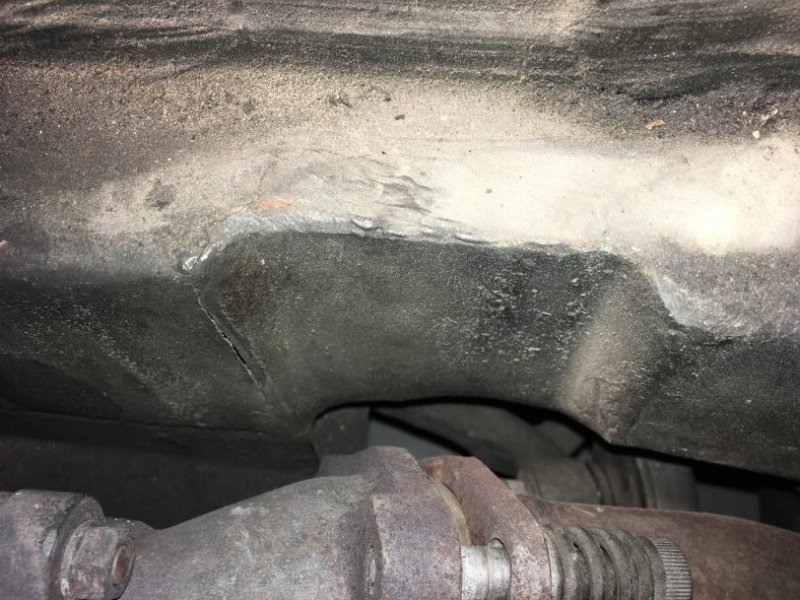
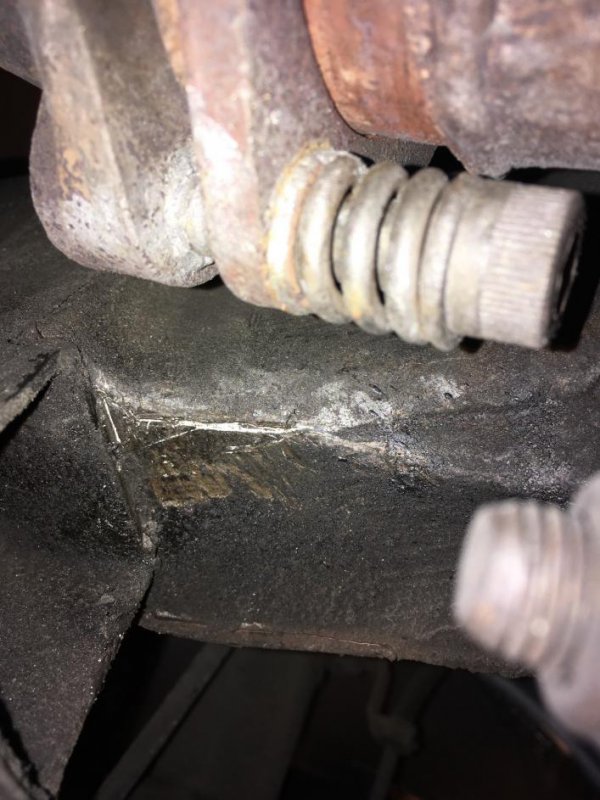
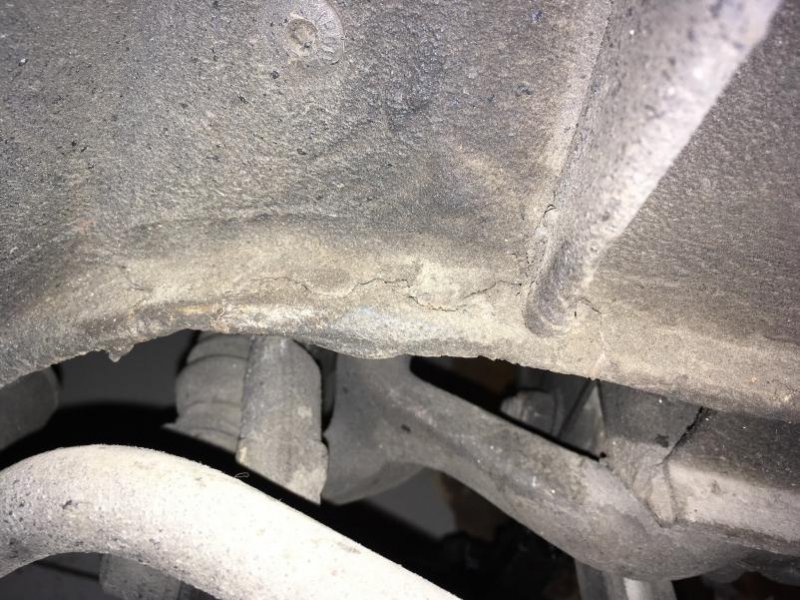
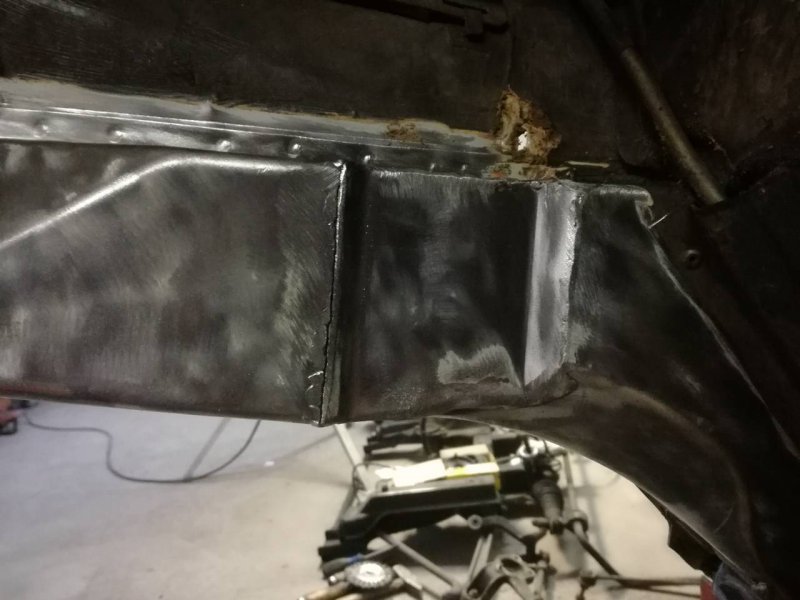
  • Fix and strengthen cracked R.H. chassis rail, while there also tackle a small rust spot below one of the air filter and also at two corners near the front shocks in the wheel well (will be done by a workshop doing bodywork and rollcages for race cars) - DONE
  • Replace timing chains (current state:
    ), set timing and valve clearances - DONE
  • Replace leaking crankshaft seal, while there also replace camshaft seals - DONE
  • Repaint flaking intake manifold and valve covers - DONE
  • Send leaking AC compressor for overhaul - DONE
  • Replace disintegrated hood foam
  • Overhaul front suspension; media blast, paint, replace rubber parts, joints, etc. like last winter the rear - DONE
  • Send shocks to be tested / overhauled; nothing wrong with it but since the whole suspension will be done I thought let's do this too now - DONE
  • Install Cup springs - DONE
  • Install K.S. ARBs; still have to find rubber mounts for these, especially for the rear - DONE
  • Resurface flywheel - DONE
  • Replace clutch, pressure plate, release bearing and pilot bearing; the clutch is very heavy, only bites at the top, the bearing is really noisy - DONE
  • Install fully revisioned spare gearbox - DONE
To start with I already have some questions mostly regarding engine works

  1. For pulling the engine with the gearbox, should I remove the front tubular structure or can this be done by simply lifting them upwards?
  2. How can I fix the camshafts to remove and later fix the front timing pulley and also the rear nuts holding the gears?
  3. Should I clean the oil galleys inside the camshafts too as described in the manual or not necessary?
  4. Are thickness pads still available from Maserati? I have to wait with the order until the current ones are accessible.
  5. Do I need a special tool for replacing the crankshaft seal and the input shaft bearing?
  6. Is it advised to skim the flywheel when installing a new clutch? If yes, what's the factory limit? Didn't find anything in the manual.
  7. Anything else I should be aware of? I've only done a head job before so not so much experience working on engines, but I have time and patience :)
Thanks
 
Last edited:

Lozzer

Member
Messages
2,278
Yes, it's a stress crack. So cut out the current metal, not just weld up and add overlapping sheet?

I wouldn't, it will crack again at the toe's of the weld, not right away but it will, and over sheeting encourages post repair corrosion between the sheets. You can apply primer/whatever to the steel but the welding process burns that off, leaving a moisture trap you can't get at. ie will eventually rot from the inside out.
 

spacecadet

Member
Messages
378
I wouldn't, it will crack again at the toe's of the weld, not right away but it will, and over sheeting encourages post repair corrosion between the sheets. You can apply primer/whatever to the steel but the welding process burns that off, leaving a moisture trap you can't get at. ie will eventually rot from the inside out.

Makes sense. So these kind of reinforcements are good for stiffness but not for longevity because of possible corrosion (like at any joint).

010.jpg

012.jpg
 

spacecadet

Member
Messages
378
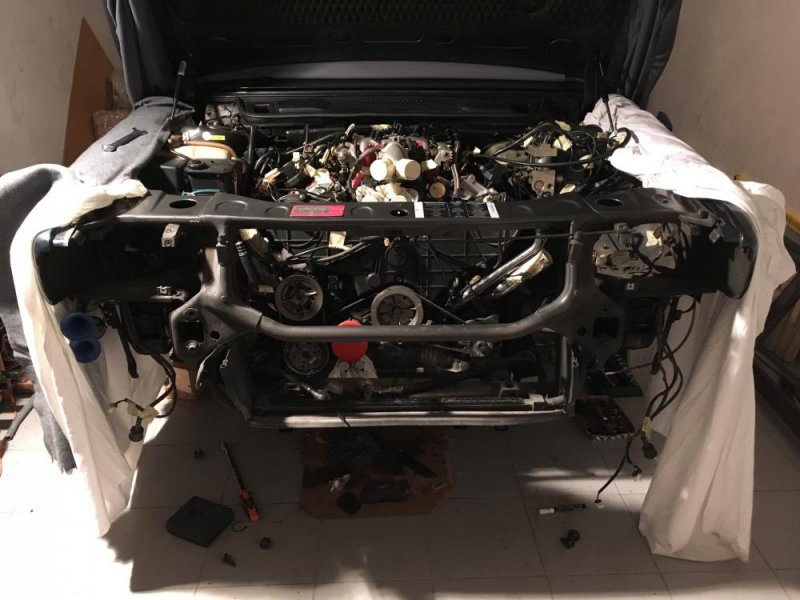
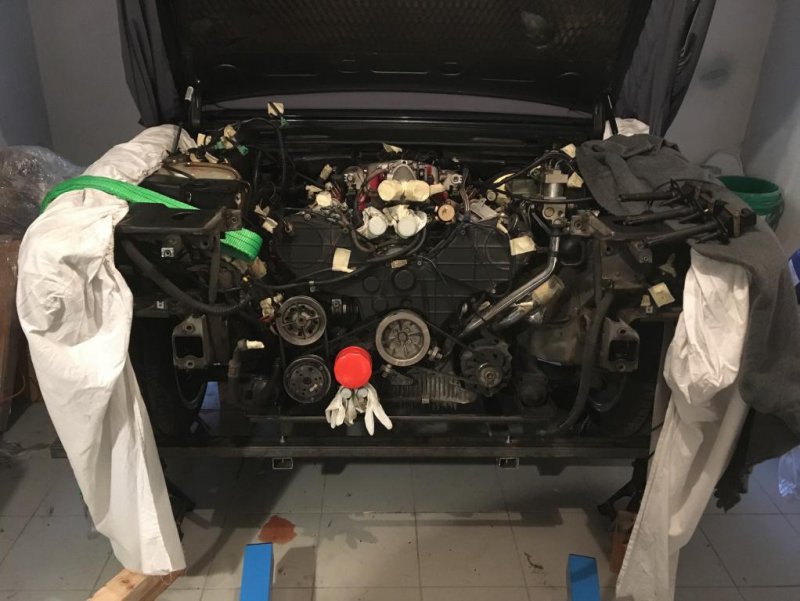
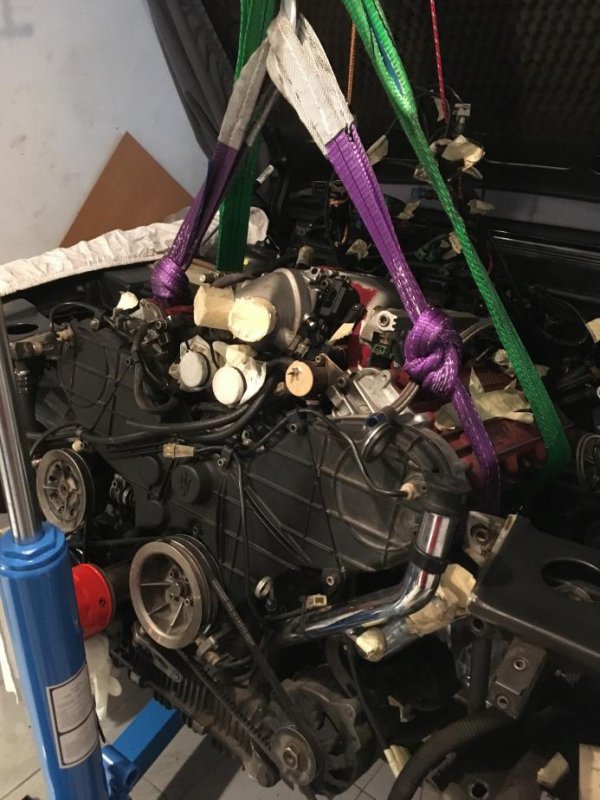
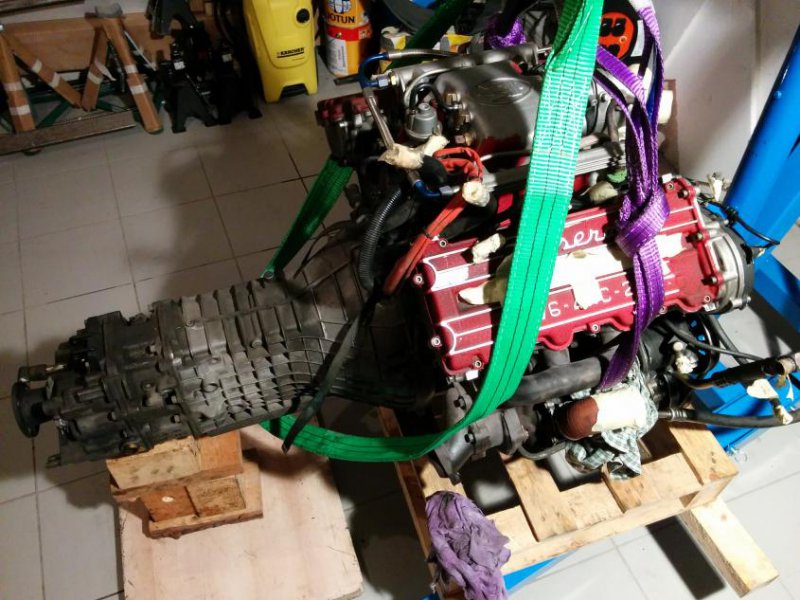
Just finished pulling the engine.

After disconnecting everything from the engine and the gearbox went quite ok, the only tricky part was removing the bolts connecting the center exhaust part to the turbos. Fortunately I have small hands, the was only 1 from the 6 that was real hard to get even for me.

In the end I've also removed the front tubular section, as it made the removal much easier. It's important not to move the car in this state, because it's easy to deform the whole weak front structure.

IMG_3678 copy.jpg

IMG_3695 copy.jpg

IMG_3705 copy.jpg

IMG_20180114_174747.jpg
 

spacecadet

Member
Messages
378
I've also found that the rail stress is responsible for cracking an other welding, on the other side, visible from the wheel well. This is easy to check when the wheel is down, so I think this part should be checked every once in a while.

IMG_3690 copy.jpg
 

del mar

Junior Member
Messages
257
That is about this most manly thing I have seen on here !!!

Was your front tubular / slam panel welded in or just the bolts ?

How long did it take ?
 

spacecadet

Member
Messages
378
Haha, but I'm not going into full engine rebuild territory like some here.

The front is not welded, only bolts. 10 of them, in theory, I had only 6 and by the look of the holes the others are missing since a loong time ago.

It took two weekend afternoons to study the manual, disconnect and catalogue everything, and around 4 hours to disconnect some leftovers parts and pull the engine-gearbox assembly. But it quite some time was spent on removing the car from the jackstand, pushing it a bit out from the garage and putting it back on jackstands. The pulling part is a 2 person operation, one has to go under and make sure the gearbox is not smashing the steering box. I've used a a floor jack + bottle jack and it also had an additional strap below.
 

spacecadet

Member
Messages
378
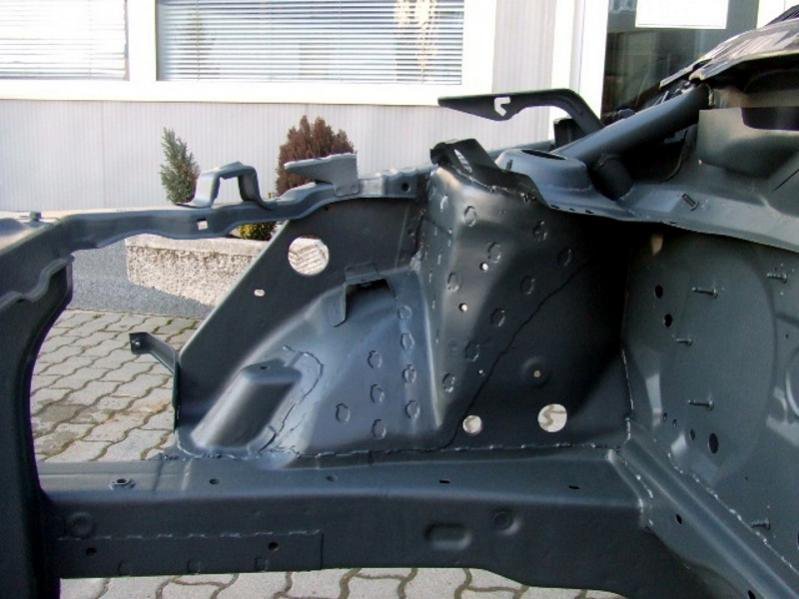
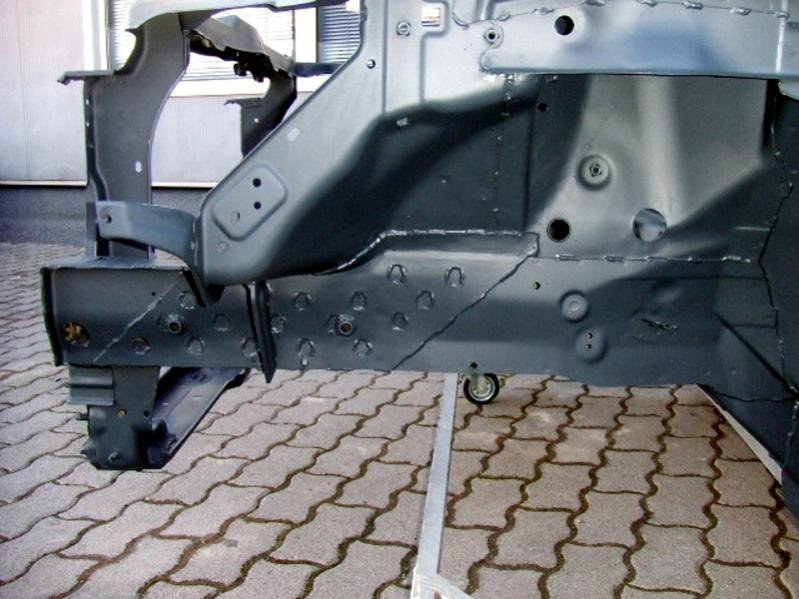
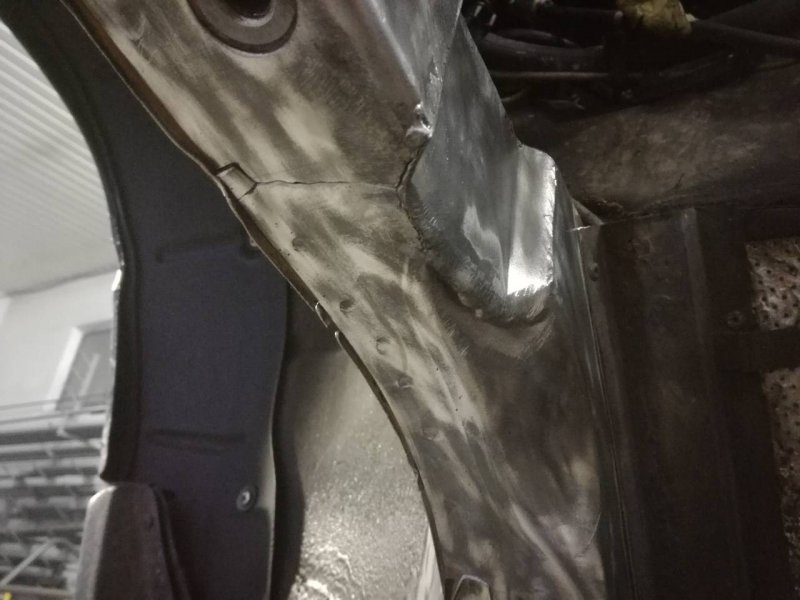
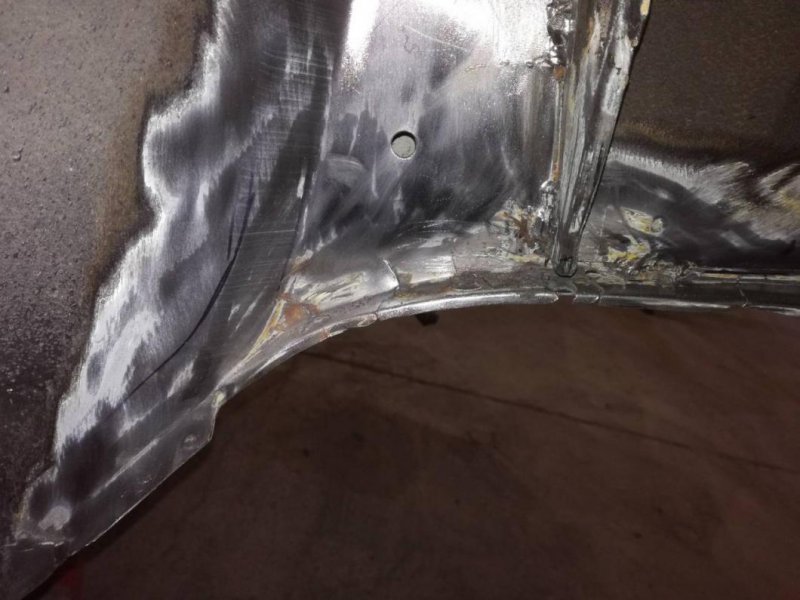
Some progress with the crack. After removing the subframe and going to bare metal, the whole crack is revealed, and goes around the whole rail. The welds go on the edges, these will be moved further out after replacing that area with a slightly larger sheet.

crack03.jpg

crack02.jpg

crack01.jpg
 

FF1078

Member
Messages
1,123
I'm no engineer but is that normal for a car to fracture like that?
Surely that's very dangerous?
 

davy83

Member
Messages
2,804
The holes are so you can weld the sheet at each hole, it makes the connection of the new sheet to the old metal much more spread out, and supports a weaker sheet. I think!

That looks a bit of a biscuit ..why on earth?
 

davy83

Member
Messages
2,804
It must have suffered pretty badly for that to happen. The only time I have seen cracks like that was on my old Hillman Imp, and that was down to me using it for auto-testing, which is rallying on tarmac kind of, and mostly down to handbrake turns and reverse throws applying huge stresses to the body. It is a pretty worrying sign and I scrapped the Imp not long after the cracks started.

I'm no engineer but is that normal for a car to fracture like that?
Surely that's very dangerous?
 

spacecadet

Member
Messages
378
Unfortunately this is a known and quite common issue with these cars thanks to that cut out section. Which, based on the look of the area (like manual welds) is an afterthought missing necessary reinforcements.

The area was cut out to make space for the turbo but thanks to several factors, is the main contributor for the problem.

- the changed structure of the R.H. rail has a different reaction to forces then the L.H.
- the subframe ends just at the point where the cut out section starts, so this is a high stress concentration area
- and the close turbo makes a high heat stress
- also the quality of the sheet metal is not too good
 

spacecadet

Member
Messages
378
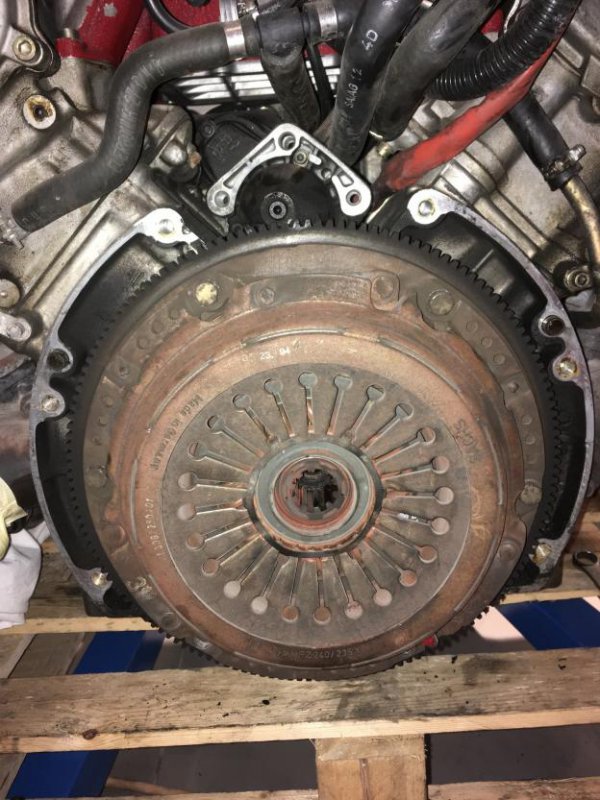
Meanwhile separated gearbox, removed clutch and flywheel. Everything went quite straight so far.

IMG_3722 copy.jpg

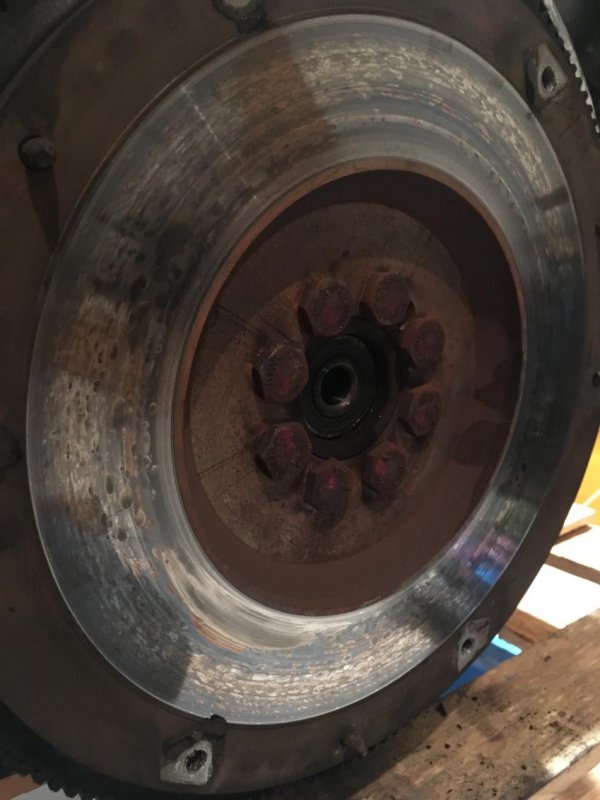
Flywheel is badly marked (oil?), but only has one bigger hotspot where a 0.15mm feeler gauge fits, otherwise it's 0.10mm here and there. It will be resurfaced and matched to the new clutch set.

IMG_3732 copy.jpg

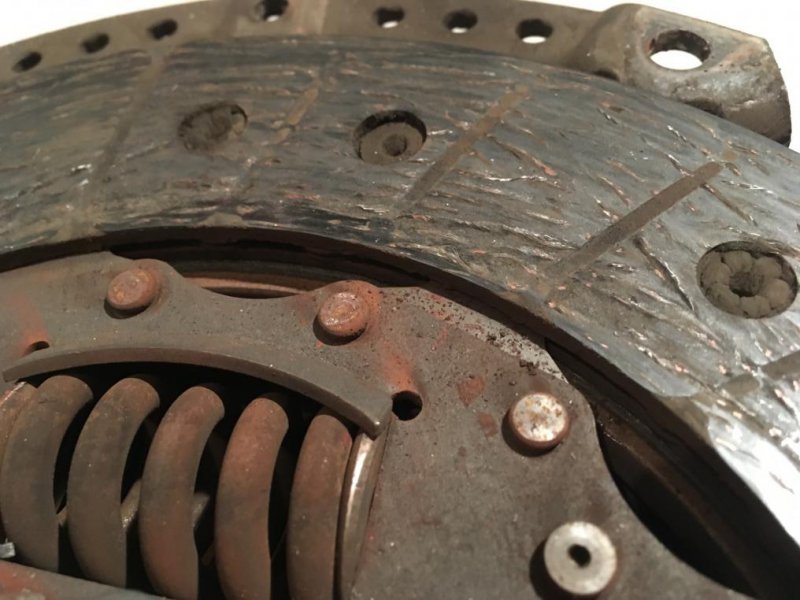
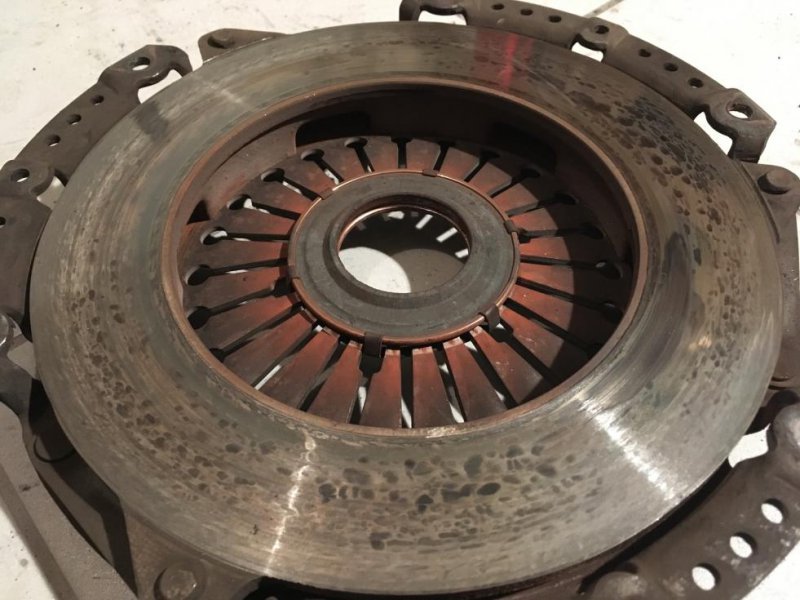
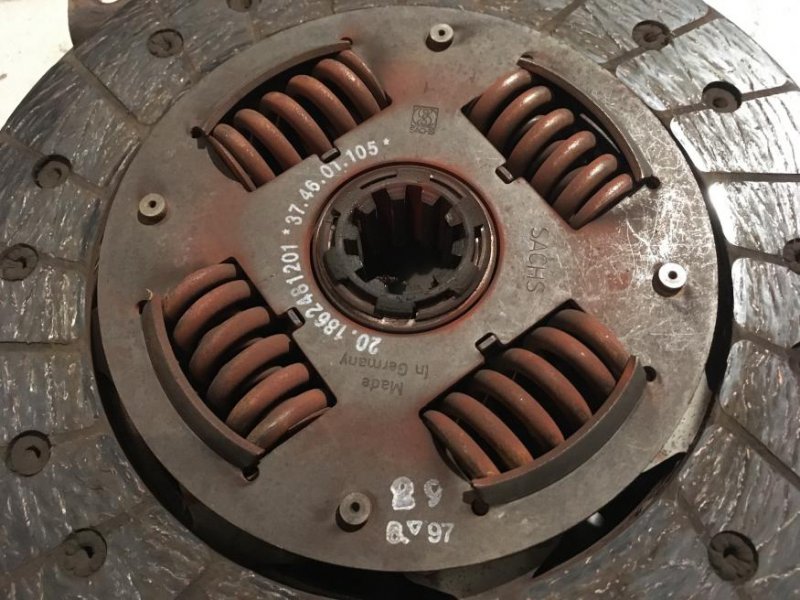
Clutch is worn, especially the inner part.

IMG_3747 copy.jpg

IMG_3750 copy.jpg

Part number for reference

IMG_3748 copy.jpg

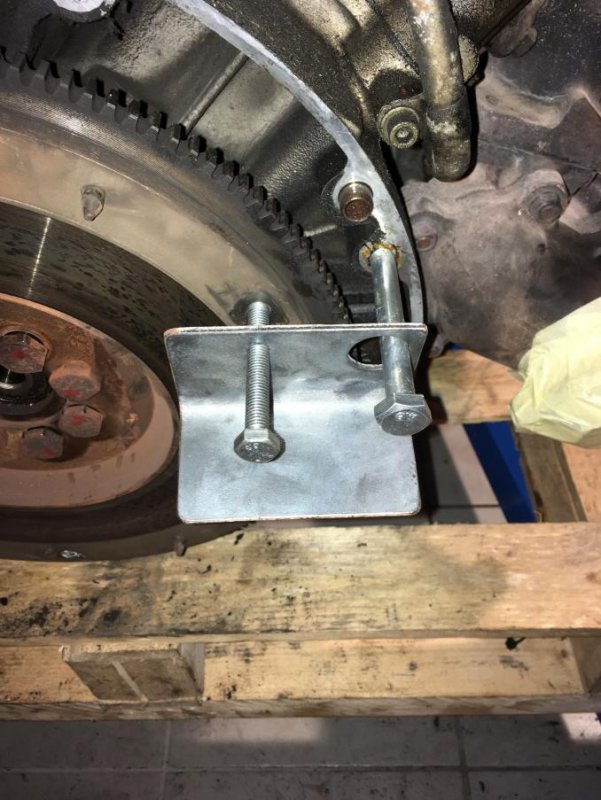
Quickly made jig for blocking the flywheel. The bolts have a big amount of thread locker on them, so I heated them up one after the other, this made the removal easier.

IMG_3735 copy.jpg

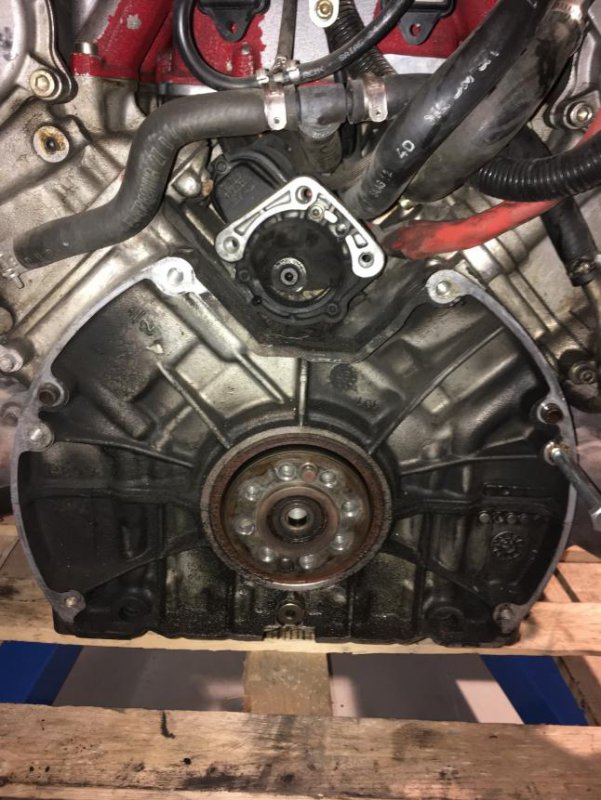
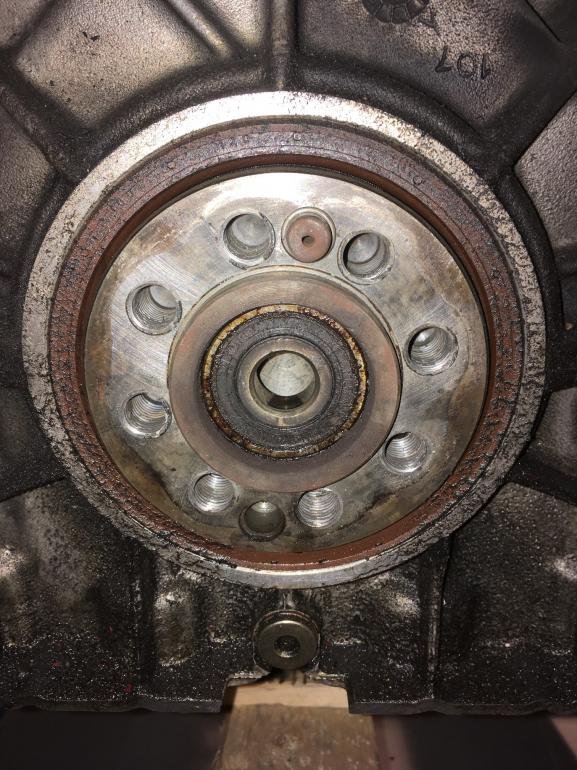
Oil leak behind. I'll replace the main seal.

IMG_3744 copy.jpg

IMG_3745 copy.jpg
 

philw696

Member
Messages
25,010
Here is what I use to lock flywheels.
Had it in my tool box for many years I bet Dave and a few others have the same too.Screenshot_20180129-104347.jpg