You are using an out of date browser. It may not display this or other websites correctly.
You should upgrade or use an alternative browser.
You should upgrade or use an alternative browser.
4200 CC DIY Jobs
- Thread starter tonym3
- Start date
tonym3
Junior Member
- Messages
- 225
Thanks, I normally use the engine de-grease stuff from auto glym tends to shift everything, just had a real good clean of all the plastics removed from the engine bay and they look really good, just the actual head covers and the plenum cover in the middle I need to clean now
tonym3
Junior Member
- Messages
- 225
Thought I would post a quick update on my DIY jobs.
Last thing I had done last time was to change the Air filter and strip the engine bay down ready for the plugs to be changed. The Spark plugs are a nice easy affair simply undo the sensors on top of the plug with a small hex socket and and pull out one at a time replacing the plugs as you go, I used the very helpful guide on here for guidance and so I will not go over old ground, non of the plugs are hard to get too so nothing exciting really to report!!
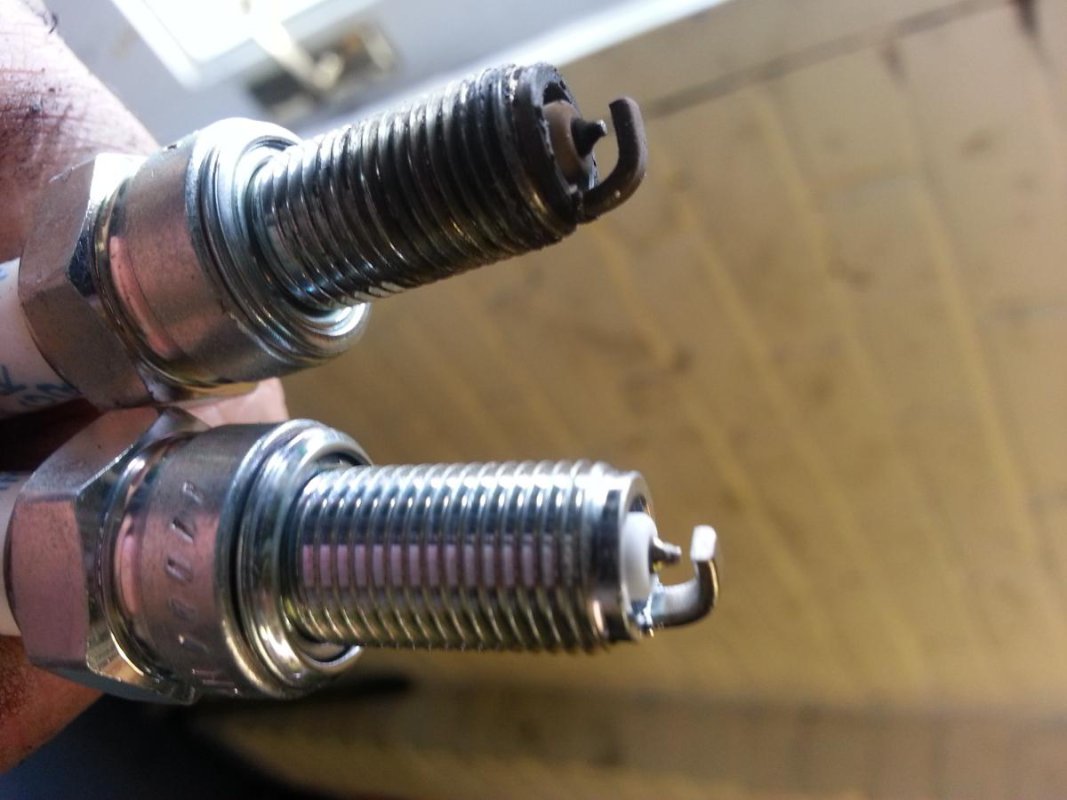
Anyway old ones looked about fit for changing so nice new ones have been put in their place, same NGK ones that came out went in.
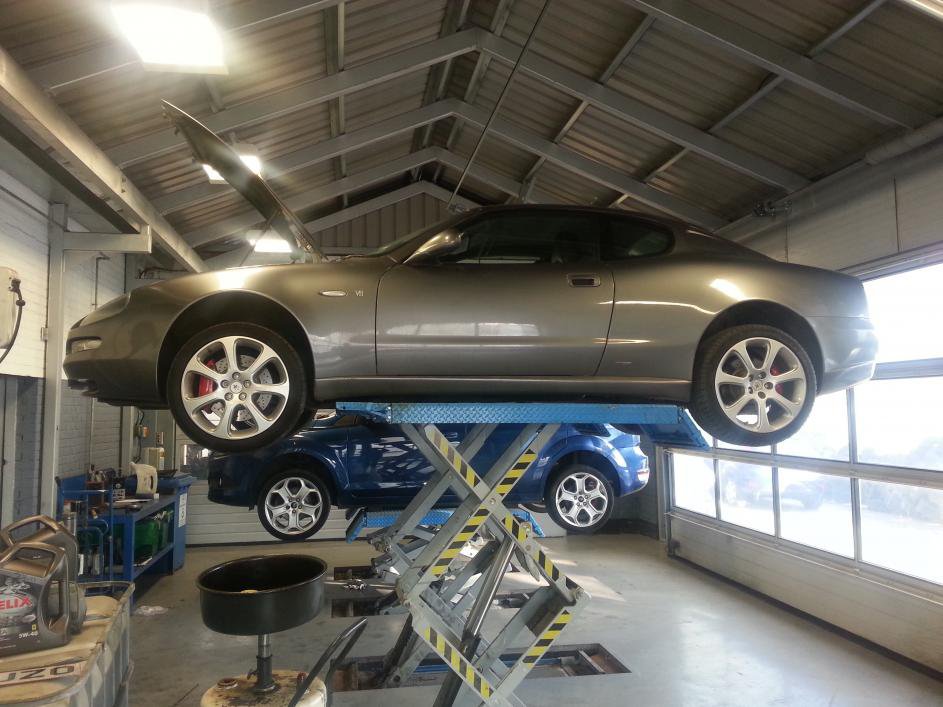
Next was the oil change another straight forward job but to give the best access I thought I would take it into work and put it on a "proper" ramp, also helpful to have a couple of Oil catch tanks to be able to position beneath it.
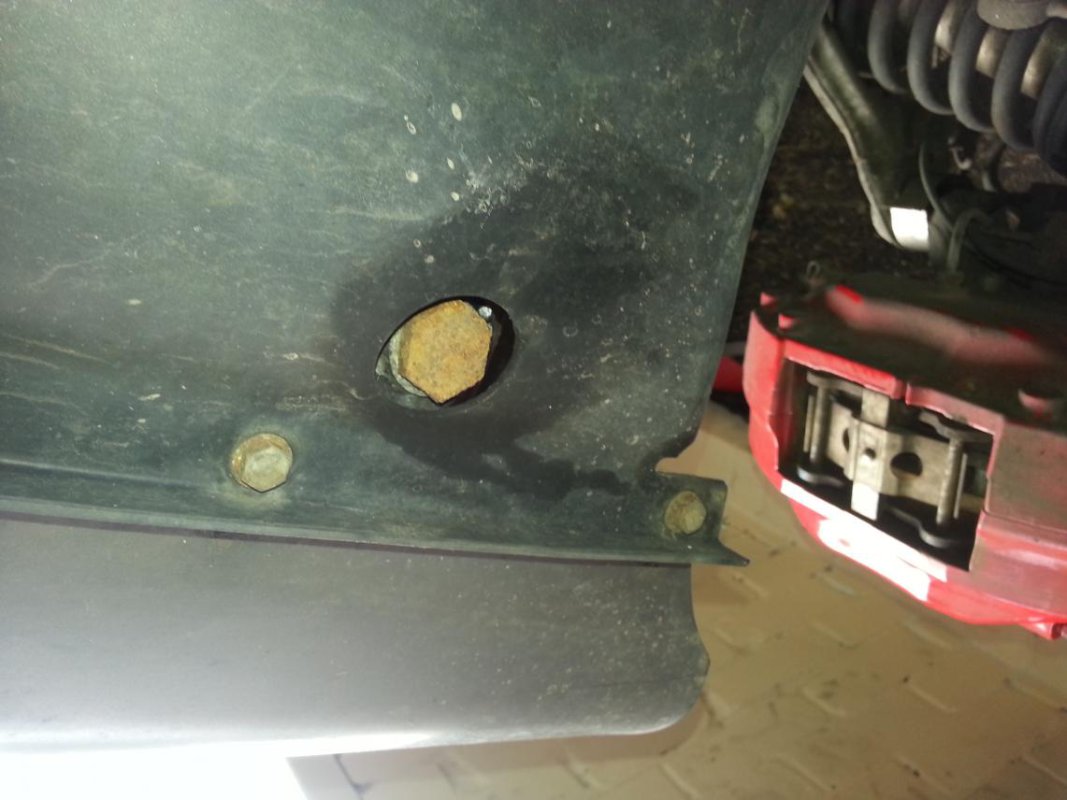
I had already sprayed both the sump nut and the oil tank drain with penetrating oil so both came out quiet easily, the oil tank should have a rubber grommit cover which is missing therefore it has rusted a fair bit. The sump picture will not upload for some reason but it is very easy to locate in the middle front of the engine. so once both are open and the oil is flowing simply remove the filter and wait for all three to drain.
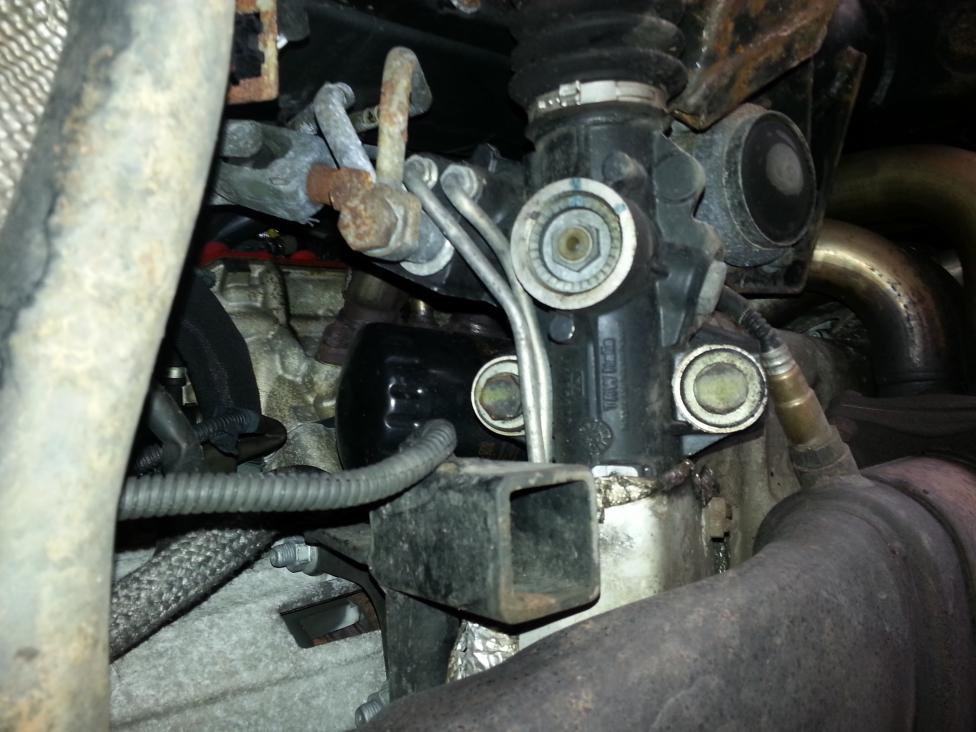
Once drained I filled with the Shell recommened oil then ran up to temp before checking the dipstick and topping up to the required level. I wanted to get some more pictures of this but was very busy in work so did not have much time.
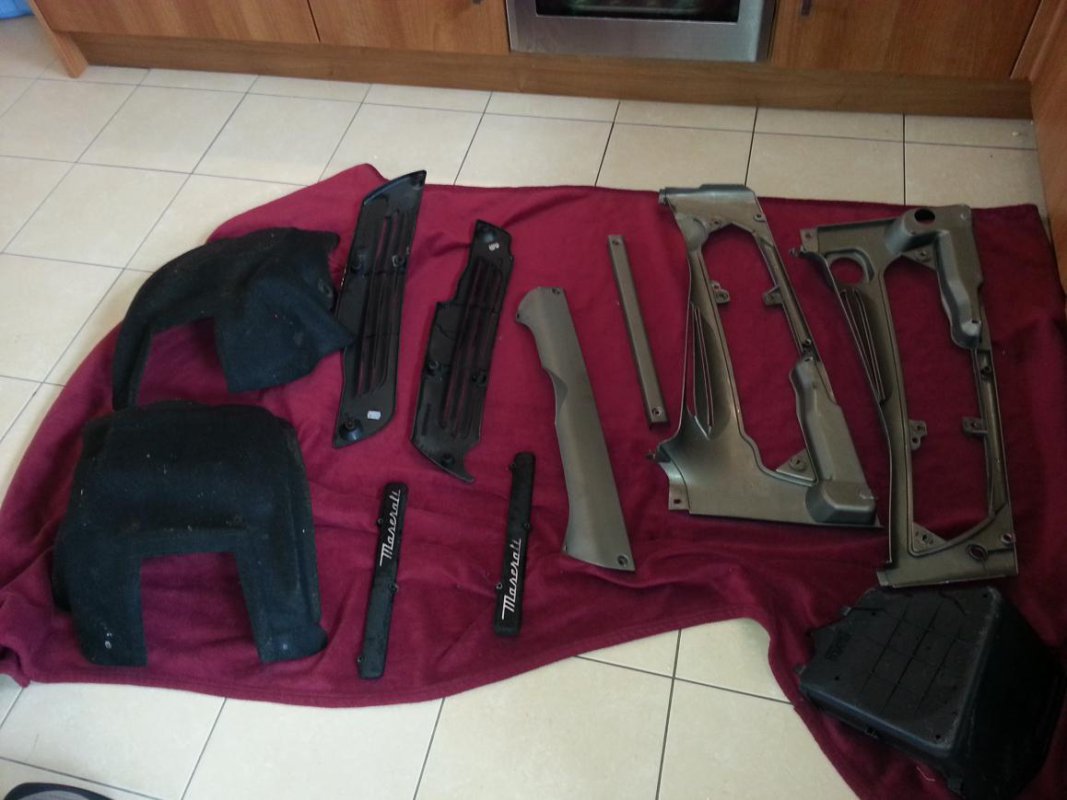
Once I got her home operation clean up started. first I stripped everything I needed to clean.
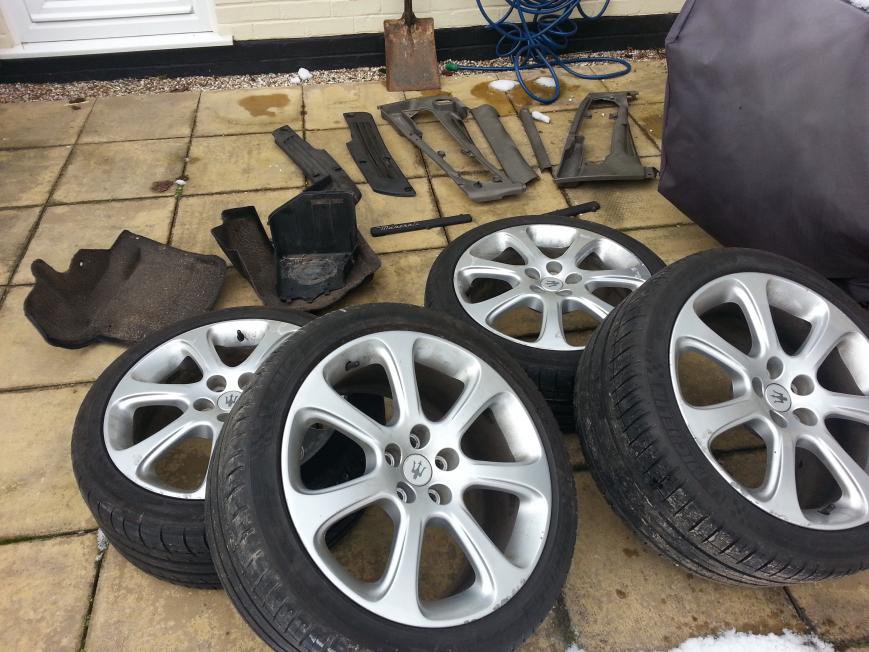
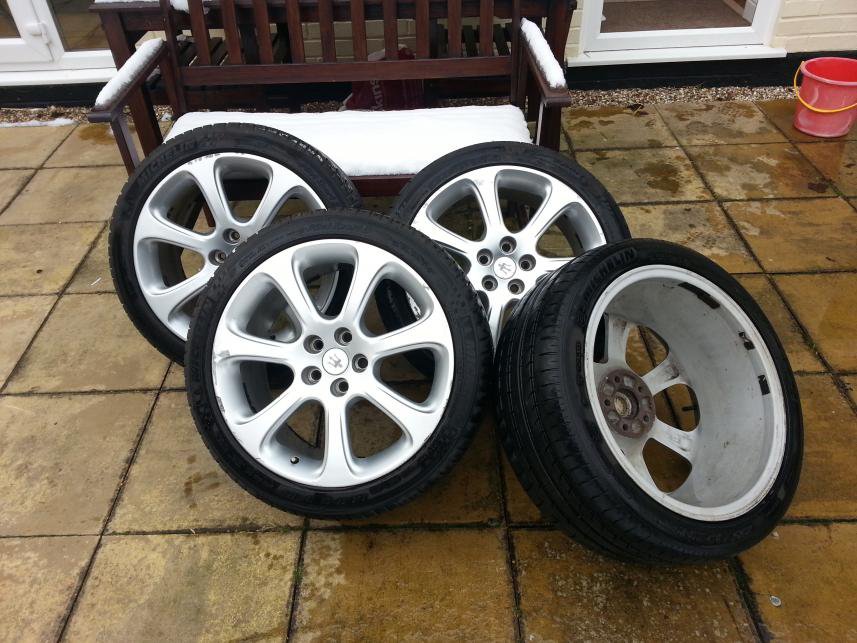
Wheels are in pretty bad condition so after being cleaned they are off to be re-furbed
I used de-grease on everything and lots of water and elbow grease. all the plastics come up really well as did the scuffed wheels
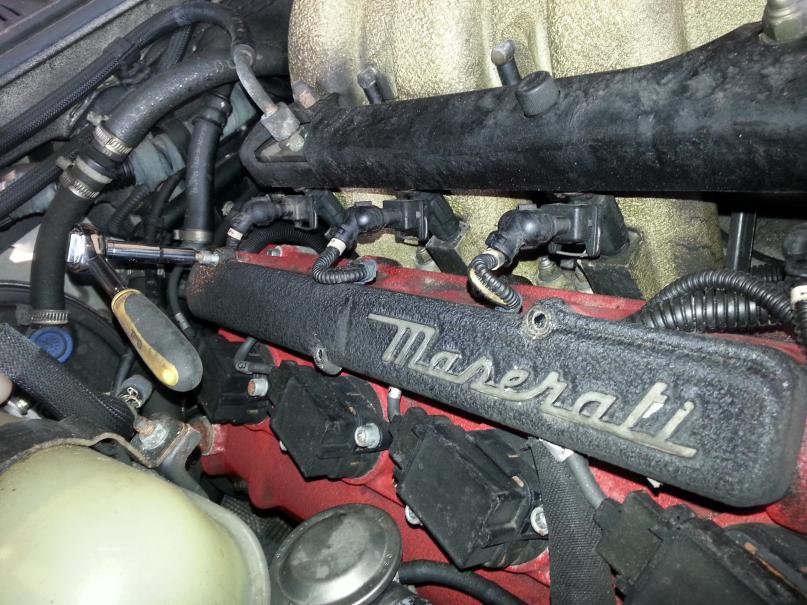
Tonight I started the engine bay, with all the plastics off it was looking very dirty.
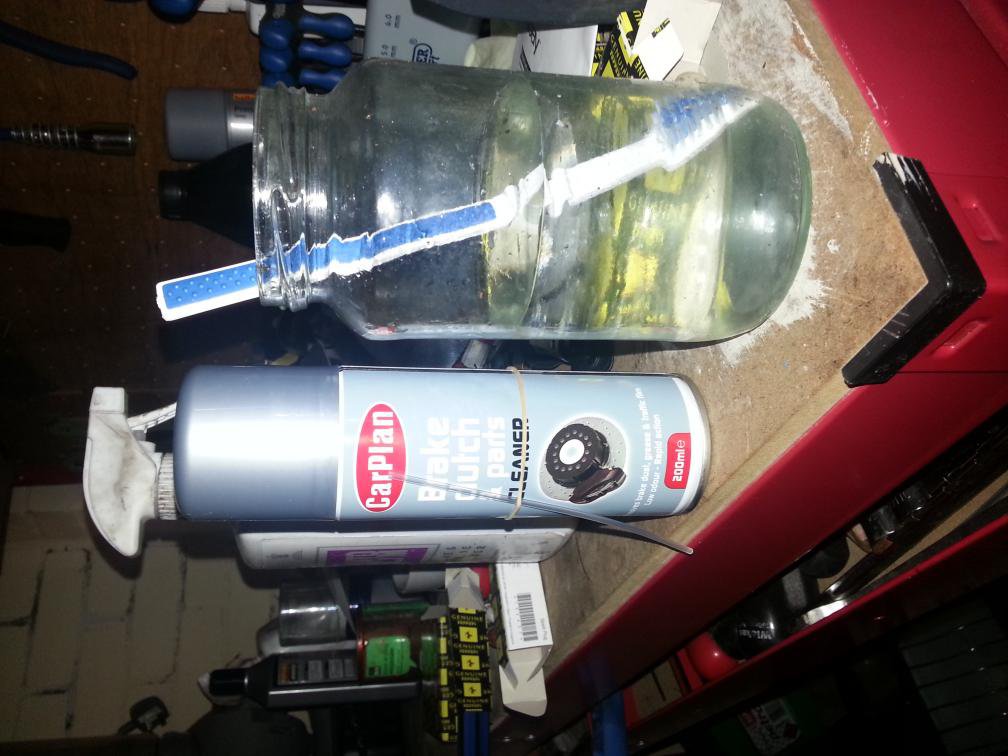
I decided to use brake and parts cleaner as it would require less water around the engine bay, not used it before so fingers crossed, a couple of before pictures
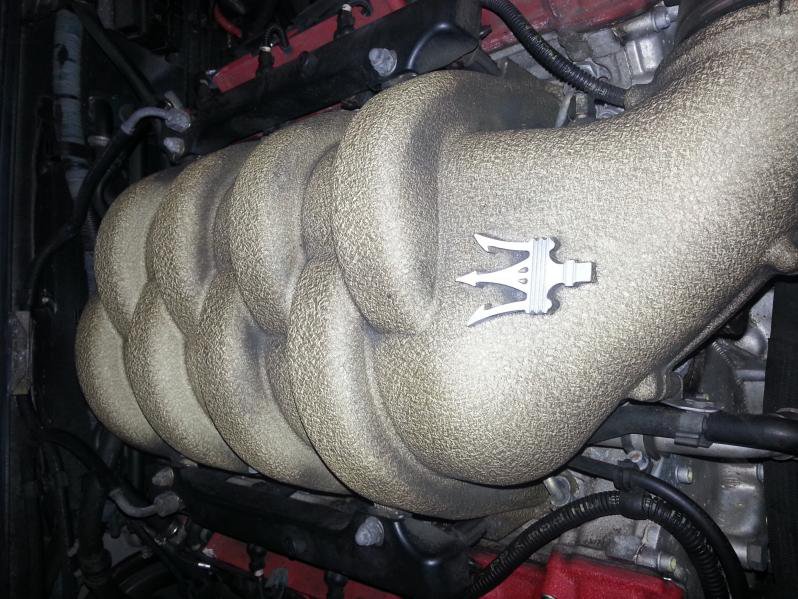
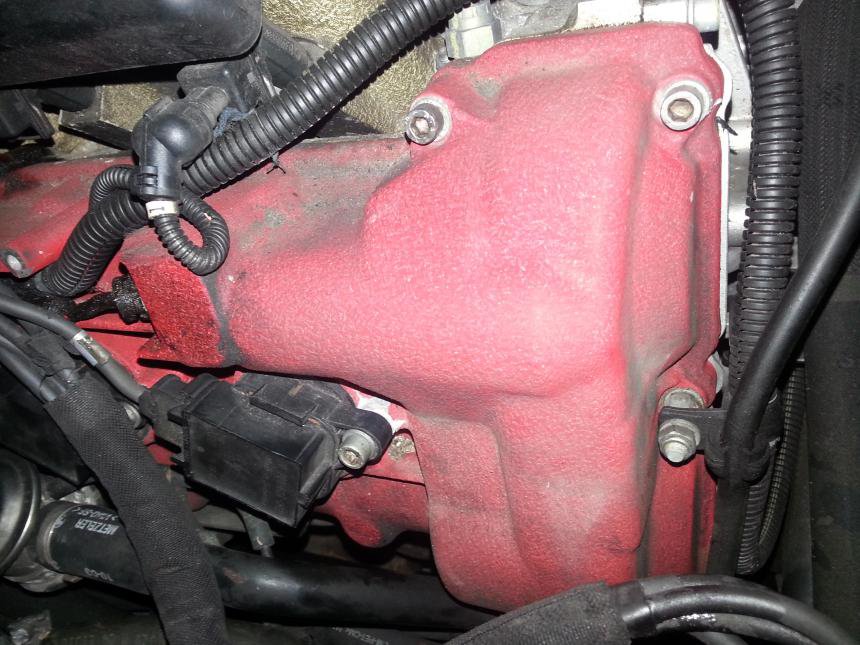
Then after, the cleaner worked really well and has cleaned the engine bay to a satisfactory standard
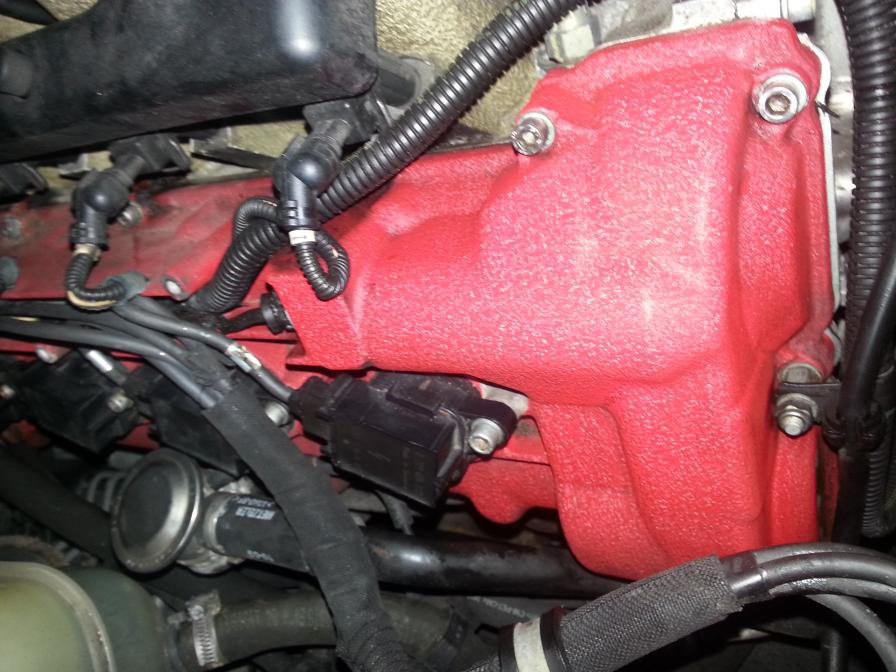
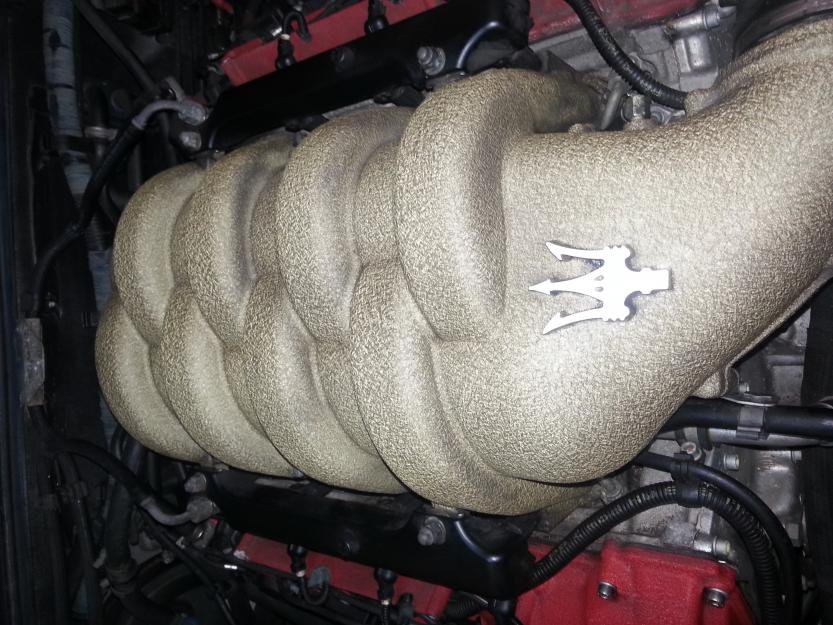
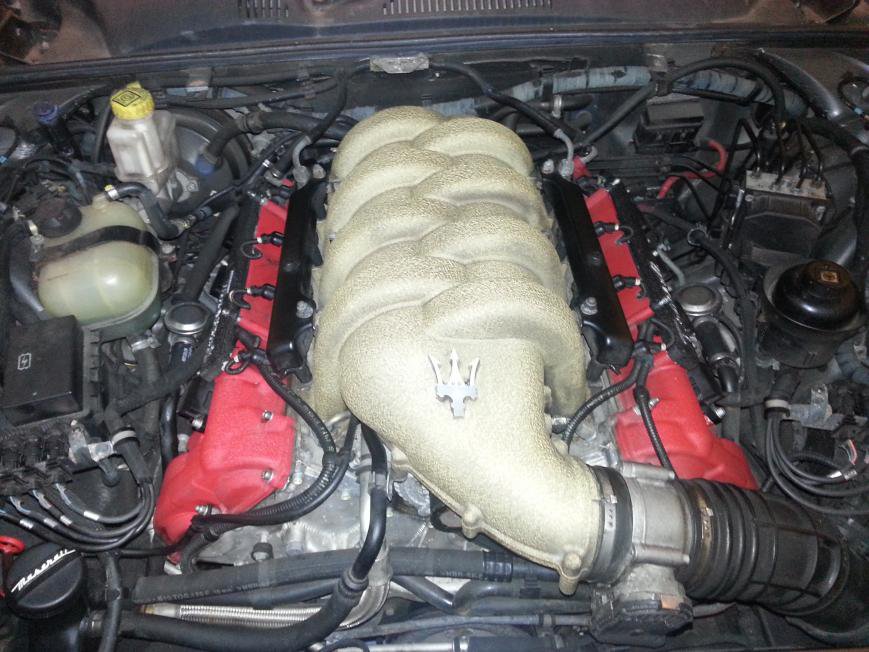
Then finally all back together again, really pleased with the result it was looking a little sad under there
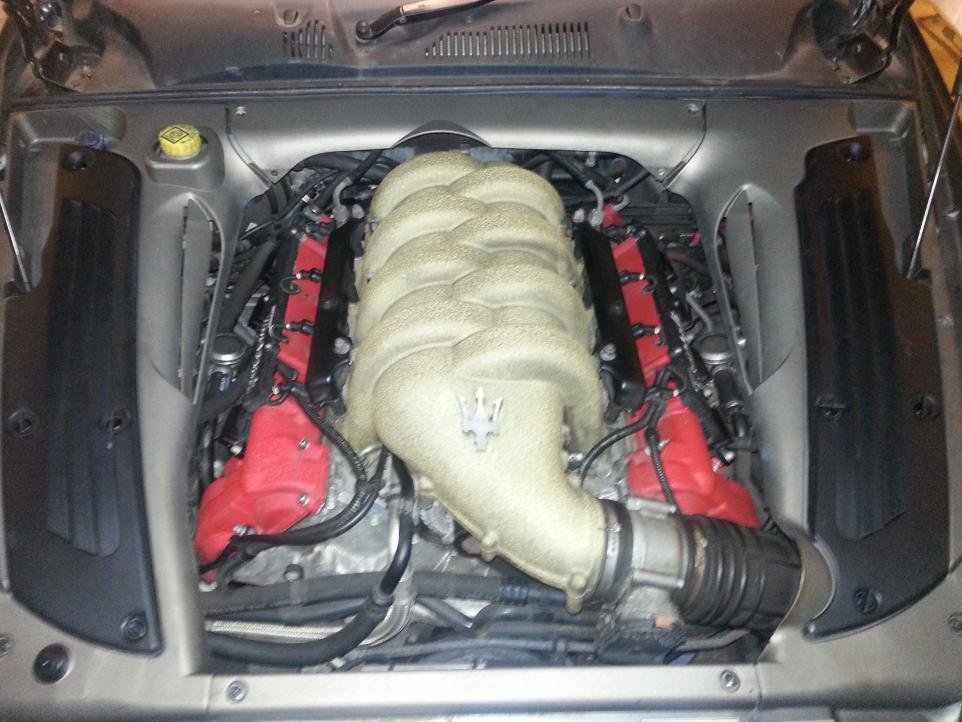
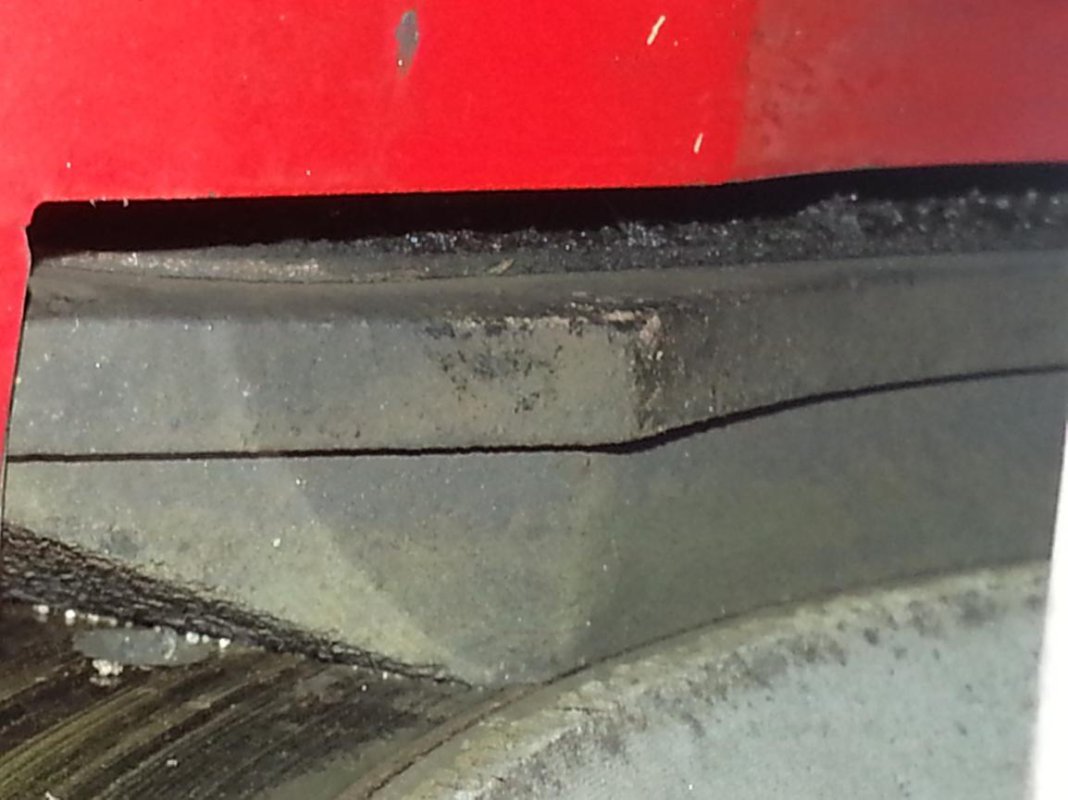
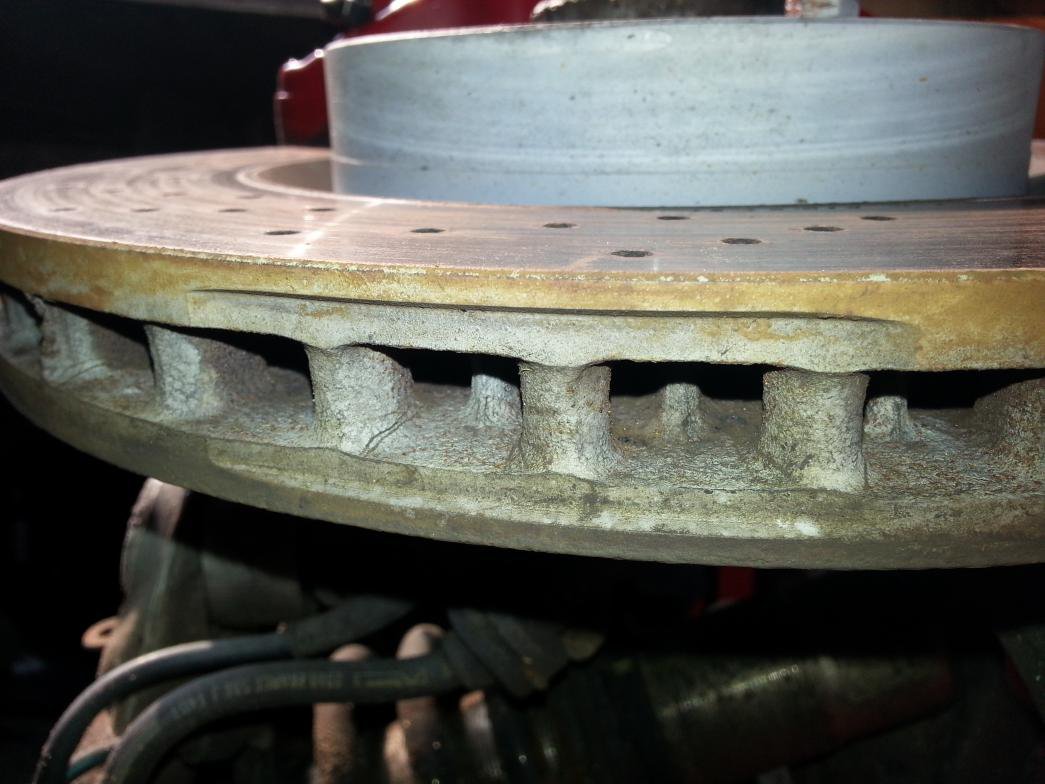
While the car had its wheels off and was up in the air I had a chance to have a good inspection first the brakes
all the discs and pads are in fantastic condition having been changed around 20000 miles ago, plenty of life left in all the pads and discs
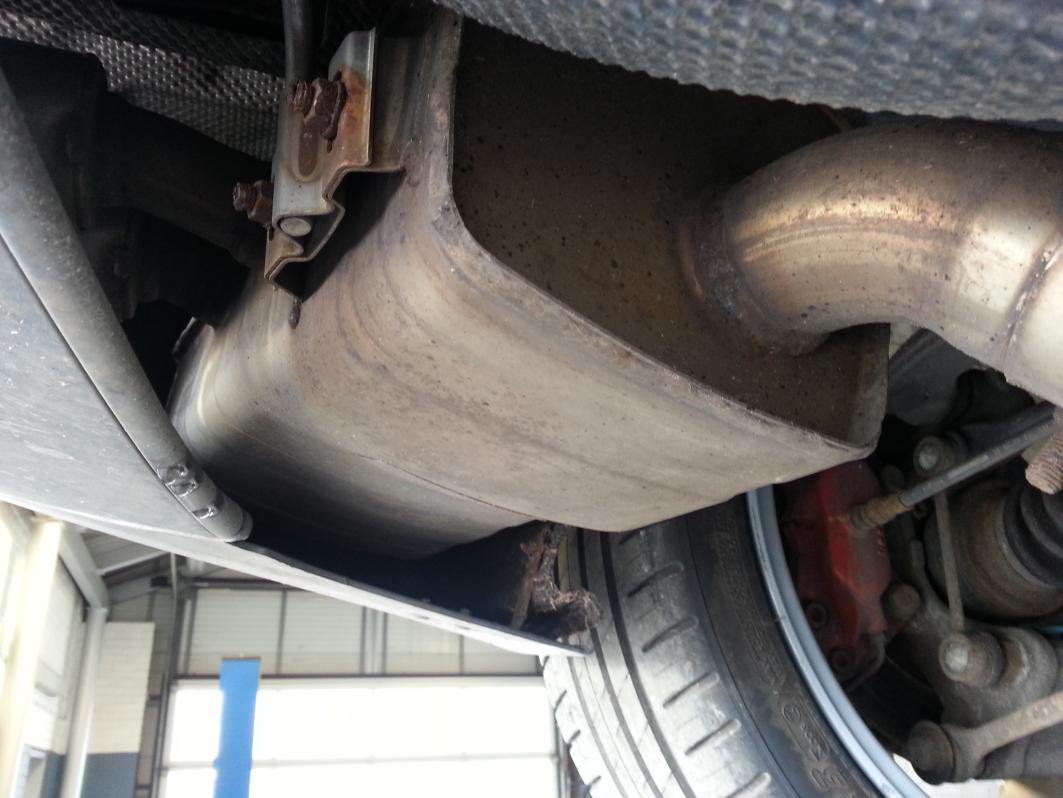
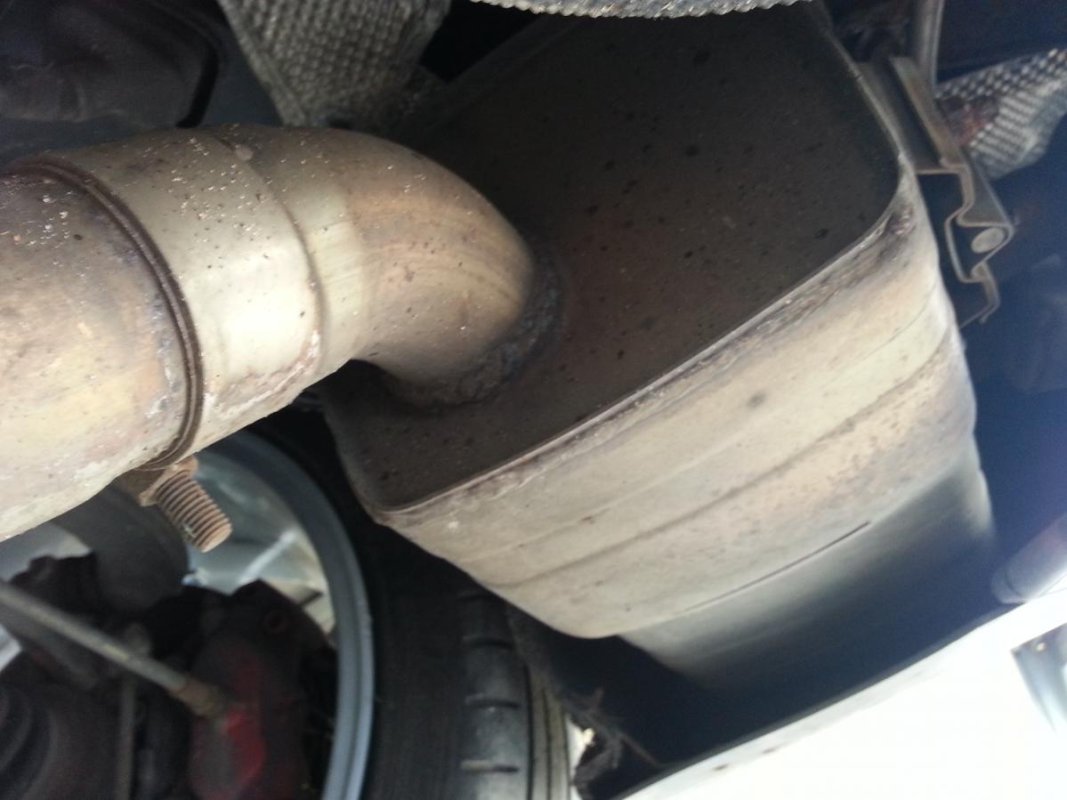
Then the exhaust, both the back boxes are in good condition.
Next jobs are to have the handbrake shoes re done as it does not hold very well, then I will be replacing the brake fluid as the brakes seem quiet spongy so I will need to find the correct fluid and get it all changed.
Last thing I had done last time was to change the Air filter and strip the engine bay down ready for the plugs to be changed. The Spark plugs are a nice easy affair simply undo the sensors on top of the plug with a small hex socket and and pull out one at a time replacing the plugs as you go, I used the very helpful guide on here for guidance and so I will not go over old ground, non of the plugs are hard to get too so nothing exciting really to report!!

Anyway old ones looked about fit for changing so nice new ones have been put in their place, same NGK ones that came out went in.
Next was the oil change another straight forward job but to give the best access I thought I would take it into work and put it on a "proper" ramp, also helpful to have a couple of Oil catch tanks to be able to position beneath it.

I had already sprayed both the sump nut and the oil tank drain with penetrating oil so both came out quiet easily, the oil tank should have a rubber grommit cover which is missing therefore it has rusted a fair bit. The sump picture will not upload for some reason but it is very easy to locate in the middle front of the engine. so once both are open and the oil is flowing simply remove the filter and wait for all three to drain.


Once drained I filled with the Shell recommened oil then ran up to temp before checking the dipstick and topping up to the required level. I wanted to get some more pictures of this but was very busy in work so did not have much time.
Once I got her home operation clean up started. first I stripped everything I needed to clean.


Wheels are in pretty bad condition so after being cleaned they are off to be re-furbed
I used de-grease on everything and lots of water and elbow grease. all the plastics come up really well as did the scuffed wheels


Tonight I started the engine bay, with all the plastics off it was looking very dirty.
I decided to use brake and parts cleaner as it would require less water around the engine bay, not used it before so fingers crossed, a couple of before pictures


Then after, the cleaner worked really well and has cleaned the engine bay to a satisfactory standard


Then finally all back together again, really pleased with the result it was looking a little sad under there

While the car had its wheels off and was up in the air I had a chance to have a good inspection first the brakes
all the discs and pads are in fantastic condition having been changed around 20000 miles ago, plenty of life left in all the pads and discs


Then the exhaust, both the back boxes are in good condition.


Next jobs are to have the handbrake shoes re done as it does not hold very well, then I will be replacing the brake fluid as the brakes seem quiet spongy so I will need to find the correct fluid and get it all changed.
Last edited:
tonym3
Junior Member
- Messages
- 225
To be fair it only took about 1 hour to get that finish, I could have taken much longer but wanted to get it all back together, just a case of spraying the cleaner then brushing with a damp toothbrush and wipeing off with a cloth.
C you are welcome to the left over cleaner and toothbrush when ive finished!!
C you are welcome to the left over cleaner and toothbrush when ive finished!!


