Suspect Alternator Failed

ChrisH

Junior Member
Messages
89
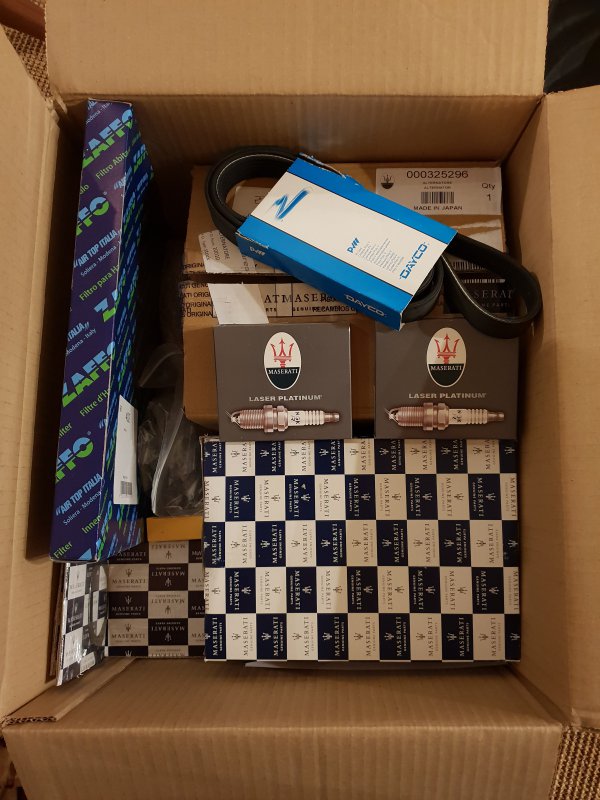
So after a hectic autumn of work allowing precisely zero time to address this... I have ordered the parts today and hope to fix it this weekend fingers crossed!

To resurrect a little... any pearls of wisdom on changing the aux belt pulleys and tensioner? I have ordered these as well as I would rather just know they're good. It looks a tad tight just glancing down there behind the rad... I'm not going to have to do anything silly and strip the front end am I? Last car I did this on was an A6 4.2 and that needed the whole bumper off and subframe / carrier slid forward to get access.

Any insights appreciated... looking forward to having it alive again so that it can be fired up on the first crisp dry morning!

Cheers

Chris
 

2b1ask1

Special case
Messages
20,304
Personally I’d have the rad fan pack out of the way (unbolts off the radiator but be prepared for snapped bolts!), it gives you so much more room to work.
 

TimR

Member
Messages
2,731
I pulled the secondary air pipes clear off the car, along with the MAF/intake gubbins, and found this adequate...
The pipes come off way easier than they go back on though....:)
 

ChrisH

Junior Member
Messages
89
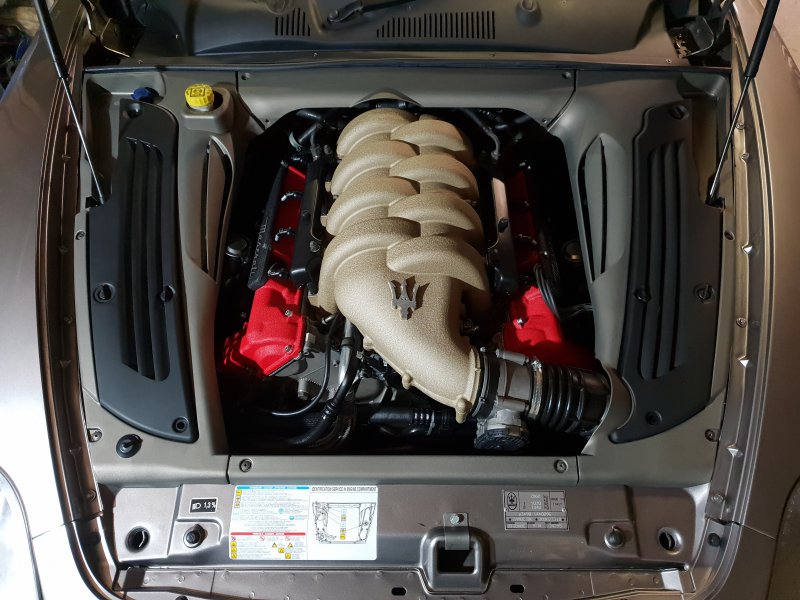
Well step 1 proved quite easy...

20190104_183959.jpg

...but I guess I've opened a box before so I had better not get carried away yet :) :D :confused:
 

ChrisH

Junior Member
Messages
89
Sorted... quick report for the records...

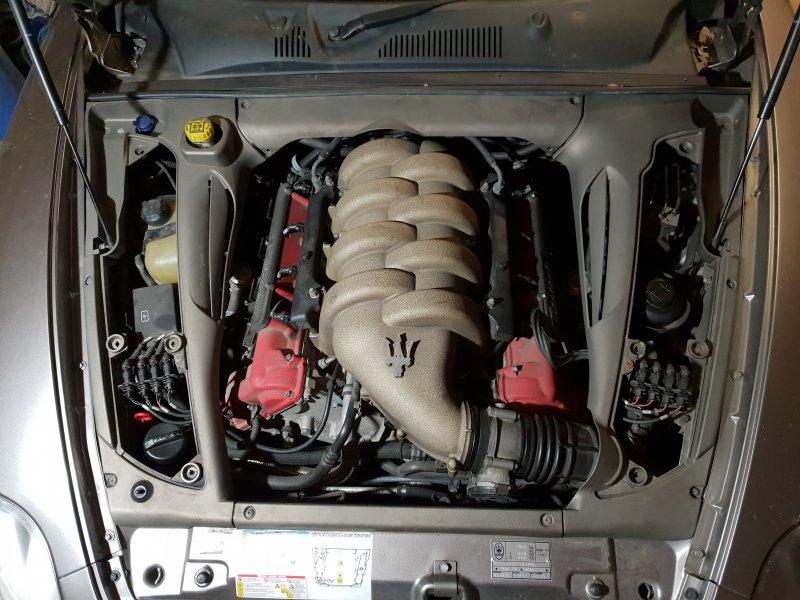
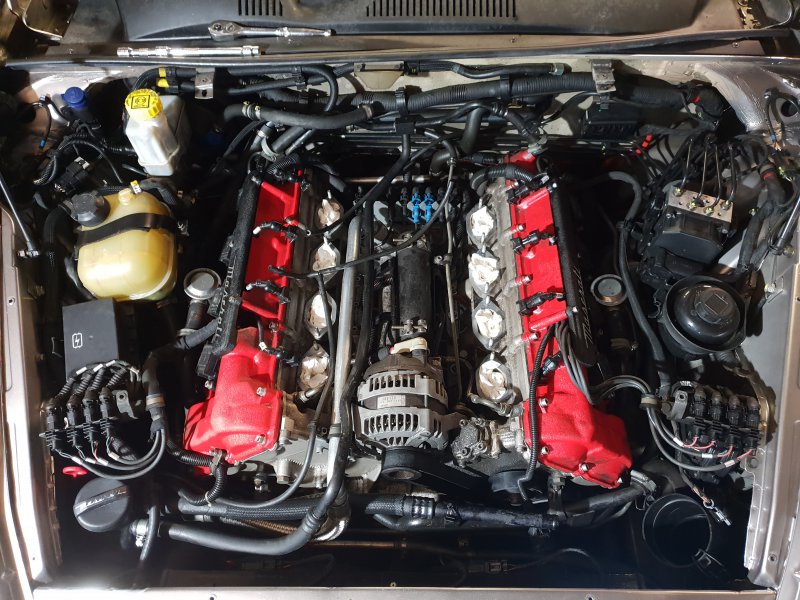
Took my time because I spent as much time cleaning as I did fixing... the engine was pretty mucky from purchase and has been on the to do list since day 1... this is what I started with:

20190105_170029.jpg

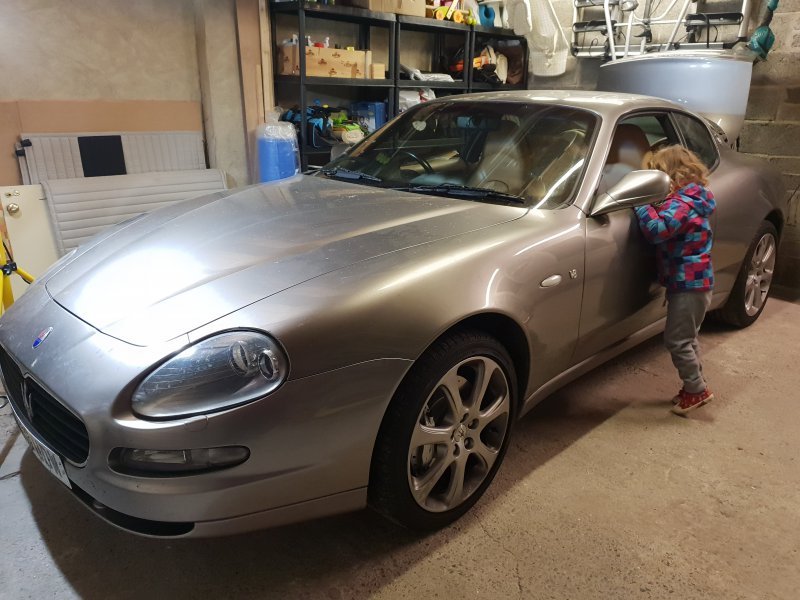
Luckily I had a little helper to make light work of it:

20190105_170127.jpg

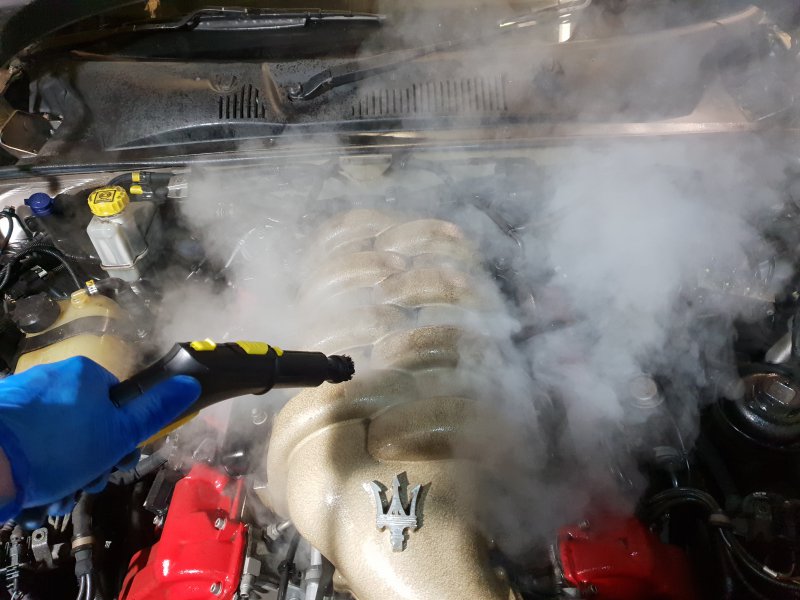
I used Autoglym Engine and Machine Part Cleaner with a steam cleaner... worked really well and rapidly shifted the gunk without spraying too much water around. Quite addictive actually... I can see myself going back in for a real 'detail' phase at some stage.

20190106_114606.jpg

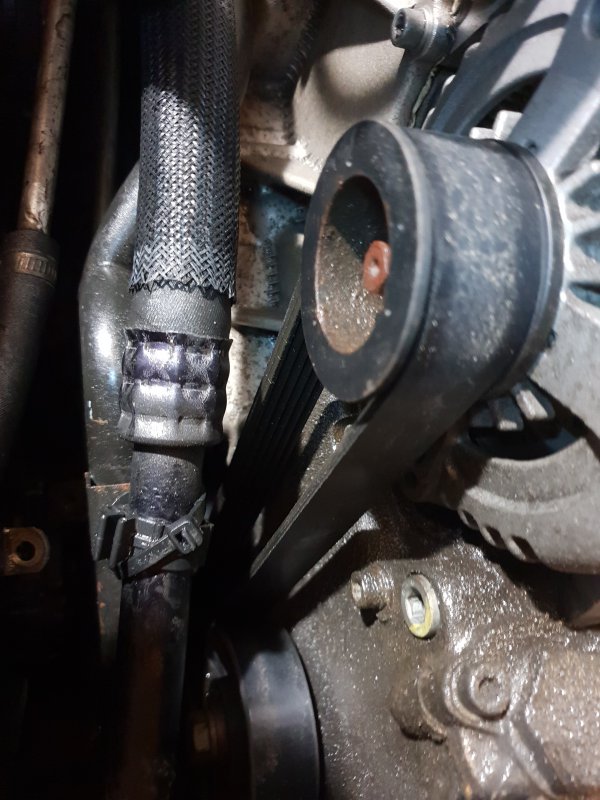
Things came apart really easily... I had always intended to change belt and pulleys at the same time which was good because the belt was pretty tired... lots of cracking on the grooved side. There was also perhaps signs on leakage in the past from one of the rocker covers... but now it's clean I'll be able to see if that's still current or something from the past.

20190106_125503.jpg

20190106_130734.jpg

I managed to change both pulleys without removing much working just from the top... I only really loosened a few pipes... but I did need a range of creative socket extensions and a crows foot spanner at one stage... pretty generous though for a car with a big engine.

New parts went on pretty easy... you really need to crank the new tensioner but pretty easy by using the belt to hold initial tension... it then slipped over a good'en.

20190106_172522.jpg

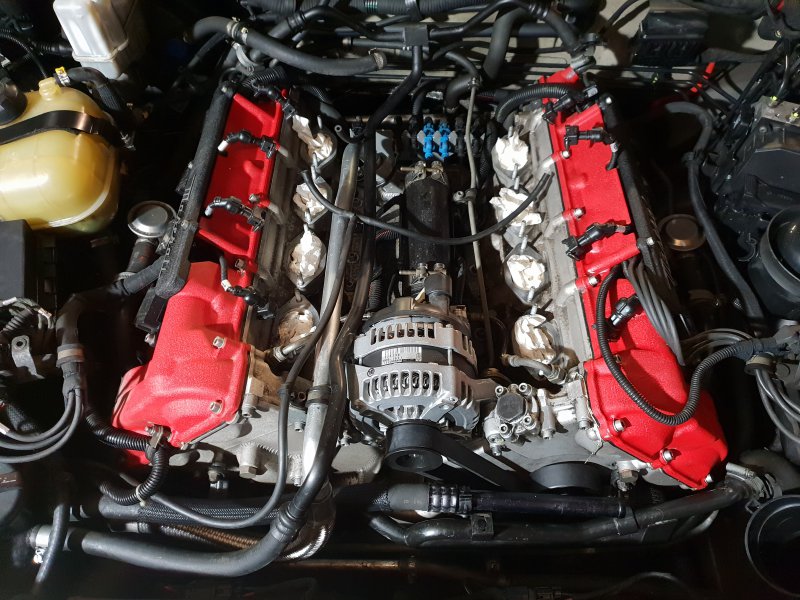
And here she is back together with a semi decent cleaning effort finished... much better!

20190107_134144.jpg

Got a few clips on order to replace the odd missing one from the trim covers but otherwise it's pretty good under there now. Basic service items are next up... brakes I did last year so are all new... clutch was done 1000 miles before purchase... so hopefully it's heading towards being a sorted 4200.

When I get a chance to get a proper external clean done I'll see if I can get some nice pics... and hopefully will make it to an event or two this year. Gutted I missed the track day last year but haven't had a chance to tackle this until now.

Roll on spring!
 

philw696

Member
Messages
25,626
It's rewarding work to fettle your own as I found a few years ago doing the oil/water pump.