George1964
New Member
- Messages
- 8
HiHi Paul,
That's good news. Any pics of your hard work?
Andy.
Sure. I’ll take a couple at the weekend and upload. Paul


HiHi Paul,
That's good news. Any pics of your hard work?
Andy.
There we go.Hi
Sure. I’ll take a couple at the weekend and upload. Paul
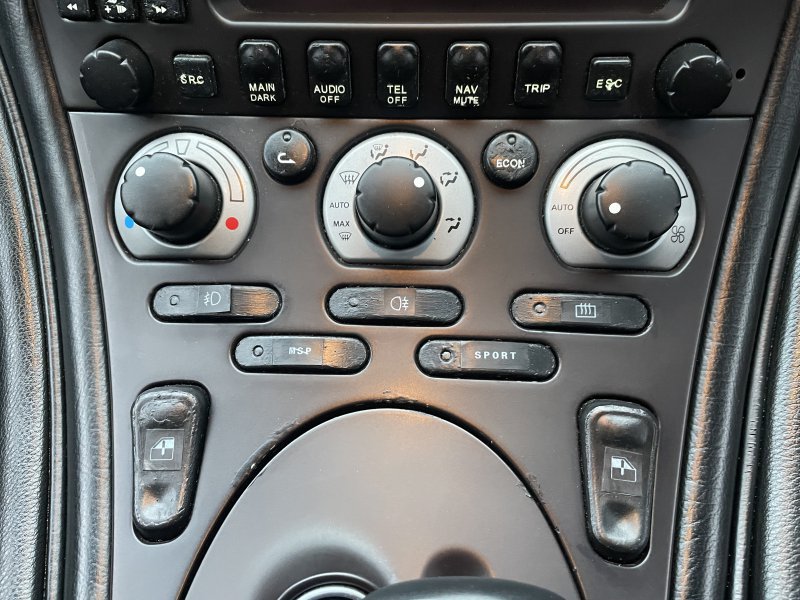
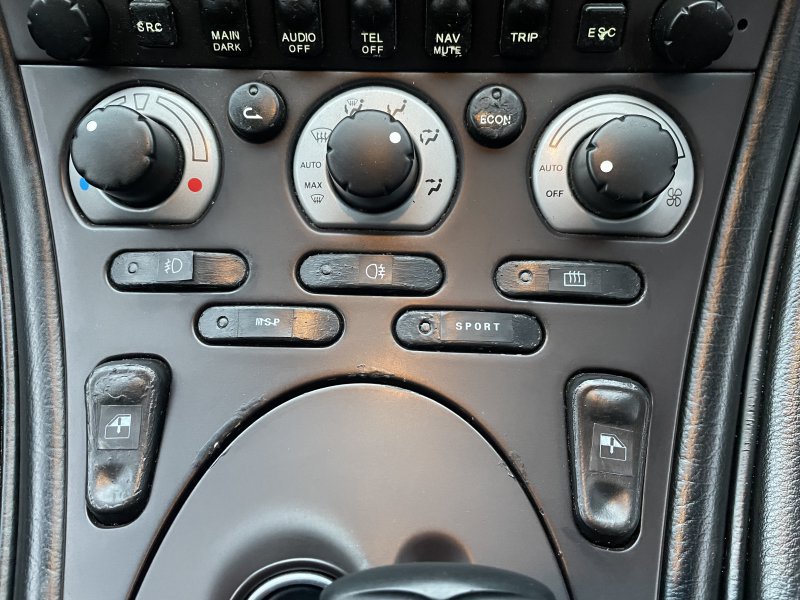
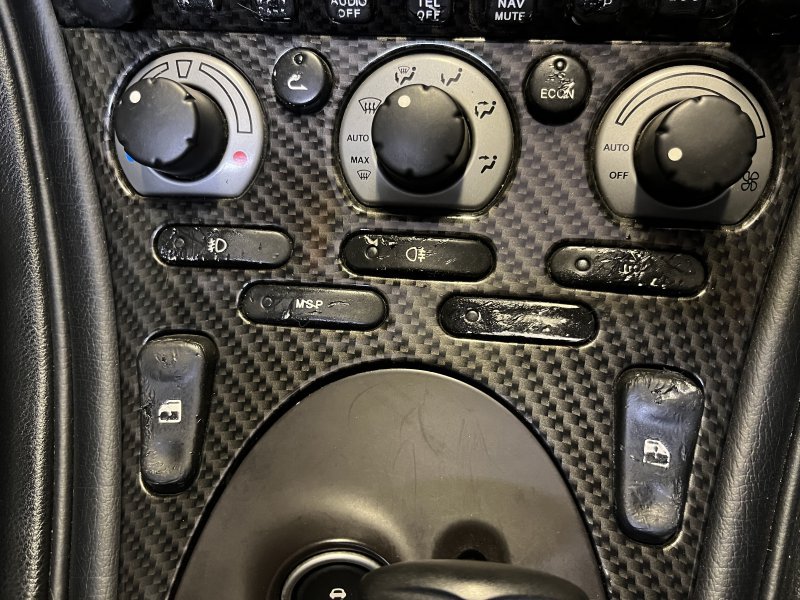
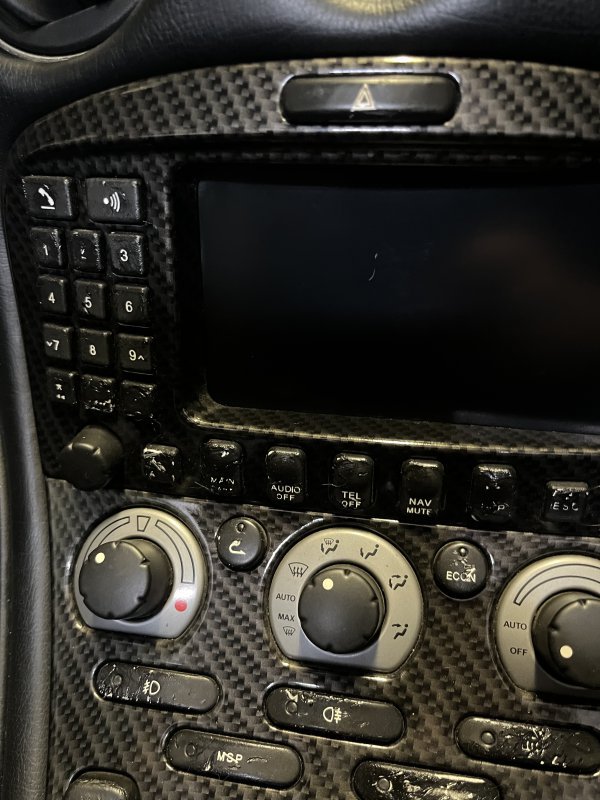
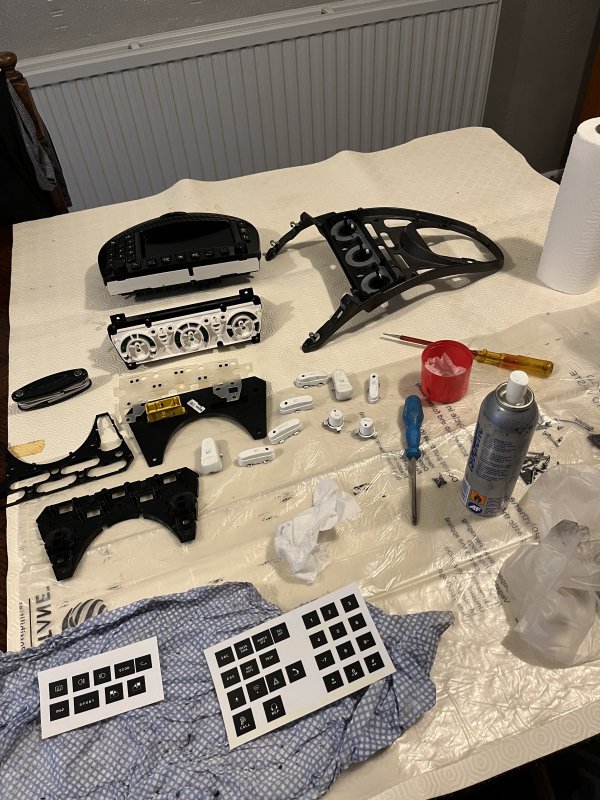
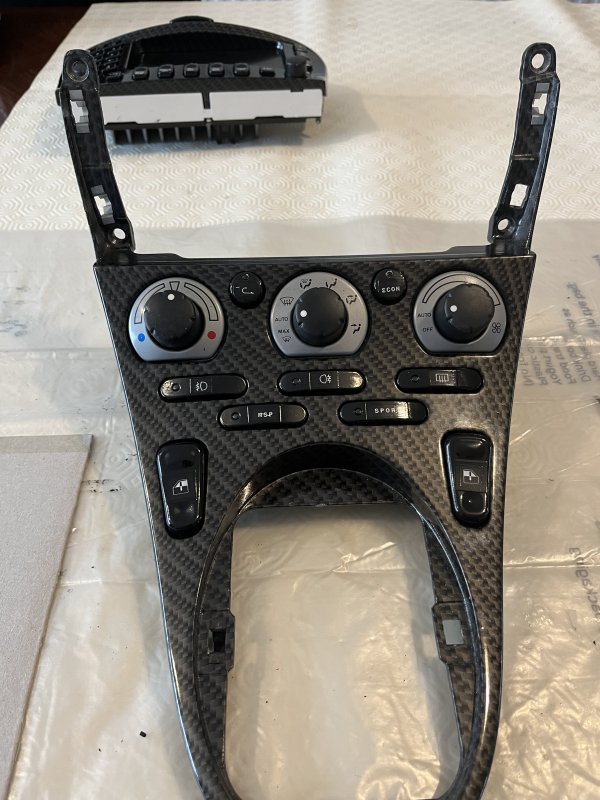
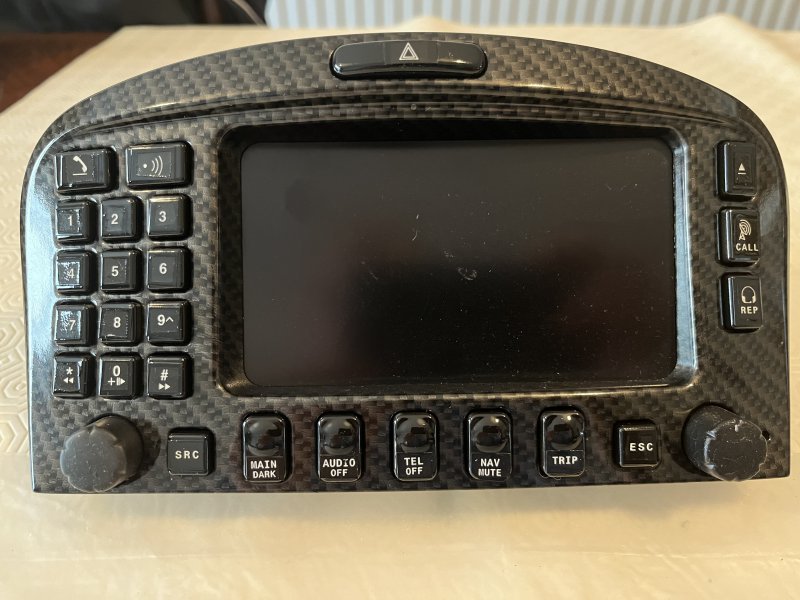
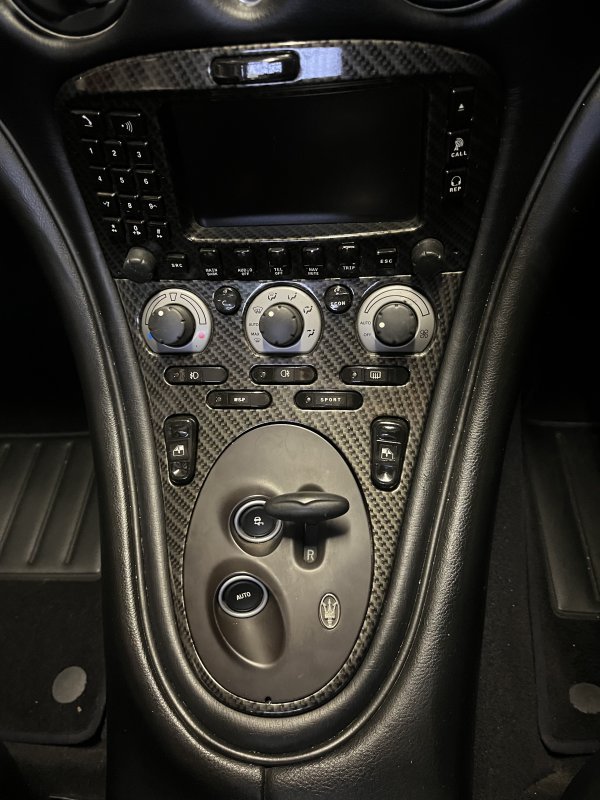
Don’t rub on the icons James, they’ll rub off.Reviving this thread again, so I'm pleased with the first try outs I did on the cowls and glove box lock. Now contemplating on doing the aircon control. Few questions:
- When you guys attack the sticky stuff with whipes / alcohol and the like, is the sticky stuff gone before the icons are faded/gone?
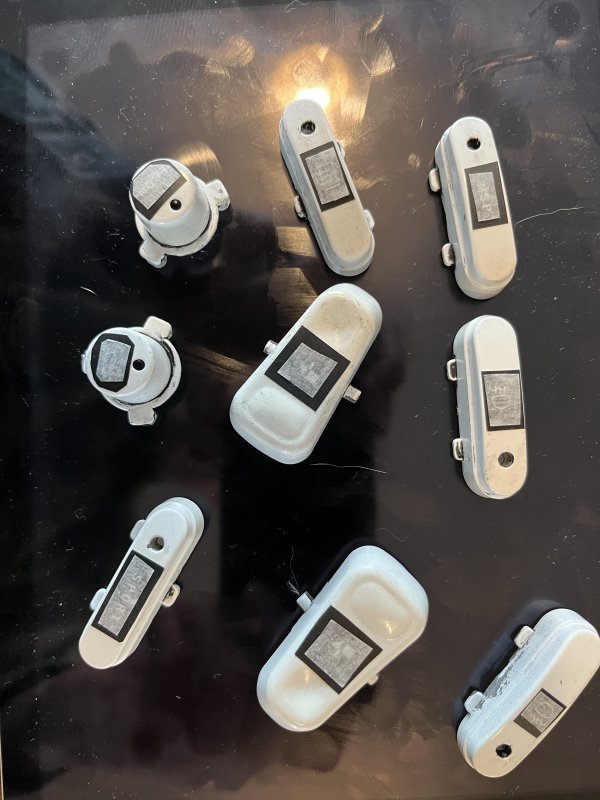
- Has anybody ever attempted to take the 3 dials / knobs / rotating switches out of the aircon control unit? Would be easier to spray paint if they can come off and in one piece so it can be put back together in a normal way.
When you guys attack the sticky stuff with whipes / alcohol and the like, is the sticky stuff gone before the icons are faded/gone?
The idea was to coat them with a transparent 2K after removing the stickiness. Works well on the all black parts, managed to get it off before rubbing down to bare plastic. But if chances are significant I'm ending up with white buttons, may just have to send them out to have them recoated and laser engraved/etched.The sticky is the black breaking down, if you clean it off, you're likely to end up with white button
The idea was to coat them with a transparent 2K after removing the stickiness. Works well on the all black parts, managed to get it off before rubbing down to bare plastic. But if chances are significant I'm ending up with white buttons, may just have to send them out to have them recoated and laser engraved/etched.
Excellent newsYep, still available. Just let me know when required.
Andy.
")
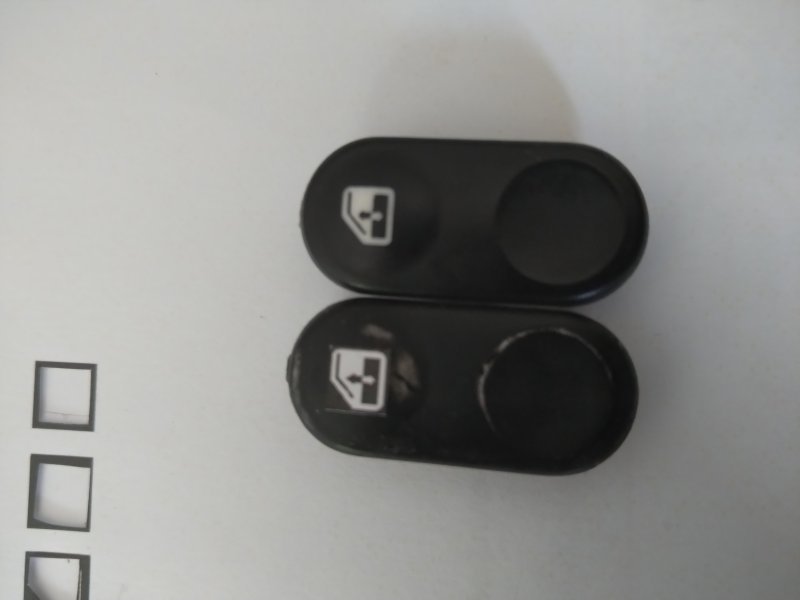
Mine are not that far gone, so it basically comes down to how far the softcoating has deteriorated and if there is still some good part left which can be overcoated.I haven't done the buttons yet, despite getting stickers from Andy a year ago, but some of my buttons are showing white through with normal wear and tear and the stickiness softening the black coating - so simply pressing my sticky window switches is enough to see some white!
Honestly, an internal part of me cannot justify spending 200+ euros to get 2 window switches painted. I accepted that a car like this is not easy and some parts thus expensive. But spending that amount on 2 switches the size of a thumb nail, which cost probably 2 GBP to manufacture in the first place, is still a bridge to far. Also in light of the other issues which need sorting and funding
.