Ashventini
Member
- Messages
- 161
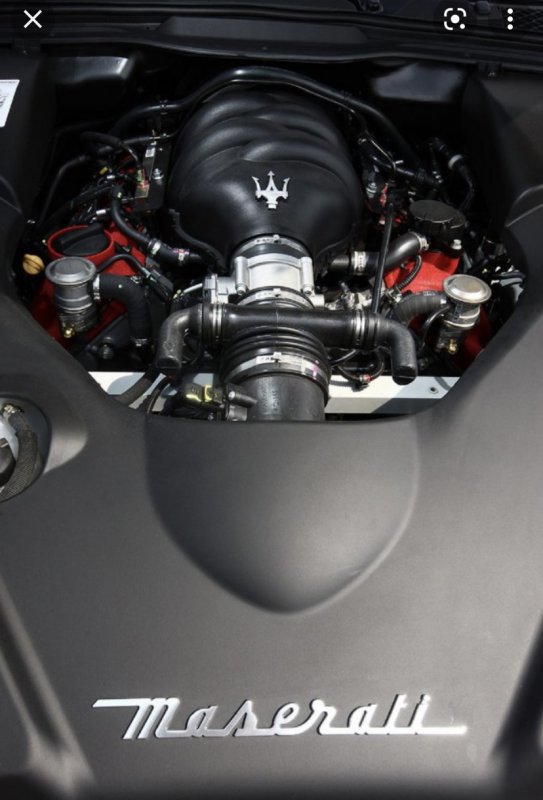
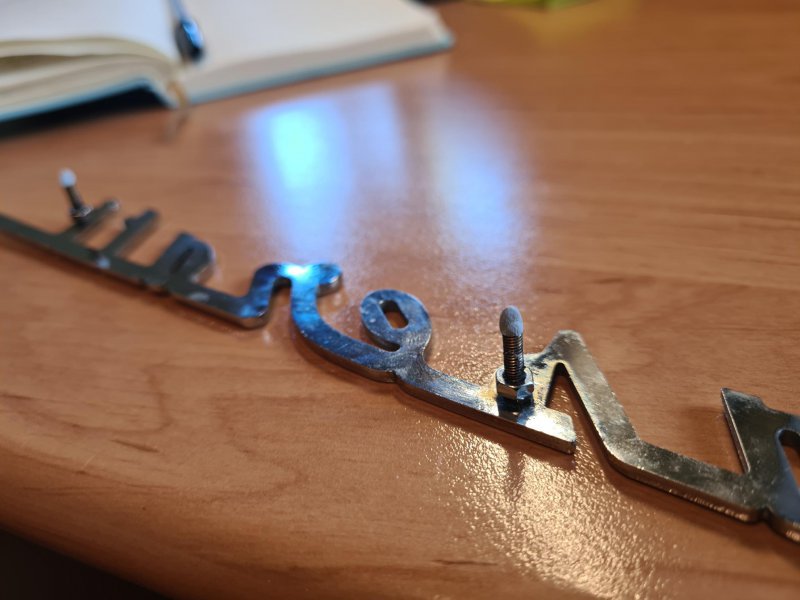
I thought of that, but the grill emblem wont fit in the centre section. Also the trident emblem is on the air intake on the top of the engine, so it wouldnt look right having 2 tridents "in line" in the engine bay IMHO. That why i went for the smaller rear 4200 badge. Ive seen it on other car pictures and liked it.Looks very good to me and as you say much better than the OEM finish.
I am not sure about the badge thought, possibly a grill emblem might be my choice.
Glad you like the finish.