aliquot
Junior Member
- Messages
- 299
Well the instructions that come with the Drive By Wire Enhancement Module are nice and comprehensive so I won’t reiterate them, however I did encounter a few differences, some of which I expect were down to it being a right hand drive car.
The FD instructions can be found here
http://www.formuladynamics.com/products/4200_dbwem/documentation/fd_dbw_install.htm
1. My first problem was locating the ECU, it is on the right hand side of the car, but bolted to the inside of the car above the bonnet release, a nice tight space to get into.
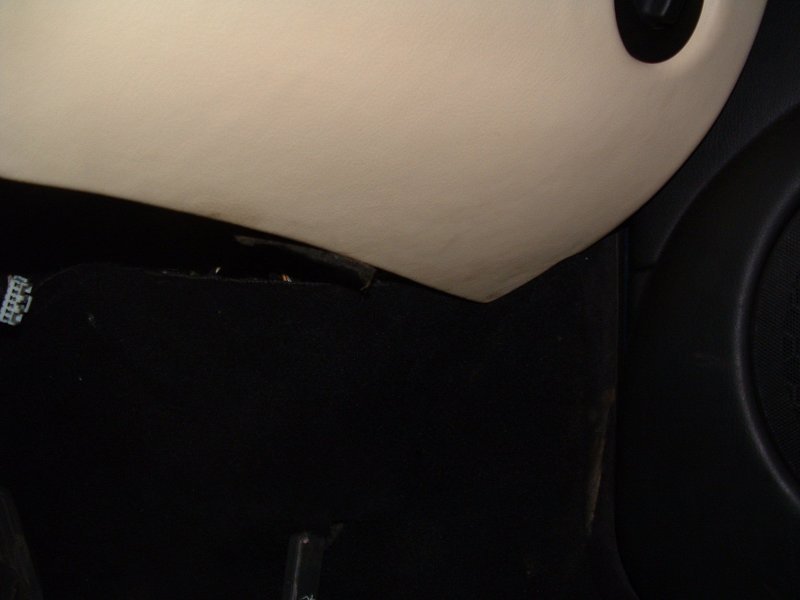
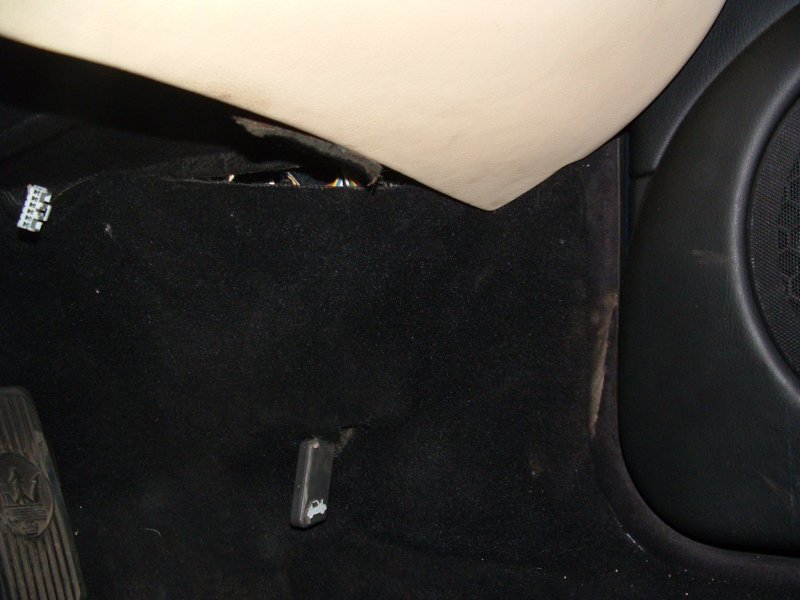
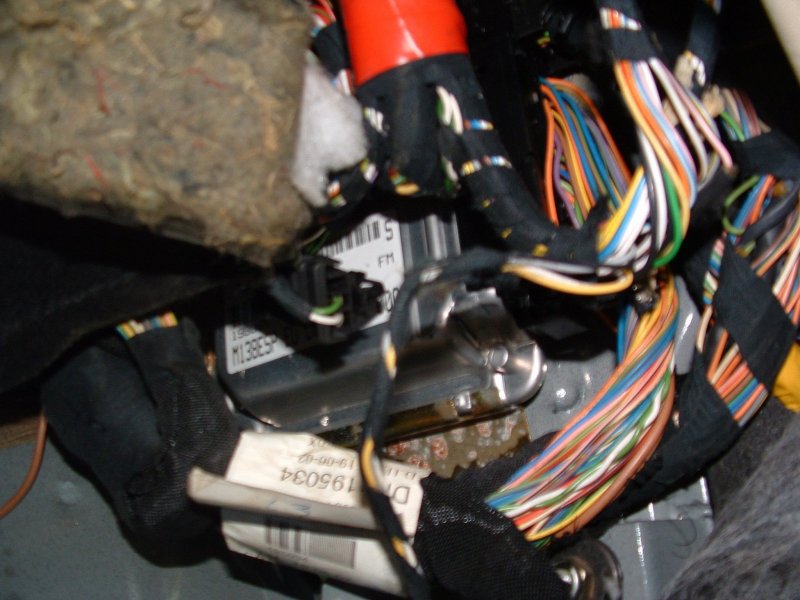
2. The instructions say to remove the connectors from the ECU, and then unbolt, I found the unbolting of the ECU unnecessary, and would have been rather tricky with its location (not much room up there. There is a clip on the bottom of the connector, that when pulled downwards (quite a long way) causes the connector plug to be removed really easily.
3. Once you have the connector free, take off some of the tape that is holding all the cables together, makes it easier to get to. (you can see above where I have removed some of the tape)
4. Below You can see the large connector (not the best photo), which is where all the work is done, as per the FD instructions.
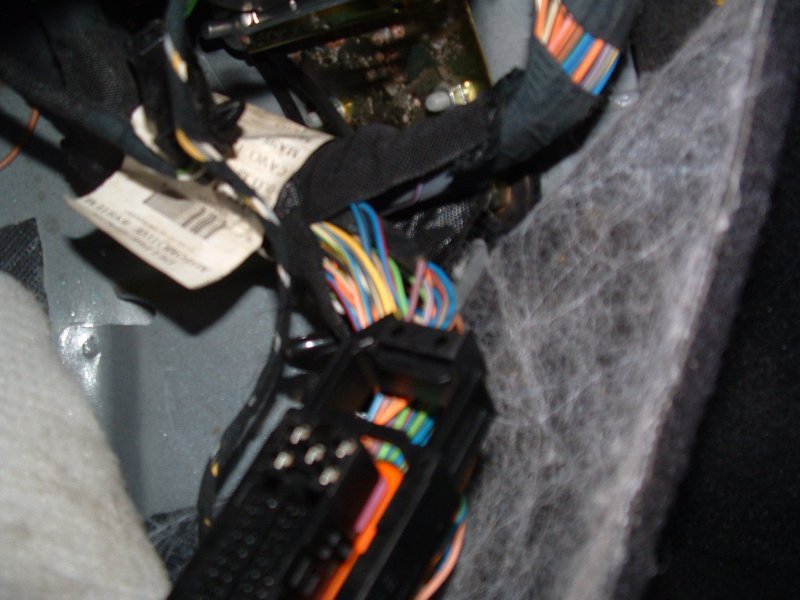
5. Once the connector has been released,, the cover can be removed to make cables and pins easier to locate
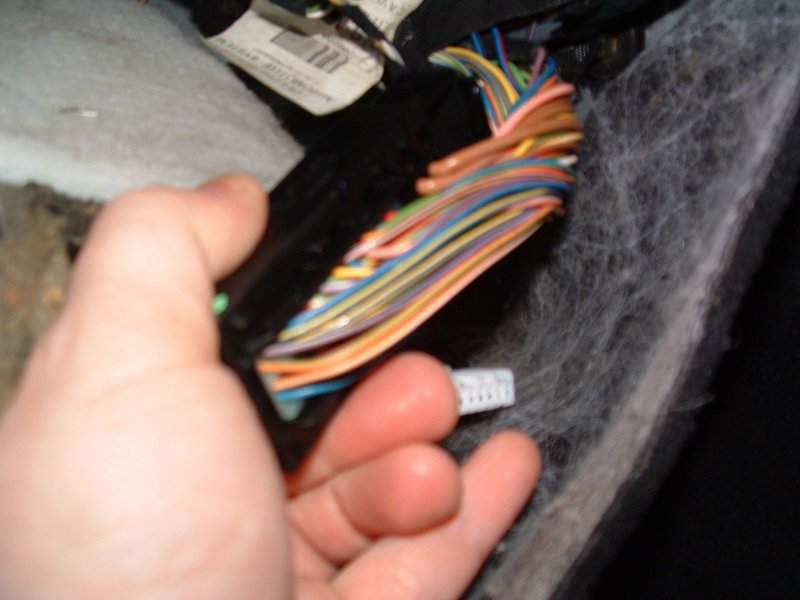
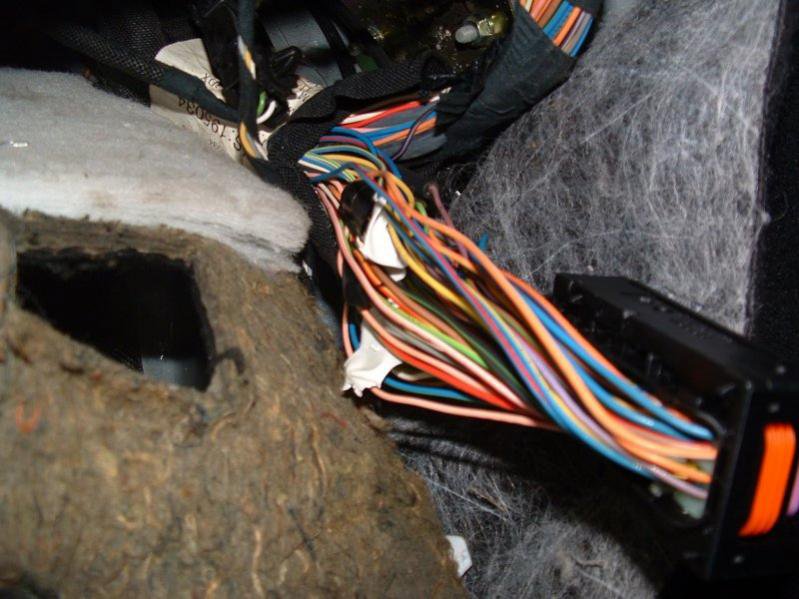
6. Now the fun begins, it’s a matter of locating all the cables required for the modification. I used two different coloured tape, one for taps, and one for splices so I did not keep loosing the cables as there are a lot in there, and its tricky to keep track. This took me a while to locate and double check I had the correct wires. On my car the White and Black wire, was more of a cream and grey, so always wise to double check the pins on the connector (about ½ hour)
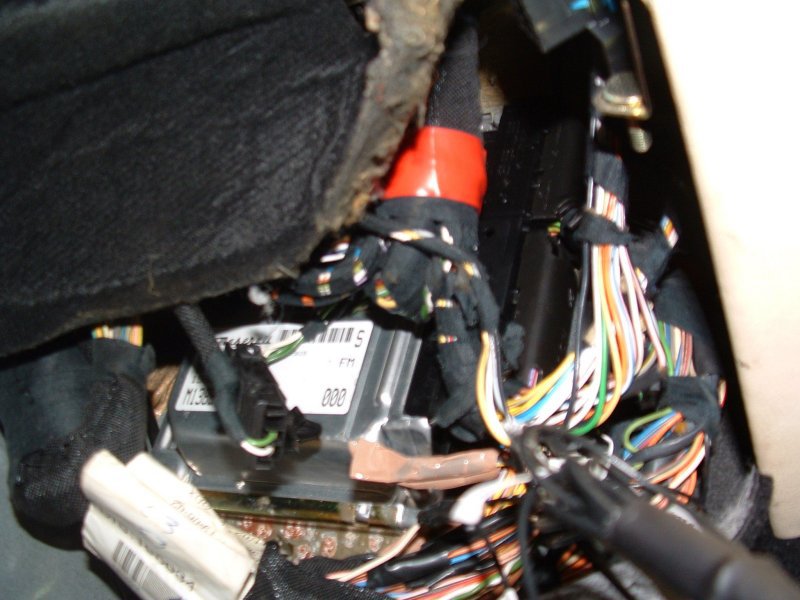
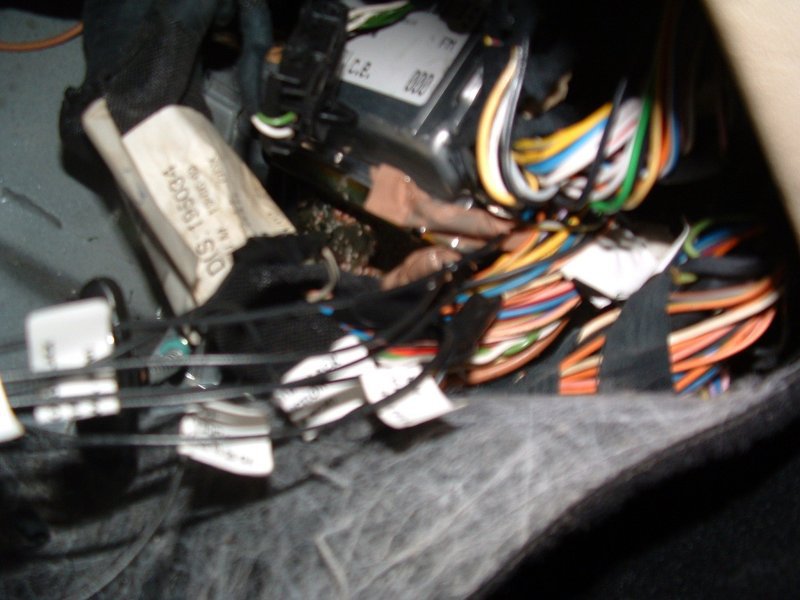
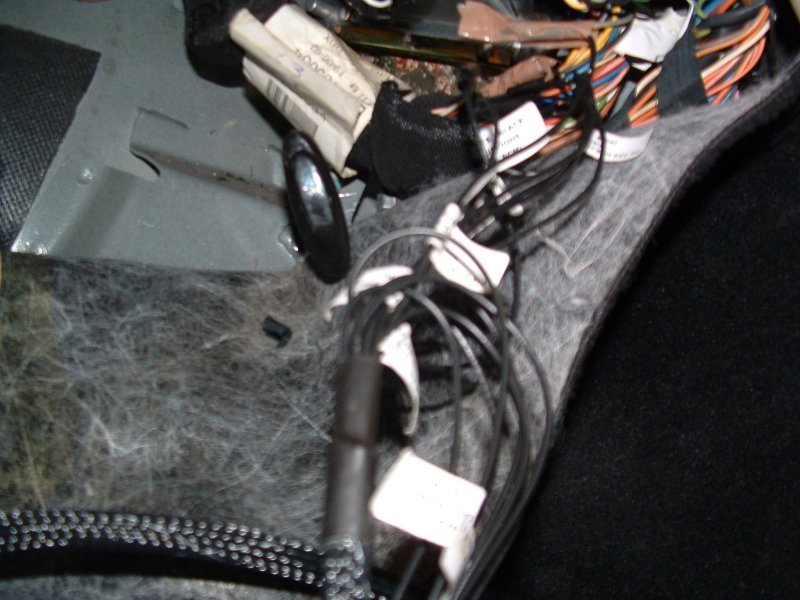
7. Follow the FD instructions to make all the connections and to test the installation without the module in place. This took me ½ hour or so.
8. If all has gone well, its simple a matter of plugging in the DBW module into the new harness, and the fun can begin.
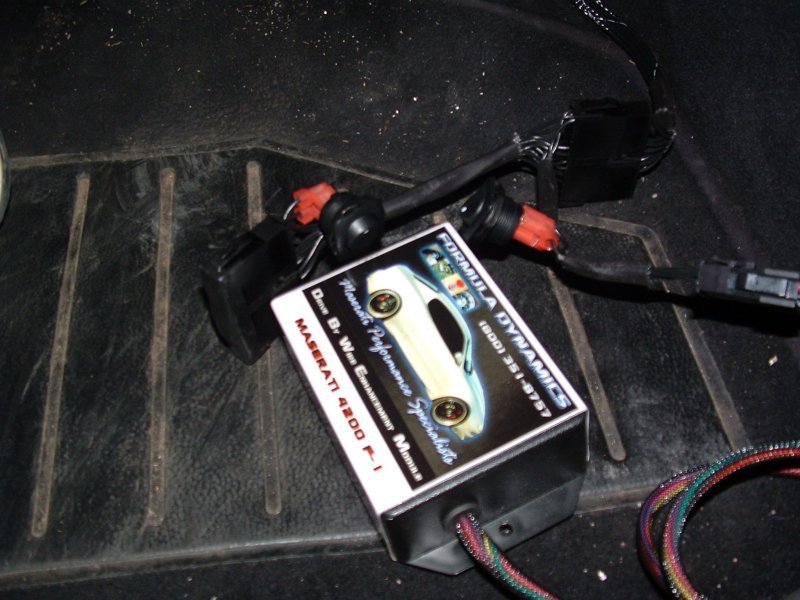
9. There is enough room for the DBW module and cables to be stowed under the dash, to the right of the steering wheel (a readymade shelf).
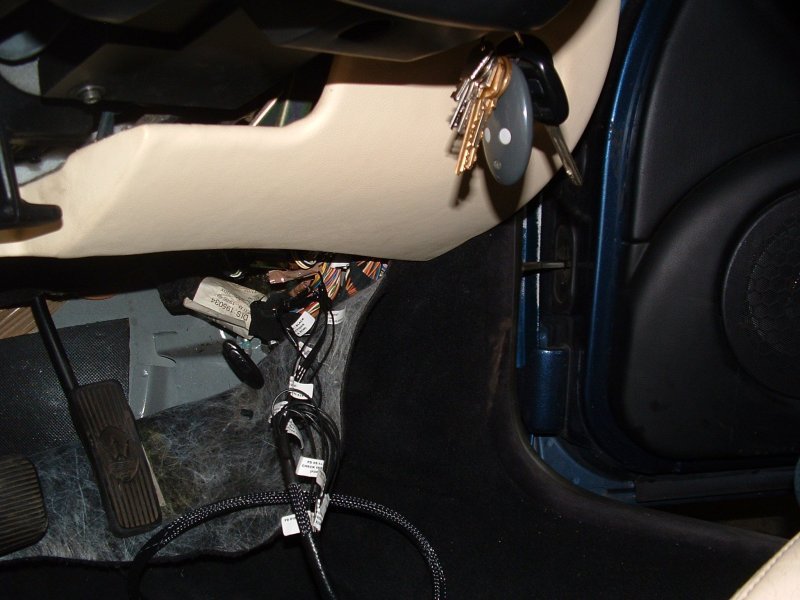
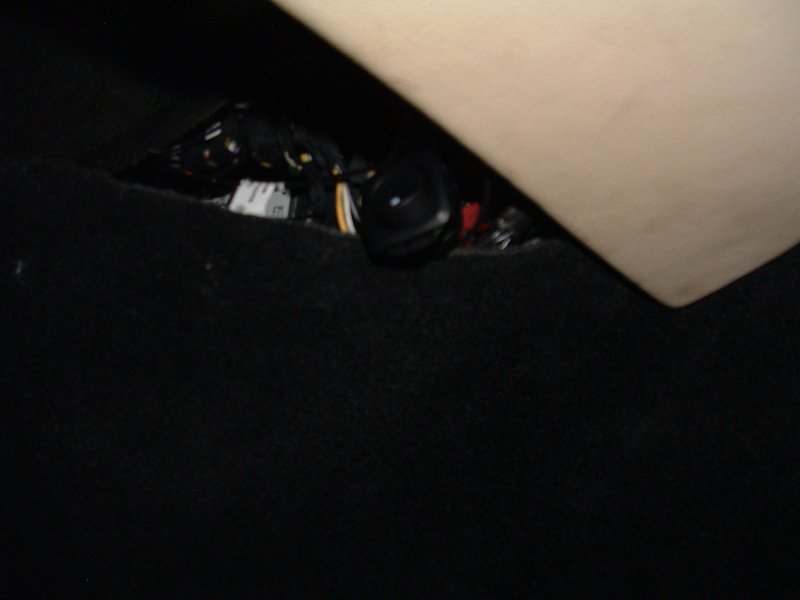
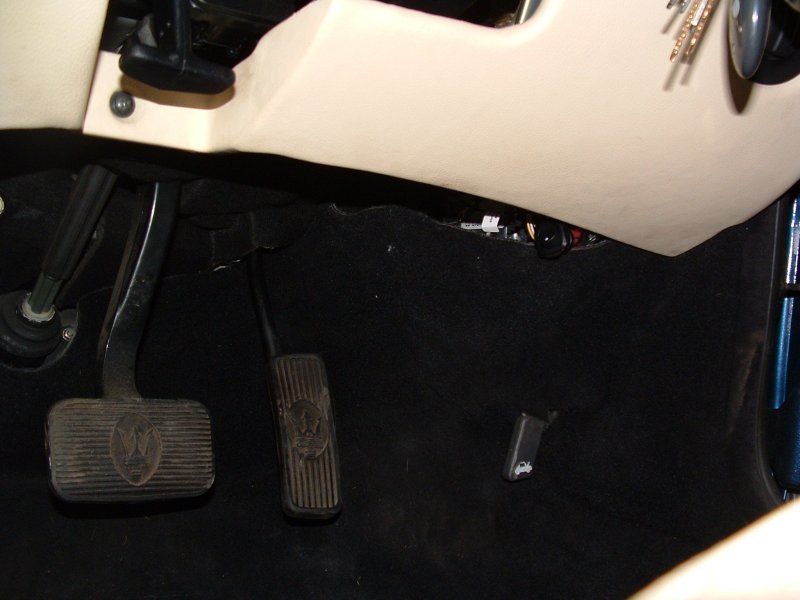
10. I have not extended the mode switch as yet, I have left it just poking out from under the dash. I’m in two minds at the moment, to either push it up out the way, as I can’t see it ever changing, or maybe run it into the glove box.
Well following the FD instructions, and with a soldering iron handy, and about an hour of laying upside down the installation was complete and fully functional in less than 11/2 hours. And well worth it.
Steve
The FD instructions can be found here
http://www.formuladynamics.com/products/4200_dbwem/documentation/fd_dbw_install.htm
1. My first problem was locating the ECU, it is on the right hand side of the car, but bolted to the inside of the car above the bonnet release, a nice tight space to get into.


2. The instructions say to remove the connectors from the ECU, and then unbolt, I found the unbolting of the ECU unnecessary, and would have been rather tricky with its location (not much room up there. There is a clip on the bottom of the connector, that when pulled downwards (quite a long way) causes the connector plug to be removed really easily.
3. Once you have the connector free, take off some of the tape that is holding all the cables together, makes it easier to get to. (you can see above where I have removed some of the tape)
4. Below You can see the large connector (not the best photo), which is where all the work is done, as per the FD instructions.

5. Once the connector has been released,, the cover can be removed to make cables and pins easier to locate


6. Now the fun begins, it’s a matter of locating all the cables required for the modification. I used two different coloured tape, one for taps, and one for splices so I did not keep loosing the cables as there are a lot in there, and its tricky to keep track. This took me a while to locate and double check I had the correct wires. On my car the White and Black wire, was more of a cream and grey, so always wise to double check the pins on the connector (about ½ hour)


7. Follow the FD instructions to make all the connections and to test the installation without the module in place. This took me ½ hour or so.
8. If all has gone well, its simple a matter of plugging in the DBW module into the new harness, and the fun can begin.

9. There is enough room for the DBW module and cables to be stowed under the dash, to the right of the steering wheel (a readymade shelf).


10. I have not extended the mode switch as yet, I have left it just poking out from under the dash. I’m in two minds at the moment, to either push it up out the way, as I can’t see it ever changing, or maybe run it into the glove box.
Well following the FD instructions, and with a soldering iron handy, and about an hour of laying upside down the installation was complete and fully functional in less than 11/2 hours. And well worth it.
Steve
Last edited:


