I must admit, I did do a LOT of research into the subject and watched a few youtube videos etc.
www.detailingworld.co.uk were very helpful with pictures and descriptions etc.
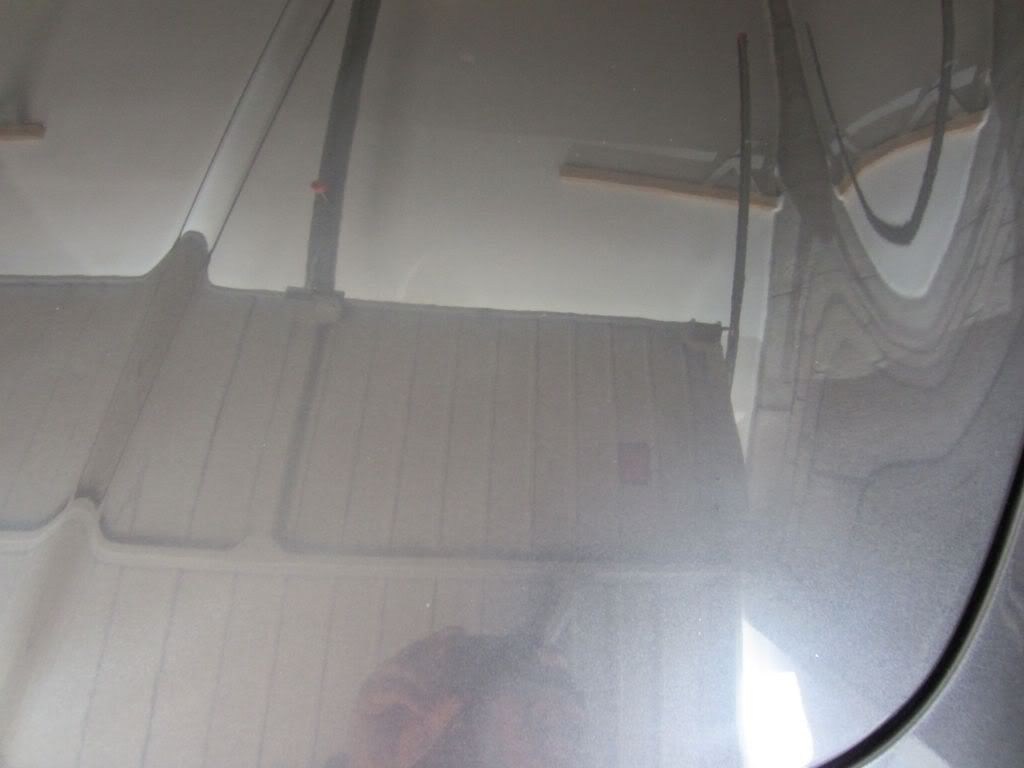
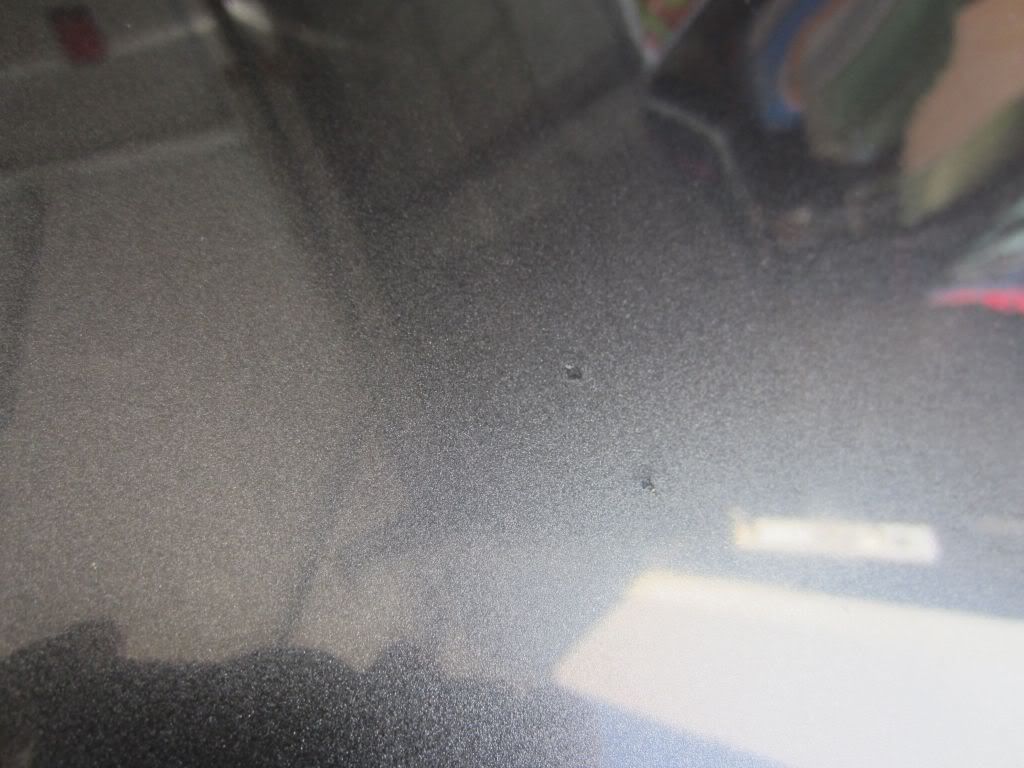
The result is not perfect yet, if you look closely you can indeed see a slight mis-match in colour - but that might come good once paint protector and wax and other concoctions are applied !
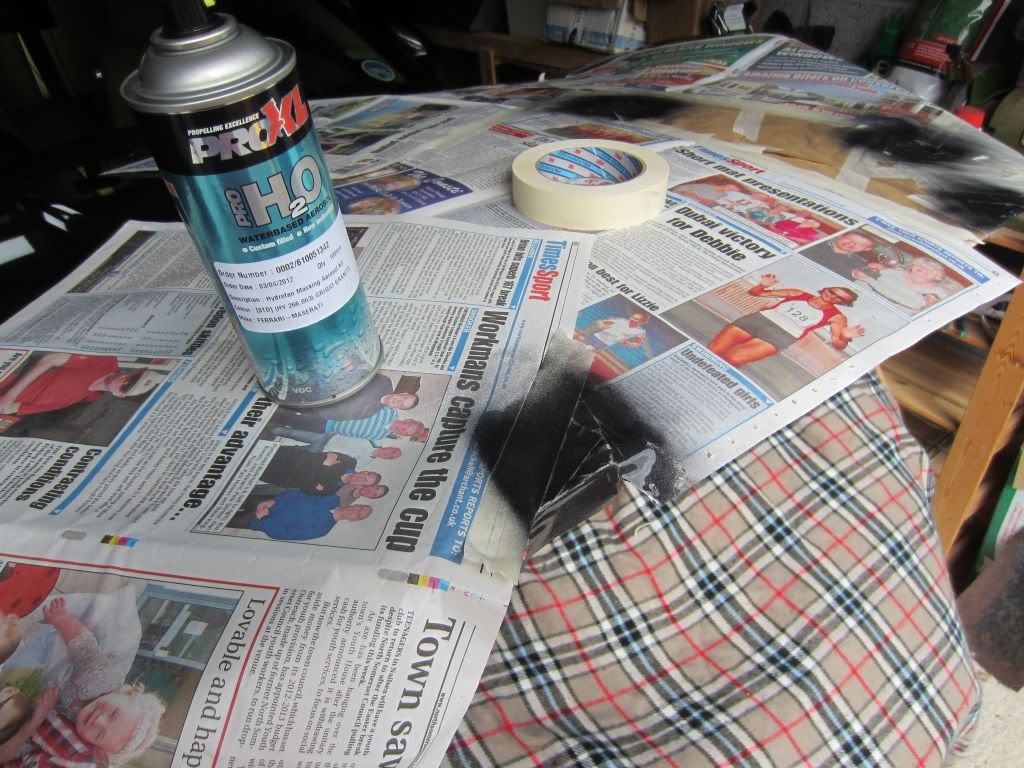
Basically I went on the paints4u website and ordered a scratch repair kit and some colour matched aerosol - total cost of about 24 quid
")
I then went the whole hog and bought a Meguiars orbital polisher complete with pads and Meguiars 83,82 and 80 "products"
the kit
The reasoning behind this purchase is ....... I can use it to maintain the finish and save on getting specialist detailers in (thats the theory anyway)
I also bought some Meguiars Unigrit 2500 wet n dry paper off Ebay for a couple of quid as the wet n dry supplied with the paints4u kit is only 2000 so I thought it might be a little harsh for a beginner, plus a lot of other websites recommend 2500 or even 3000 grit.
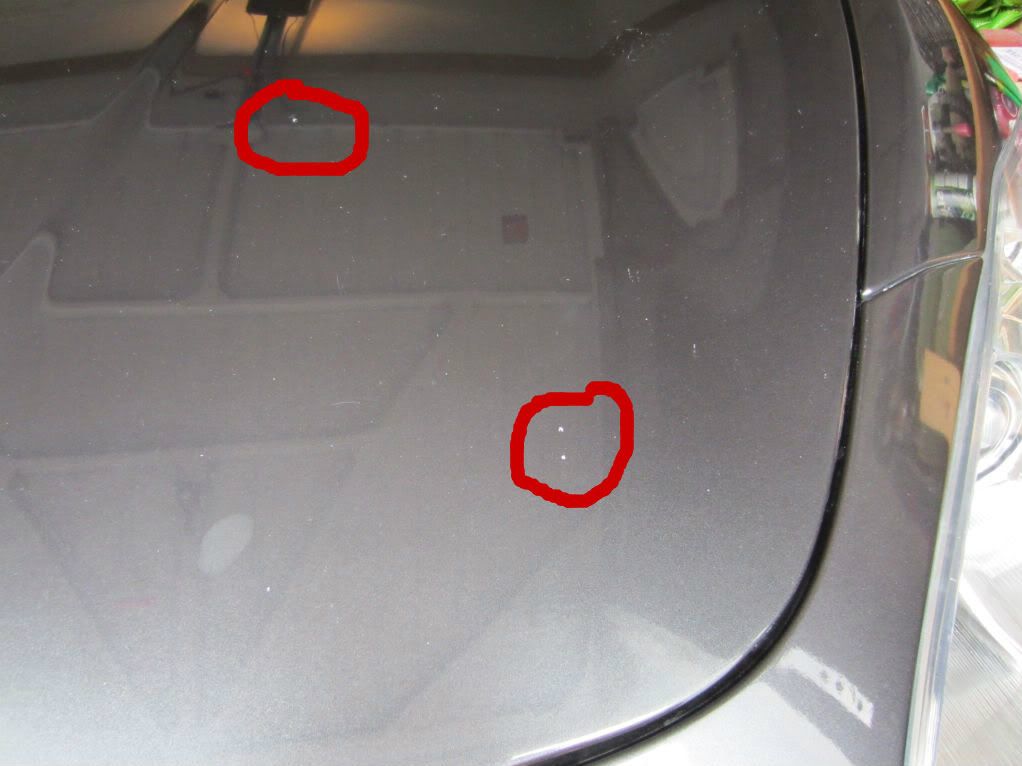
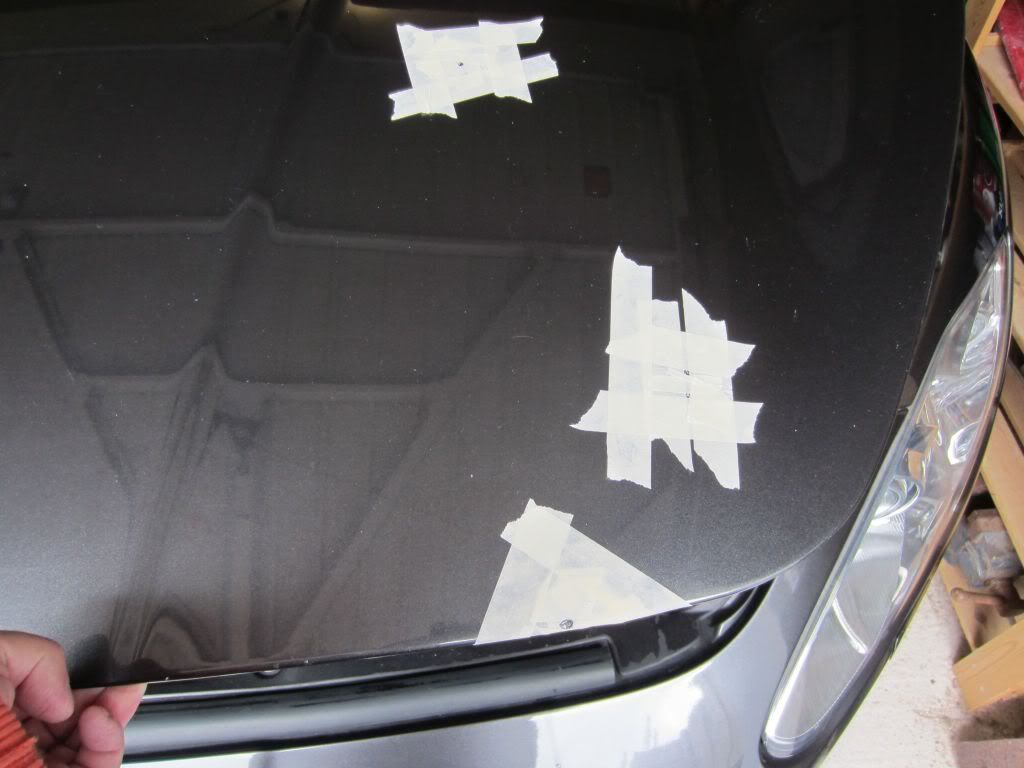
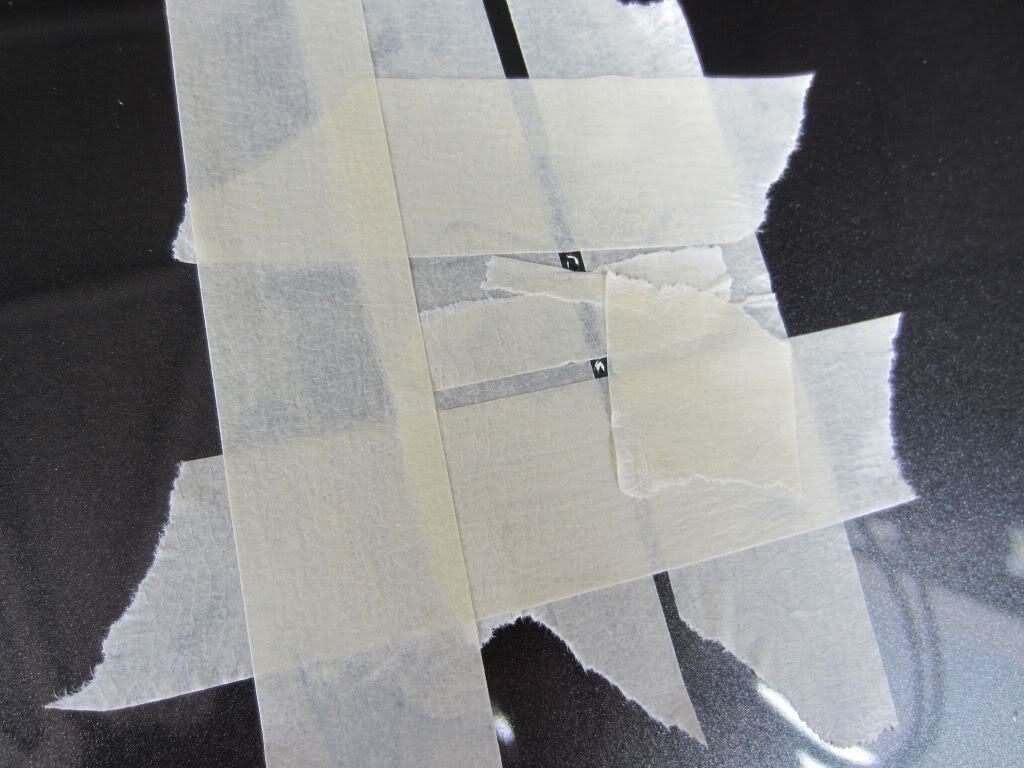
Once the chips were cleaned with isopropanol to get rid or any dirt, wax etc. the chips were masked off as best I do with masking tape and newspaper.
Next was a couple of coats of spray - left about 30 minutes or so between coats to dry and the masking removed.
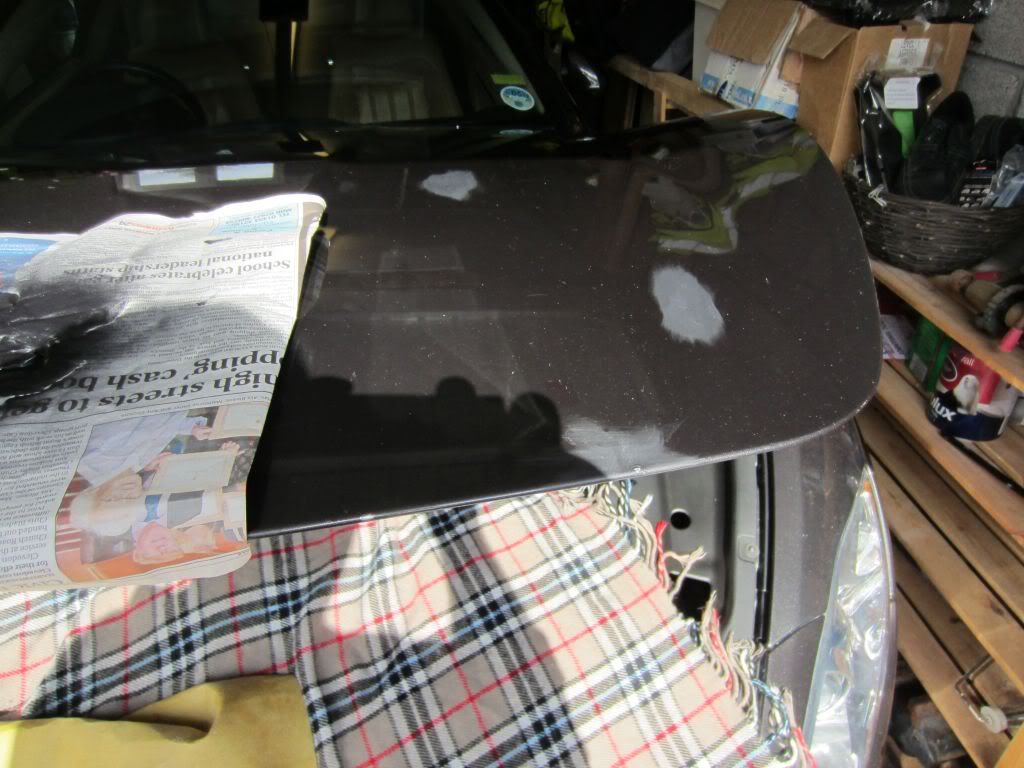
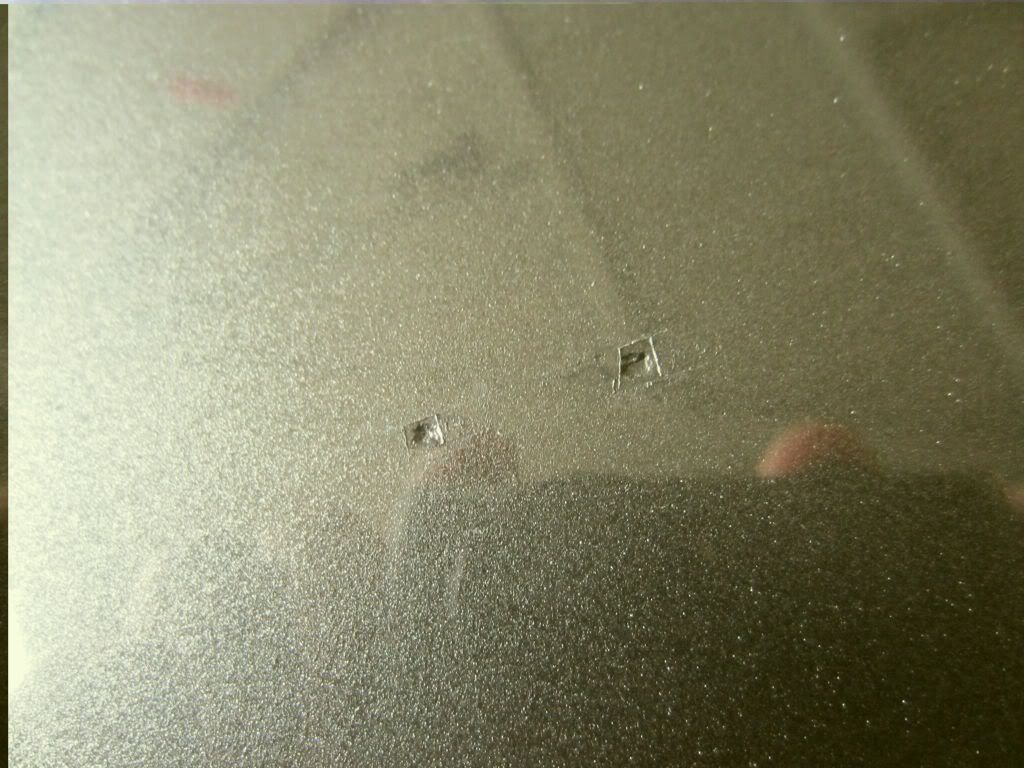
Then the lacquer was applied using the tiny swab thing supplied with the paints4u kit. This is the bit that needs a magnifying glass in my opinion. It's very easy to apply too much and get overspill over the chip, in hind sight I'd try applying it using a magnifying glass (I didn't this time).
12 to 16 hours were left between applications of this lacquer as it needs to harden and go off (I think). Keep applying it until the lacquer dries proud above the original clear coat.
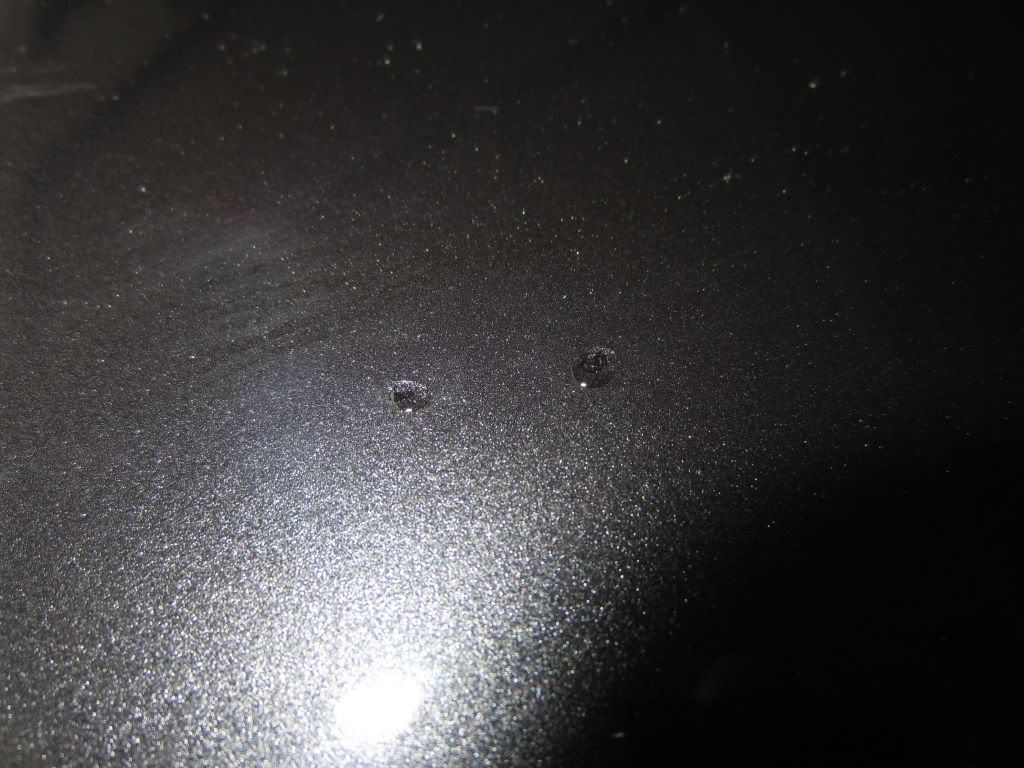
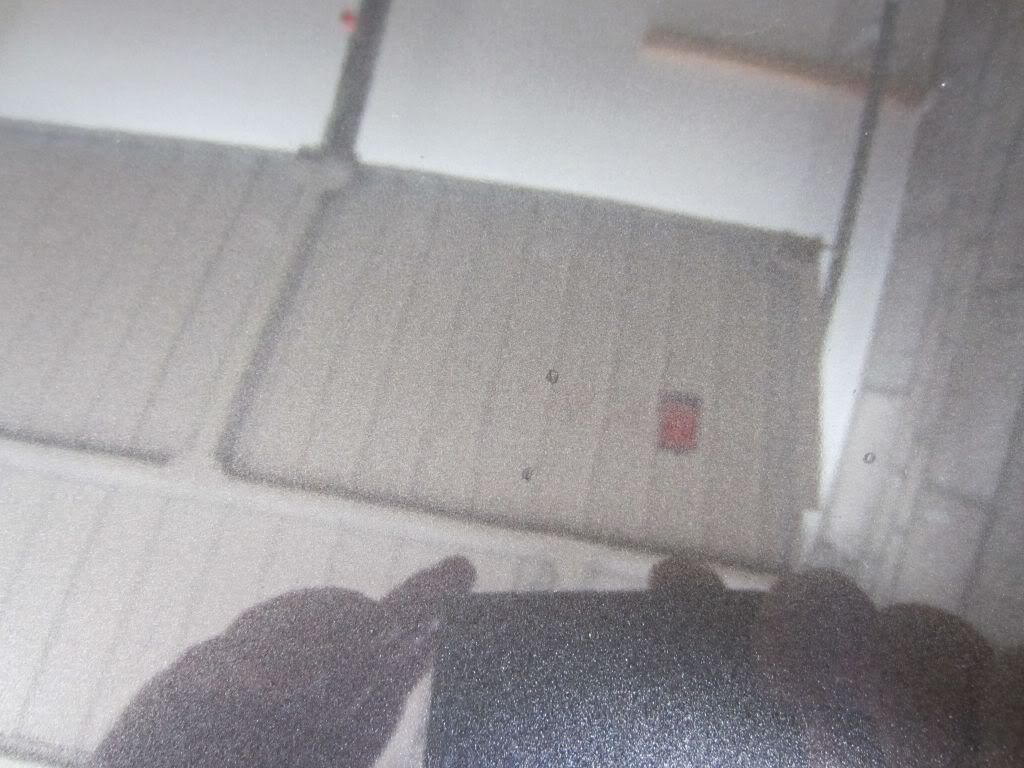
Once dry, get the wet n dry on it ........... very wet with a constant replenishment of water via a chamois held above the area and squeezed. To be honest I was too shy with the wet n dry, on close inspection you can see a halo around the chip where the lacquer dried over the original clear coat around the chip. I did in fact revisit a couple of the chips after polishing to try and flatten them.
Now the bit that restored my faith in forums and experienced detailers ....... the polishing or cutting.
Used Meguiars 82 to start with the machine set to about 1800 rpm - within two or three passes the shine came back ............... phew !!! relieved ? you bet!
I still need to try a few more passes with the 82 or maybe even the 83 then 82 then 80 compounds / polishes to get to a state where I can say "that's good enough" I can still see the outline of the lacquer and a sort of slightly darker colouring where the chip was sprayed - but needless to say it a **** of a lot better now.
Thats about it really - you'd be surprised how much clear coat is on top of the colour coat and this is normally the coat that gets damaged and thus can be repaired by sanding / polishing.
Ren