Lighting fault solved!
Symptoms:
1. With parking lights or headlights on, lighting fault indicator on the dash, all bulbs appeared to be operating fine.
2. Turn signals in both directions gave fast flashers, though again, all bulbs appeared to be working fine.
They weren't really working fine, it turns out.
I decided there must be a bad bulb in there somewhere, on both sides, so I started replacing all bulbs on one side of the car. No problem for the rear bulbs, a bit more complicated for the 3 bulb assembly beneath the headlights, but still achievable.
All bulbs replaced, still no change. (!)
But... I did notice something. In the 3 bulb assembly in the front of the car, the outermost bulb never seemed to come on, with turn signals, running lights, headlights, fog lights. Nothing. So, I phoned a friend. Texted my friend
@DLax69 also here in the States, and asked if he would be so kind to see what his lights did with switches in different positions.
Once he sent pics, a very unlikely, but inescapable conclusion - someone had reattached the leads to the lights on both left and right signal assemblies incorrectly. Yes, a double fault. F.
Swapped the leads for the center and outer lights of the assembly of the left side of the car - and the turn signals now flashed slowly on the left, still fast on the right. Pulled the assembly on the right side, swapped those leads, and the fault on both sides cleared!
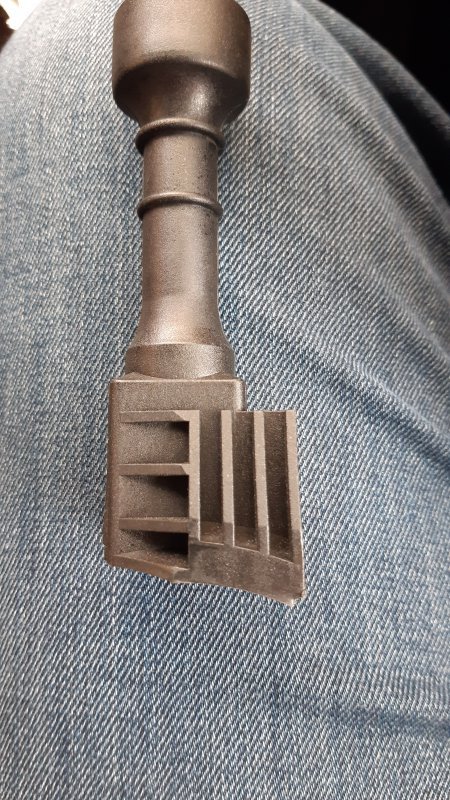
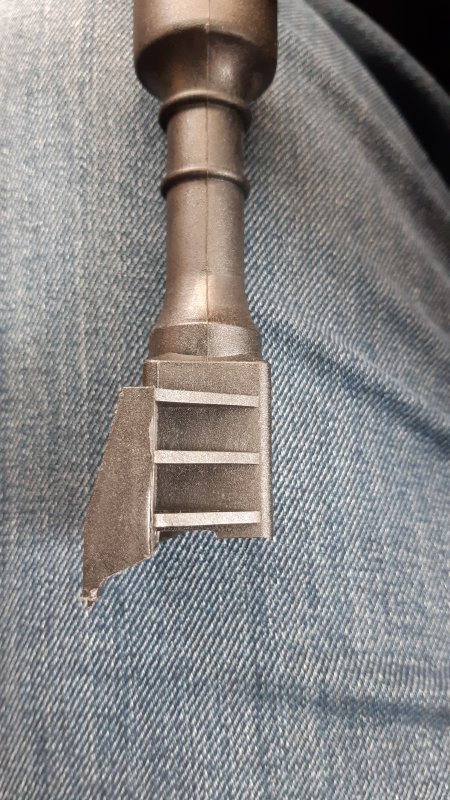
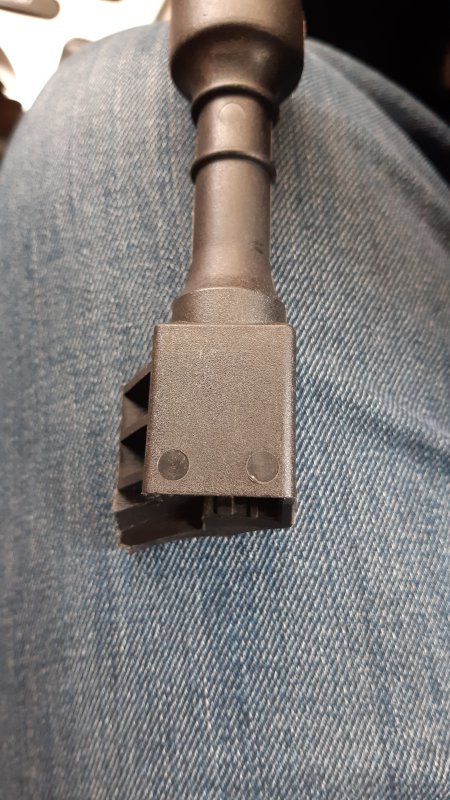
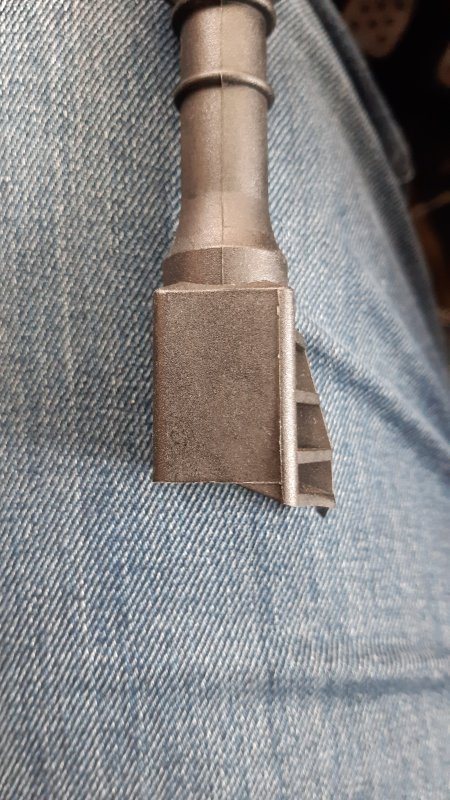
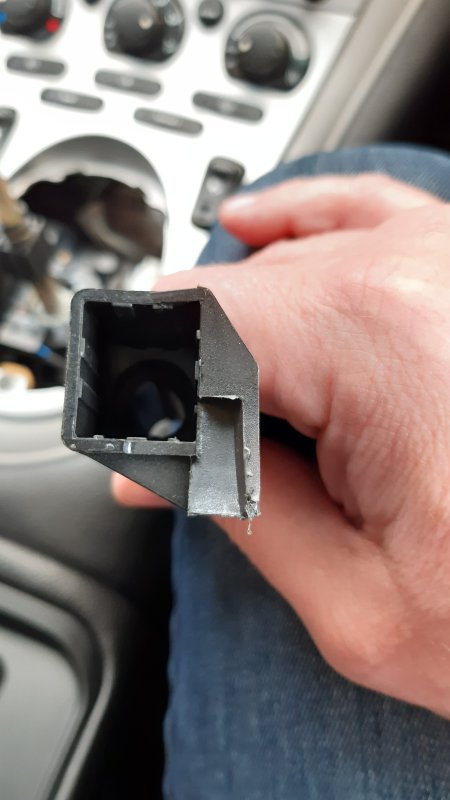
I've included a picture of the 3 bulb assembly, so that the color of the connectors can be seen for anyone who finds themselves reattaching these leads, and forgets which one goes to center, and which one goes to the outer bulb. Black connector goes to outer, grey connector goes to middle bulb.
That... was frustrating. And rewarding in the end. Here's to have friends with Maseratis!
View attachment 120865


")


