You are using an out of date browser. It may not display this or other websites correctly.
You should upgrade or use an alternative browser.
You should upgrade or use an alternative browser.
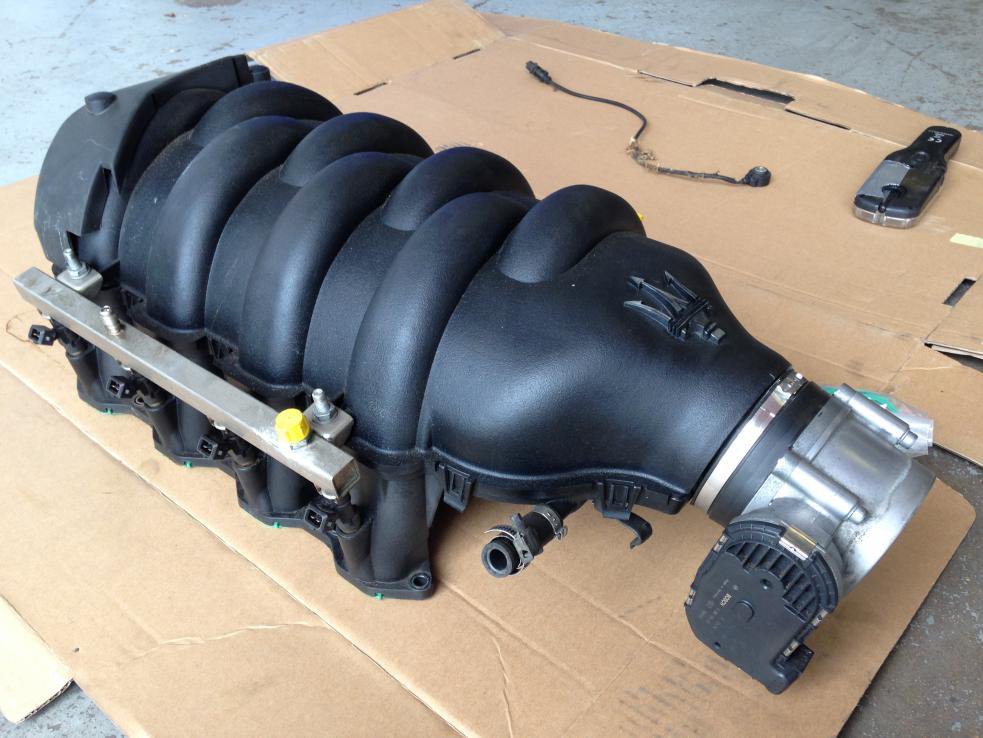
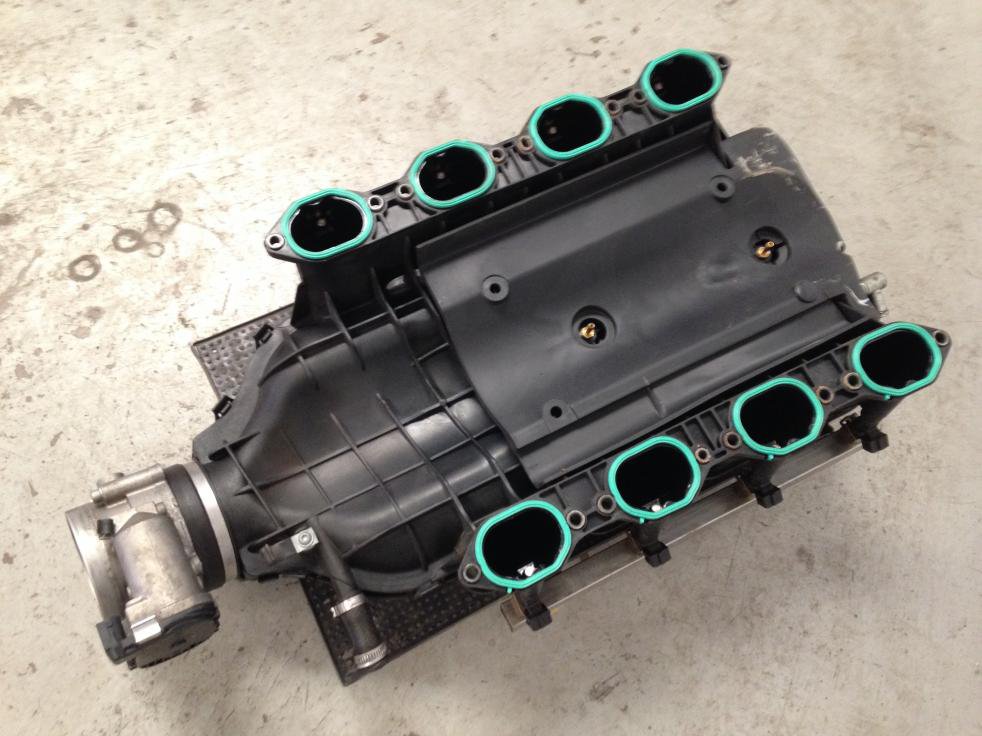
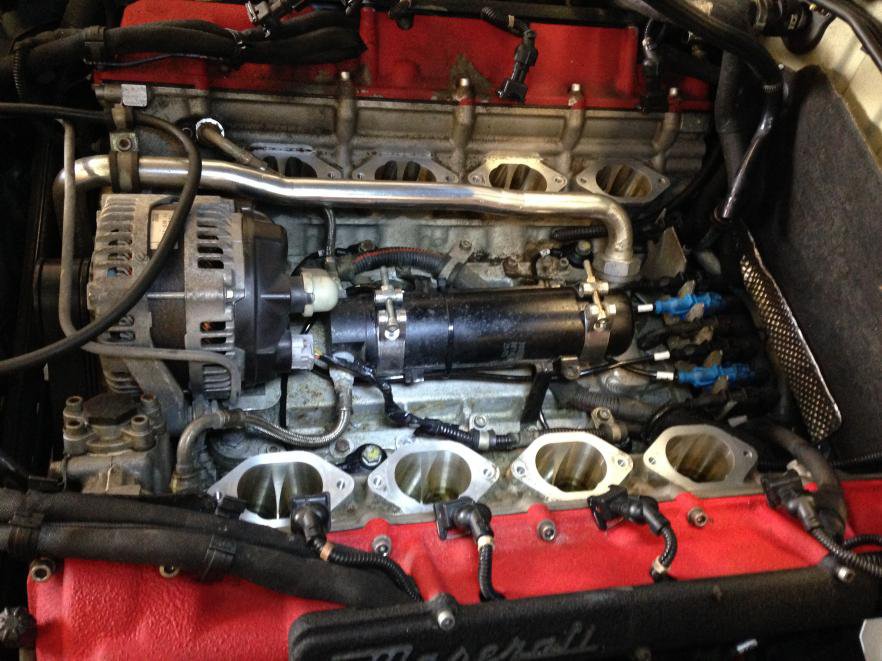
Inlet manifold removal on a QP V
- Thread starter B16 ONX
- Start date
B16 ONX
Junior Member
- Messages
- 95
With everything back together I nervously turned the key.....hoping nothing had fallen into the engine or that I had forgot to reattach something.
The engine started straight away so it was washed & driven home. I took the scenic route home so I could get the engine up to temp before seeing if it would rev any higher.
Straight away the slow speed clutch control was smoother & the throttle response was immediately better so I continued home, waiting for the temp to increase.
As I got onto the dual carriage way I nailed the throttle and it pulled straight round to 7500 before I changed up, again I kept my foot in & watched it rev round to max revs before I changed up again.
The car now drives how I wanted it to, smooth & energetic.
Like a Maserati should!
I got home & as it sat on the drive pinging from the heat I fell back in love with my car, like the day I bought it.
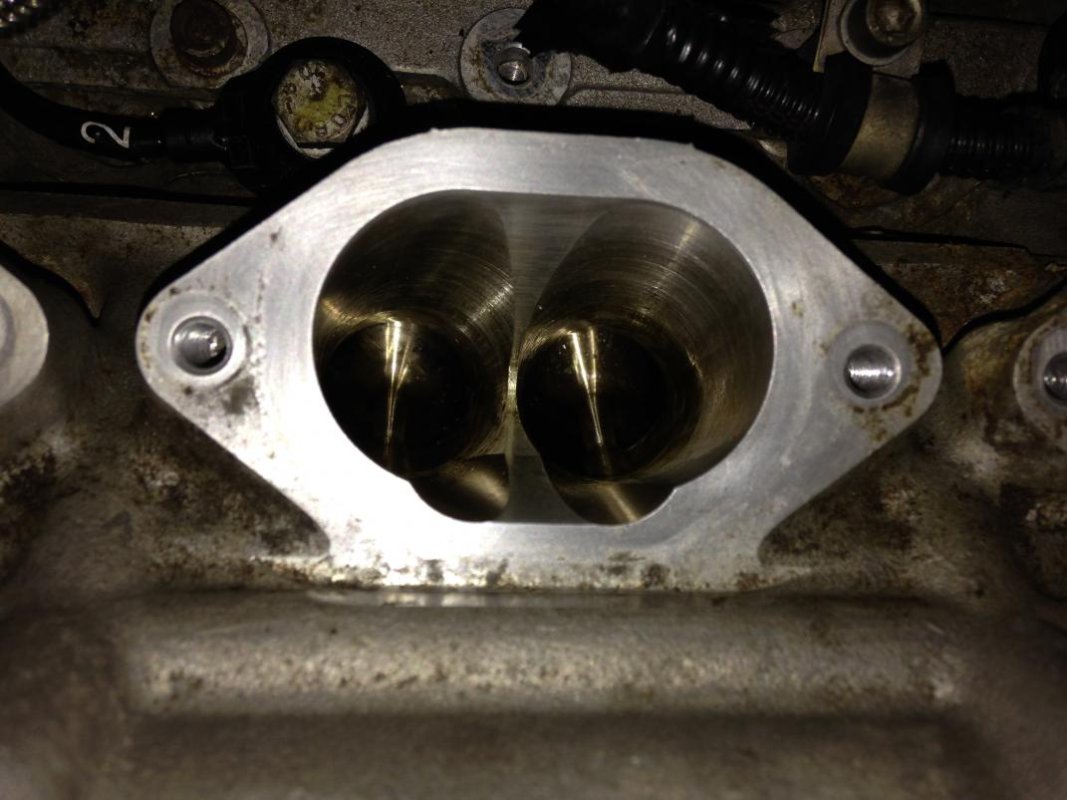
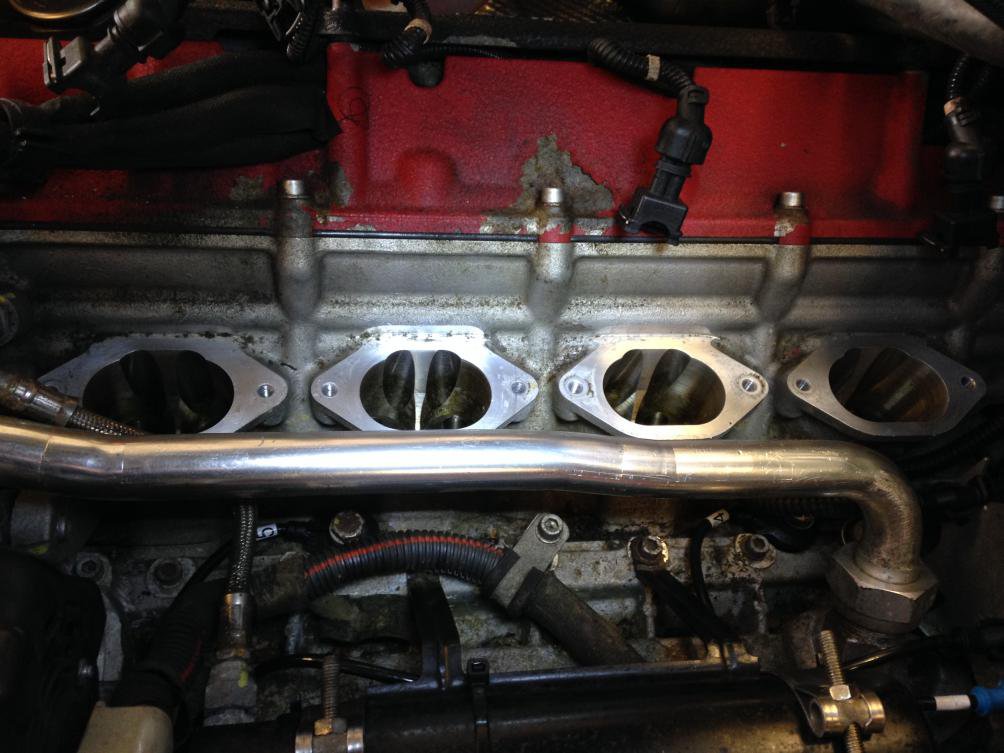
I managed to save just over £1100 from the original quote, 8 gaskets & 4 sensors cost me £378 & it took me about 3 hours from start to finish which included taking the photo's & making notes as I went.
Next job is 4 new tyre pressure sensors as that is the only fault with the car now, I didn't want to fit them until I had it running right.
Then the car is ready for Silverstone at the end of the month!

B16 ONX
Junior Member
- Messages
- 95
The point of starting this thread was to show what was involved in removing the manifold. I originally thought it might be the spark plugs causing the problem so I pulled it in one day & went to change them. The rear one's looked a bit awkward to get to so I checked on here & someone mentioned it was worth removing the rear panel first to get easy access to them as opposed to cursing & swearing whilst using flexi joints to get to them.
I then had a look at my engine bay & thought hmmm, that doesn't look simple.
Luckily I checked the first 2 plugs & they were new so I didn't have to remove the rear panel in the end!
Removing the trims & rear panel took about 45 minutes so worth doing for any further engine work...not that I am hoping or planning to!
Once you get over the fact you are working on a Maserati then it is all nuts & bolts, something to be respected but not feared.
See you all on the 27th@ Silverstone. If you see me stop me & say hello. I am looking forward to meeting my fellow board members!
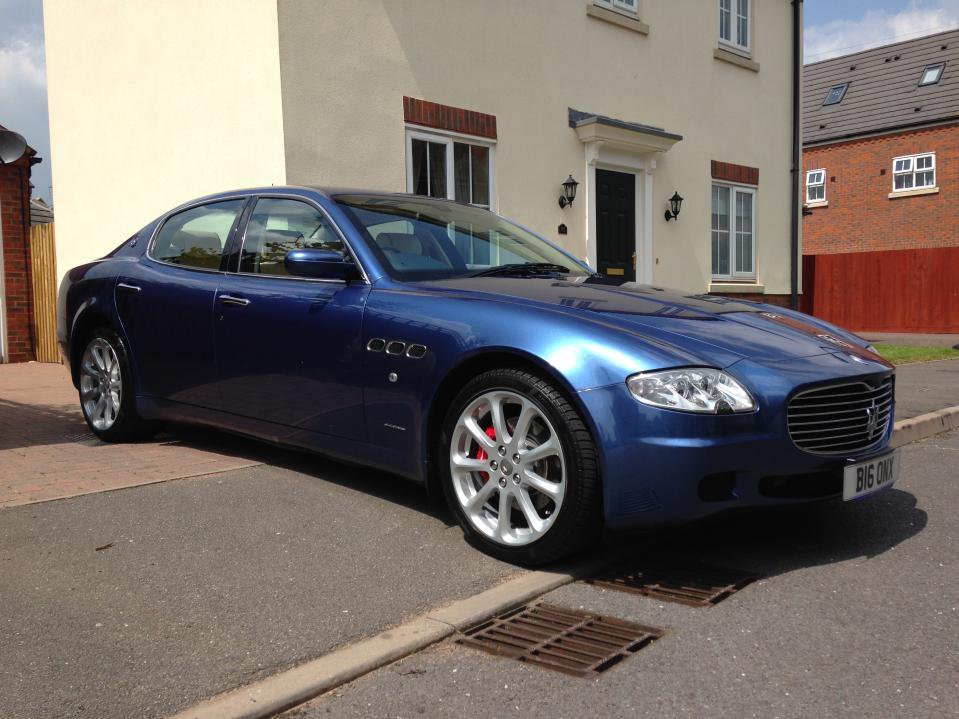
Great work and an excellent write up, thanks for taking the time to share with other members. I love the colour of your QP - very striking and suits the car well. I saw it briefly at the Ace a while back. Are you coming tomorrow? We will make sure not to scare you off this time!
mjheathcote
Centenary Club
- Messages
- 9,046
Didn't realise the inlet manifold was plastic on the QP, and assume the GT also.
zagatoes30
Member
- Messages
- 21,007
- Messages
- 21,235
Yes, really good - thanks for sharing.
By the way, I think that mouse got what was coming to him.
By the way, I think that mouse got what was coming to him.
B16 ONX
Junior Member
- Messages
- 95
Hello Andy!
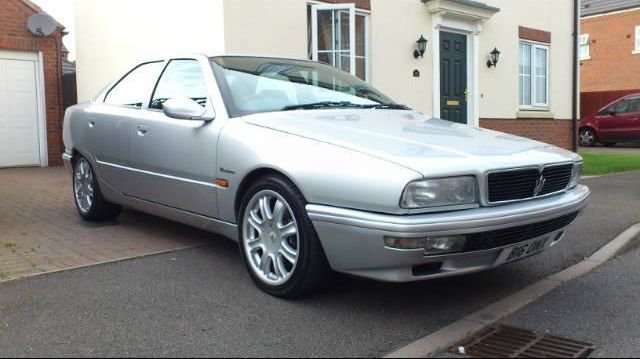
I hope you are still looking after my old QP IV??
I'll keep an eye out for you @Silverstone.....
zagatoes30
Member
- Messages
- 21,007
Hello Andy!
I hope you are still looking after my old QP IV??
I'll keep an eye out for you @Silverstone.....
It's currently in the workshop having some work done underneath, it won't be at Silverstone but hopefully I will be there in my 4200 Spyder instead


