JayOne
New Member
- Messages
- 92
Rained off today so thought I would spend some time putting this write up together along with catching up on paperwork.
Usual wash and decontamination stages were carried out but didnt photograph these stages.
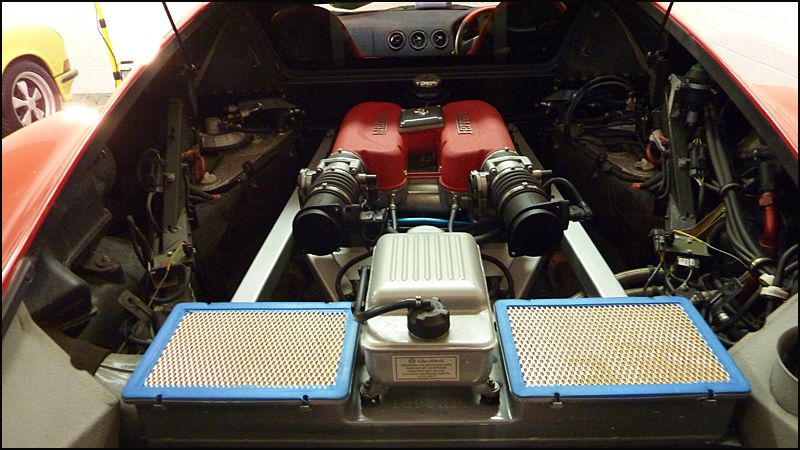
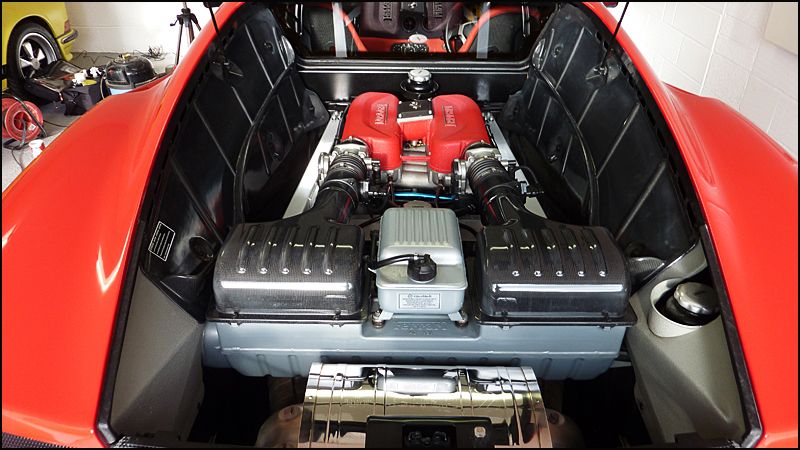
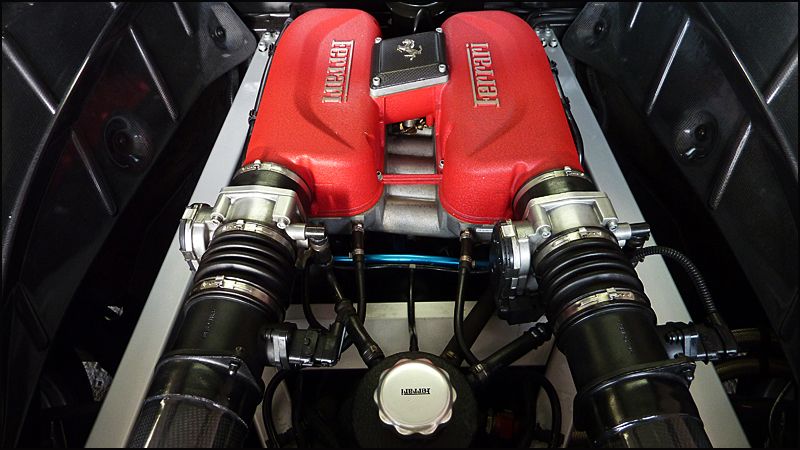
So starting with the engine bay
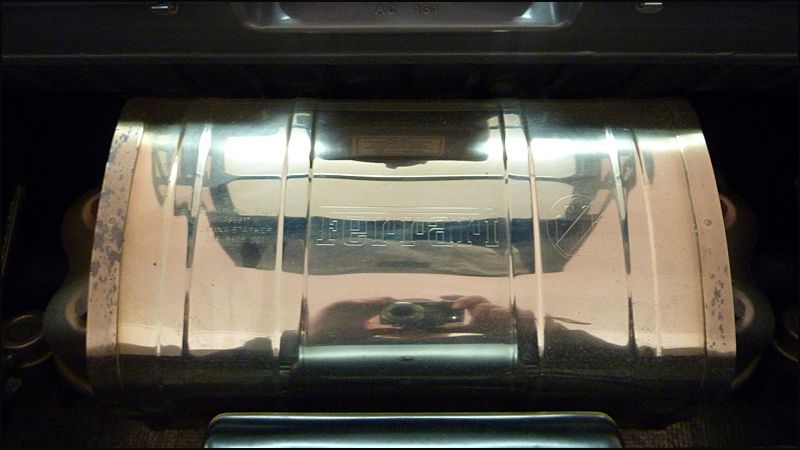
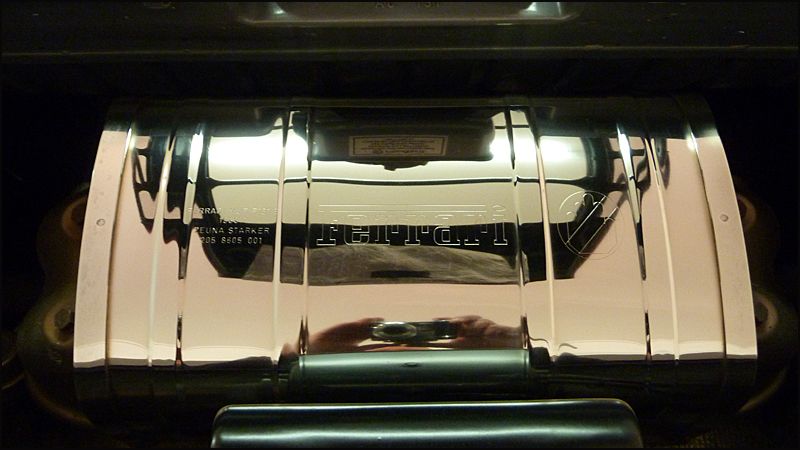
The carbon fiber was removed from the engine bay and given a light polish, I then dressed all hoses etc with swissvax Pneu and then polished the exhaust box
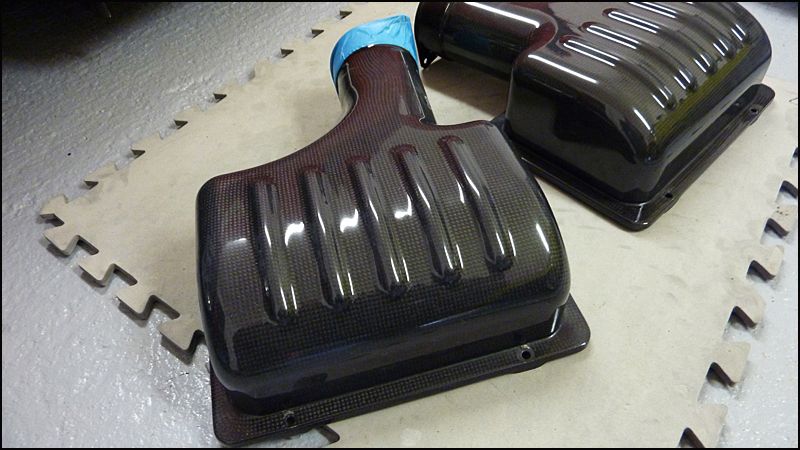
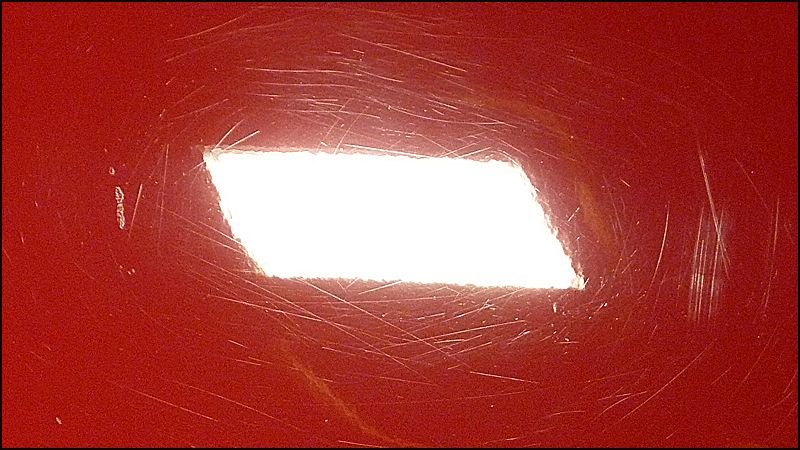
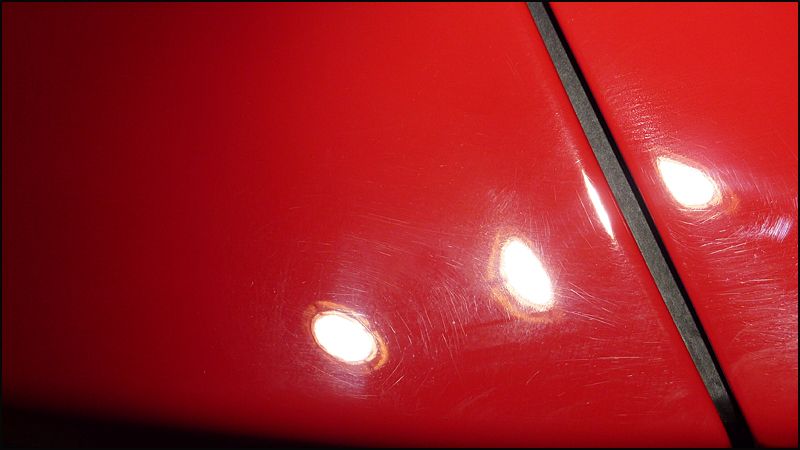
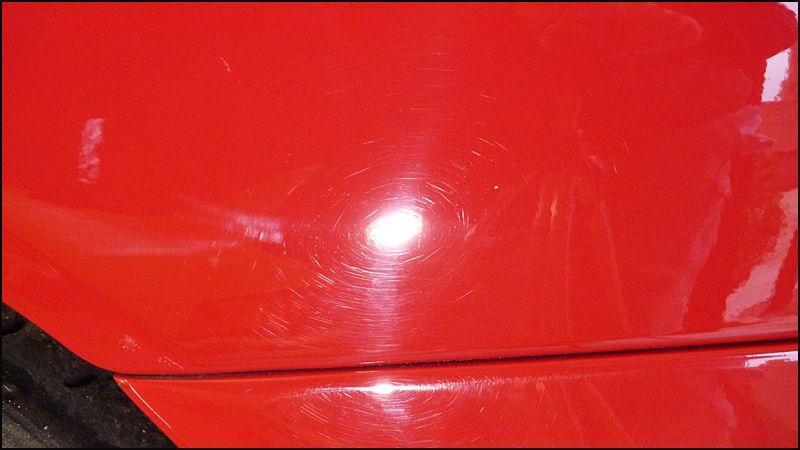
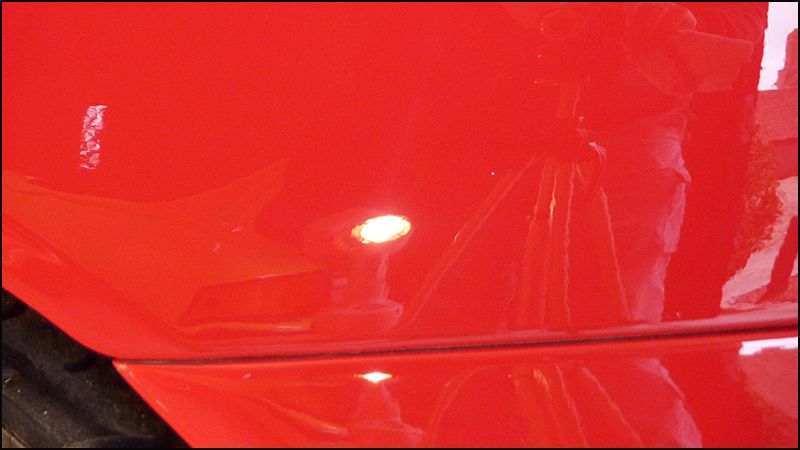
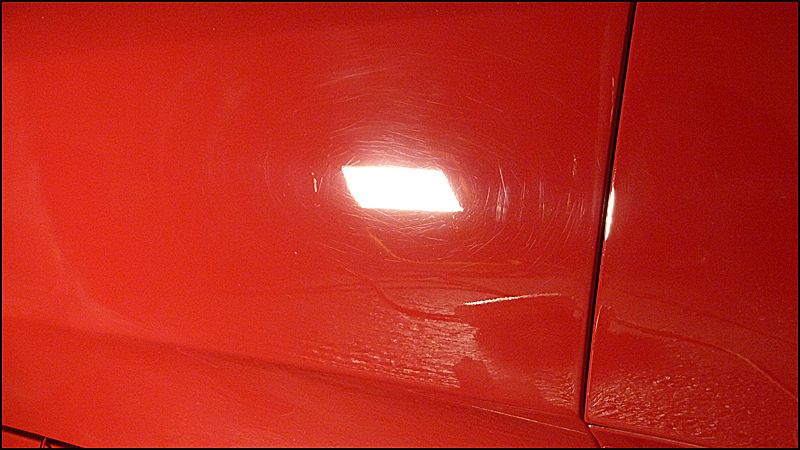
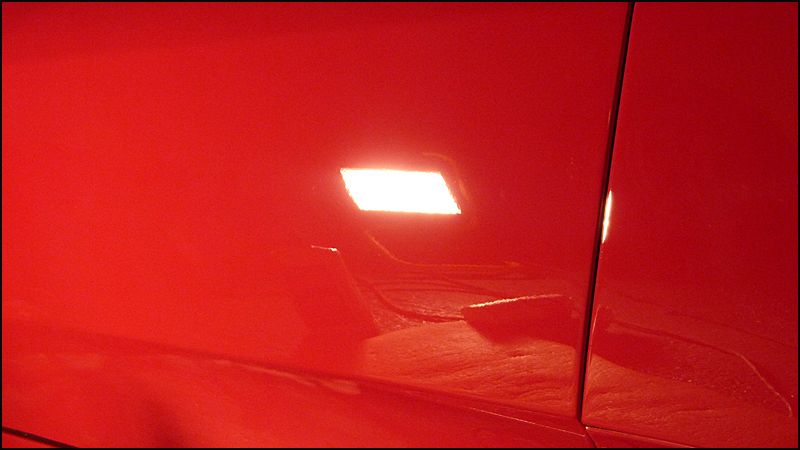
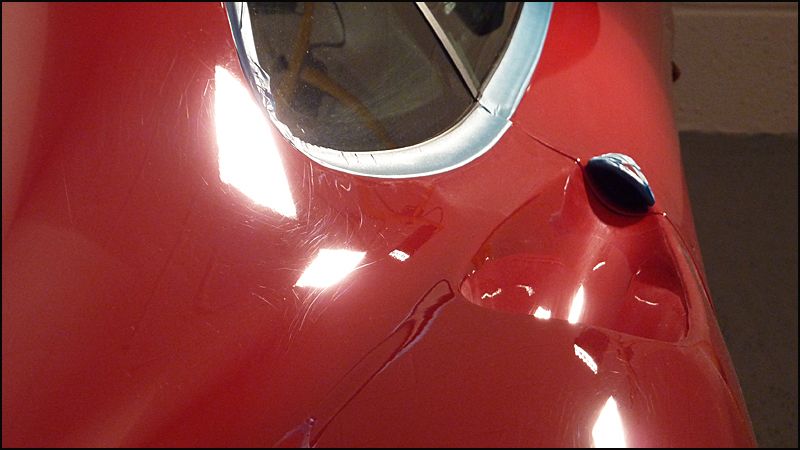
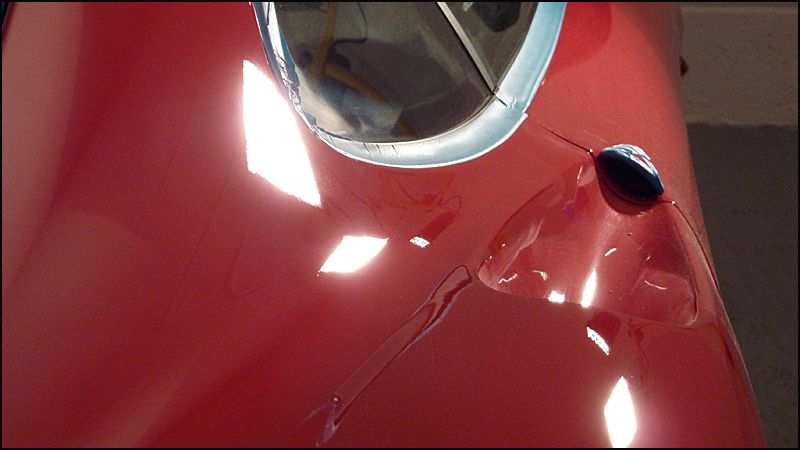
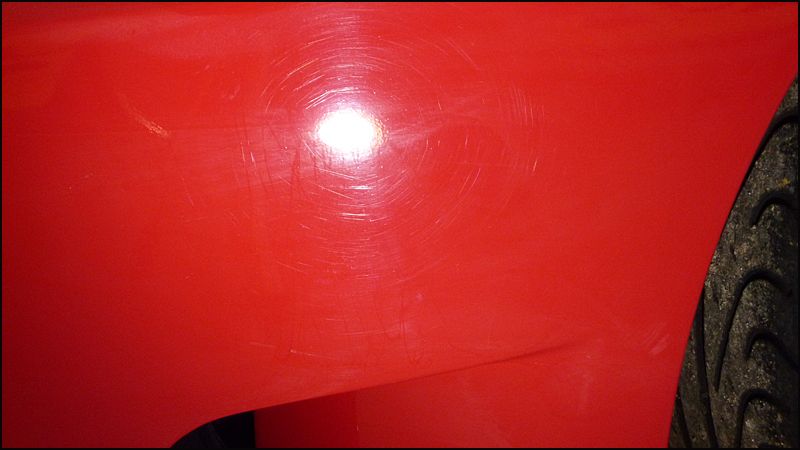
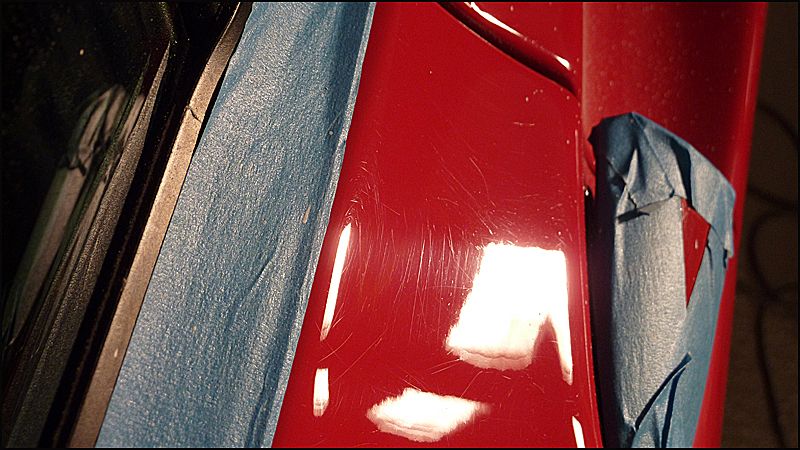
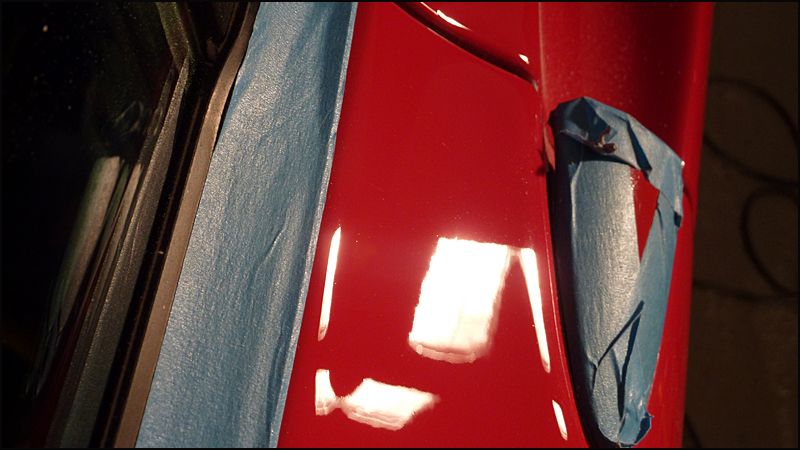
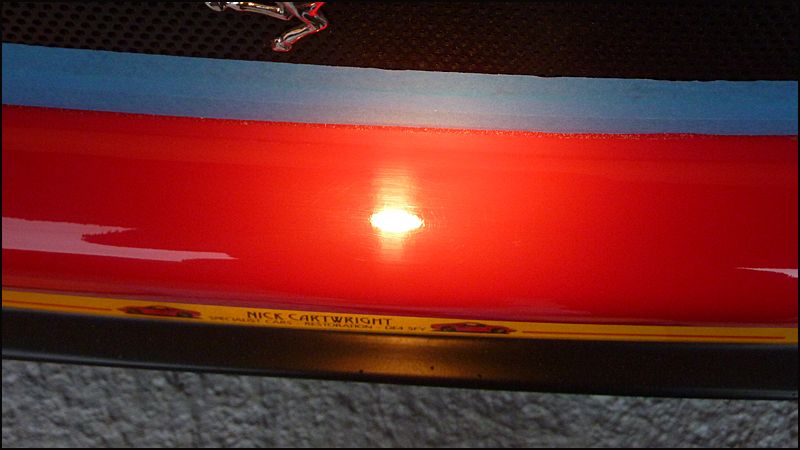
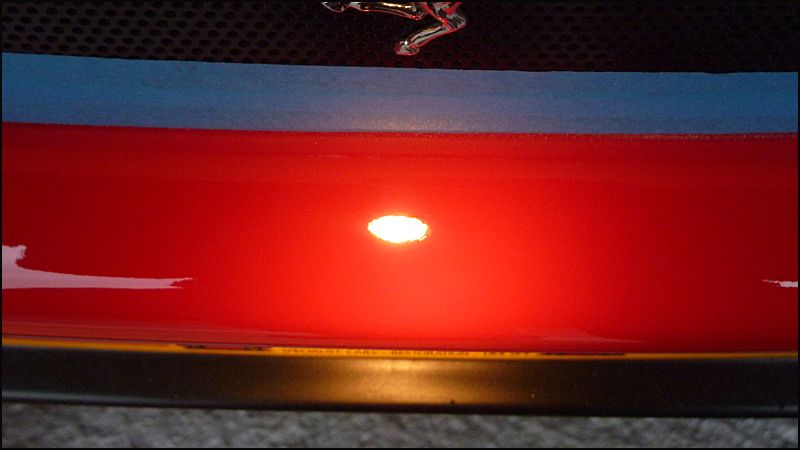
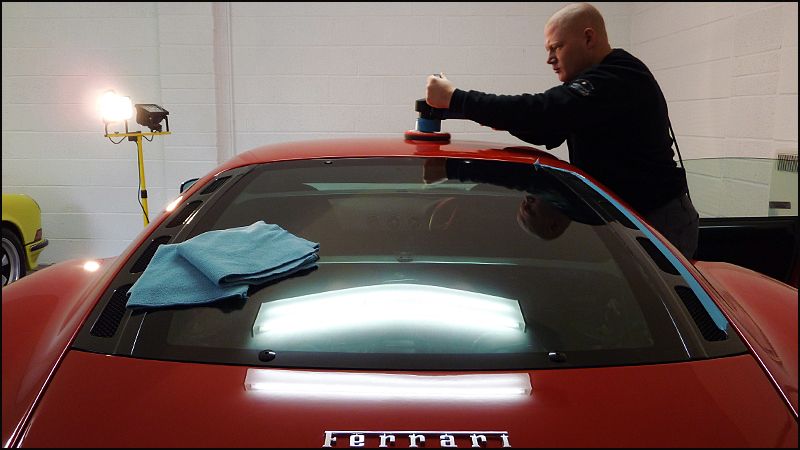
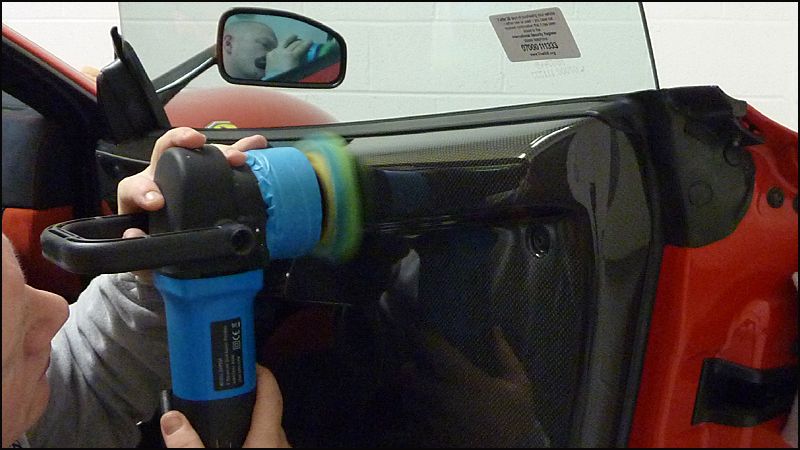
I found the paint on this to very "grabby/sticky" so instead of fighting with it using the rotary I used my DAS-6 PRO Dual Action Polisher. For the compounding stages I used Menz 3.02 on a LC Hydo Cyan pad.
After each hit I made sure I gave the panel a thorough IPA wipe down to ensure I was getting "true correction".
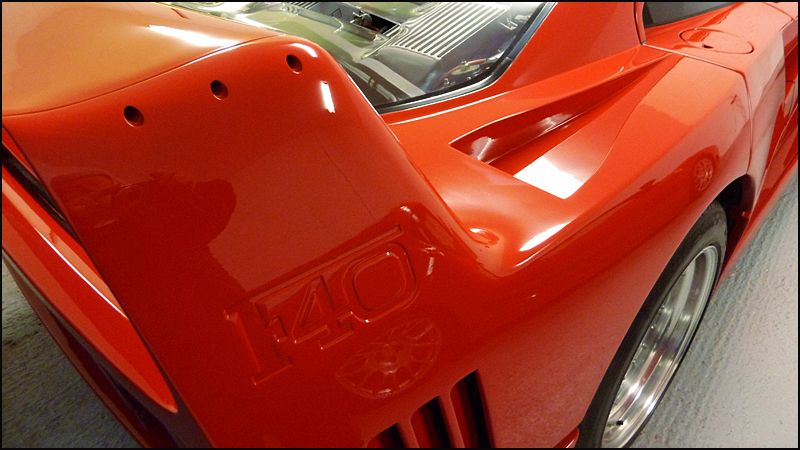
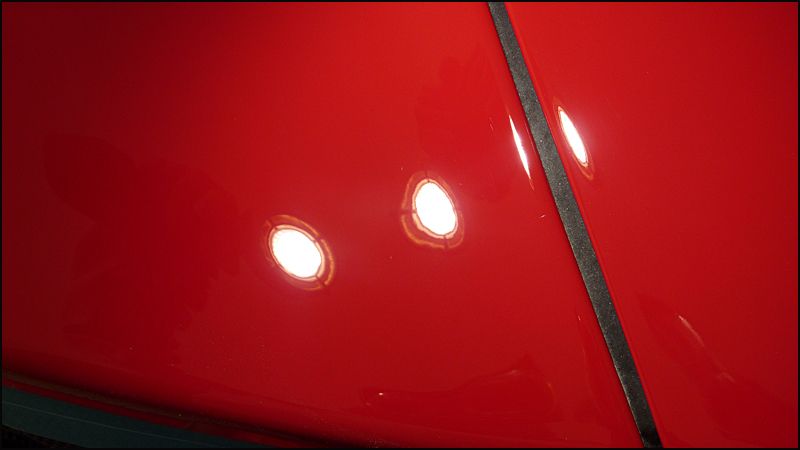
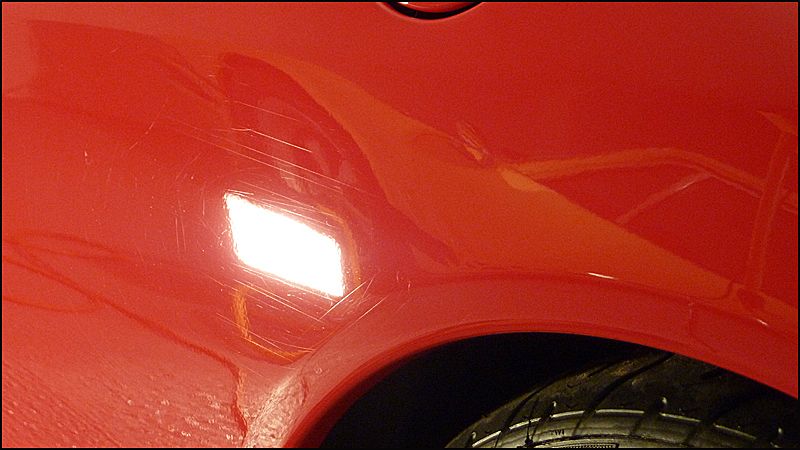
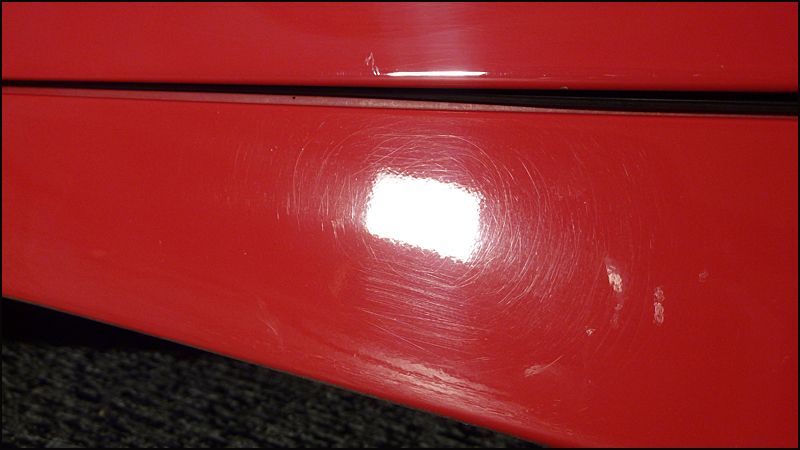
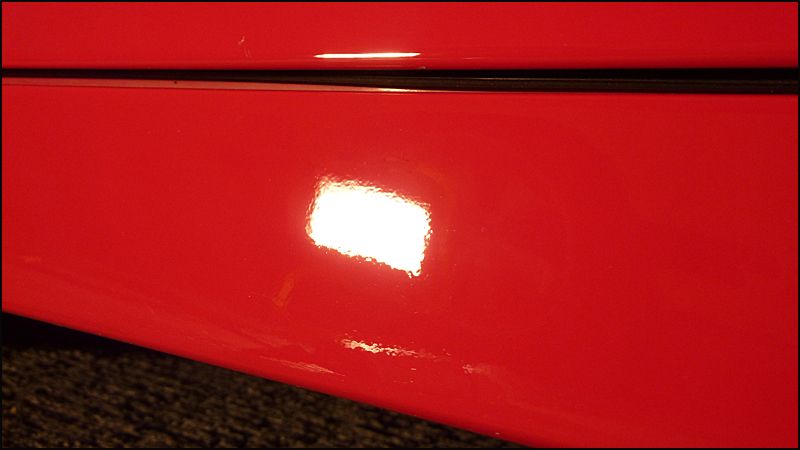
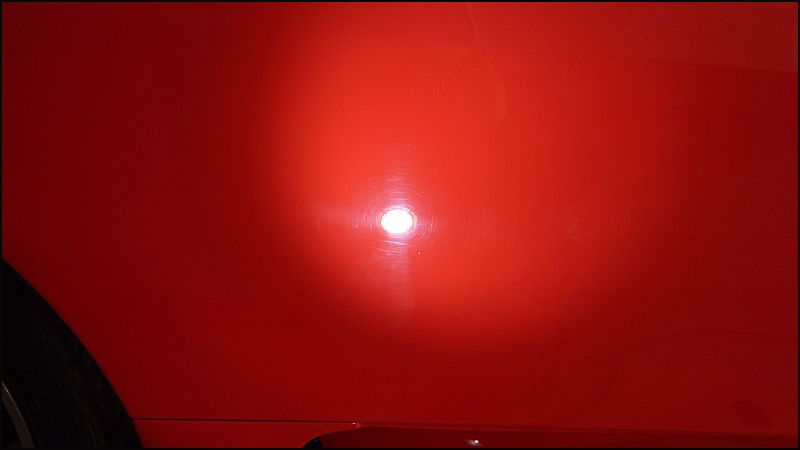
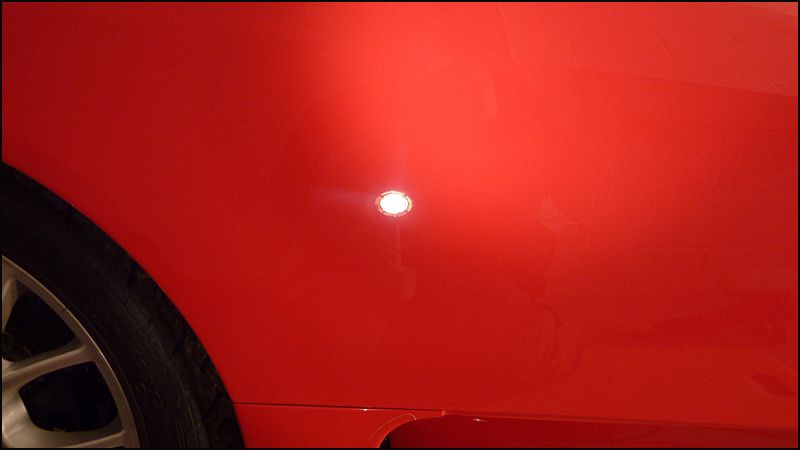
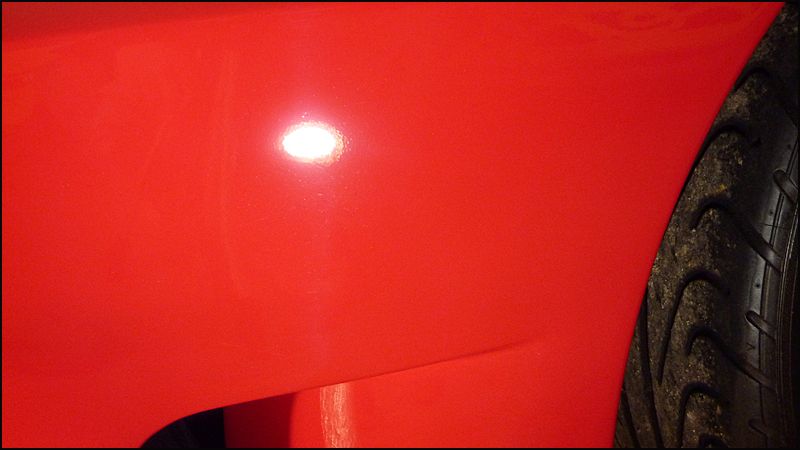
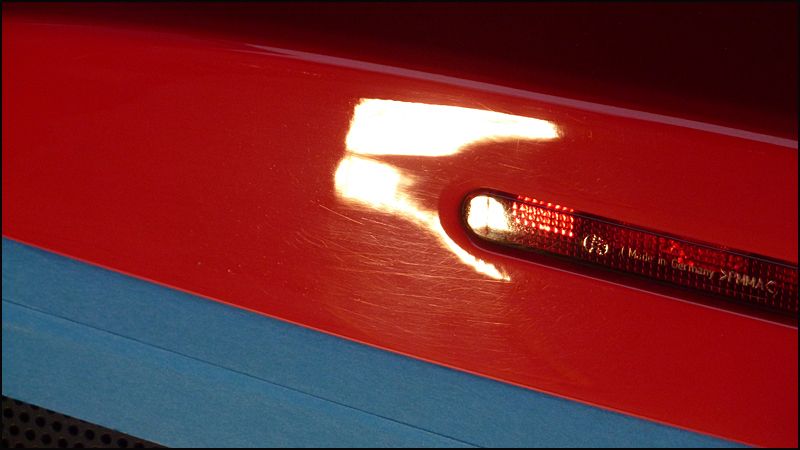
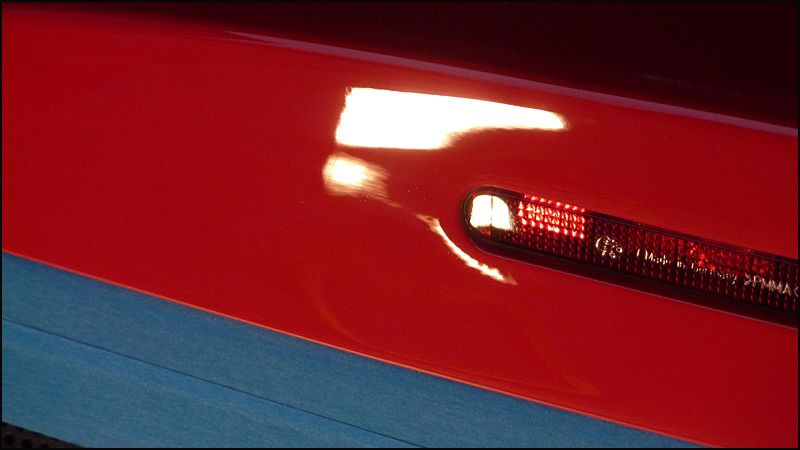
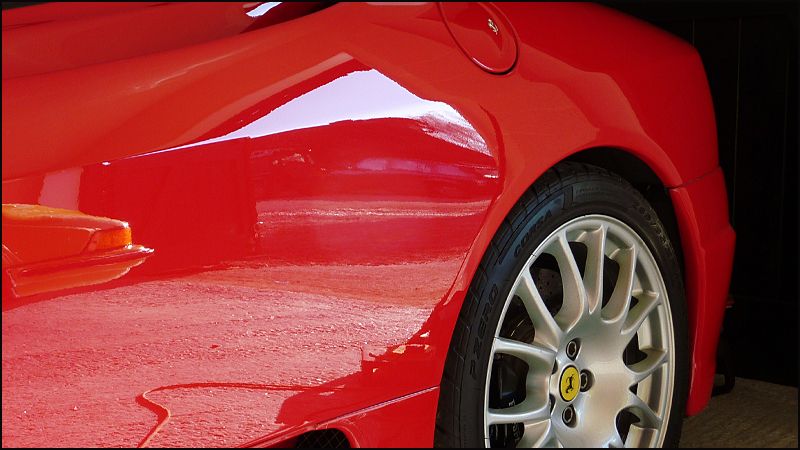
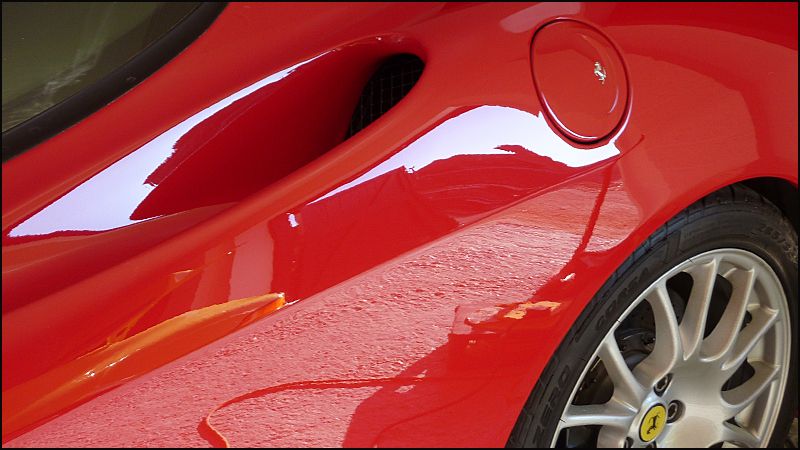
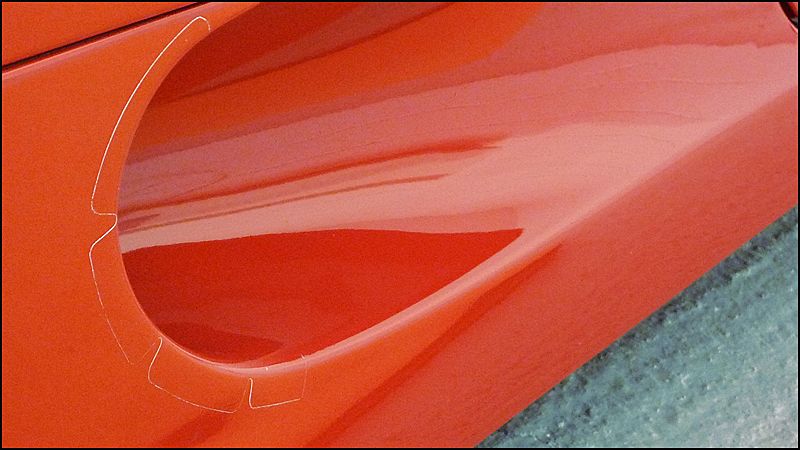
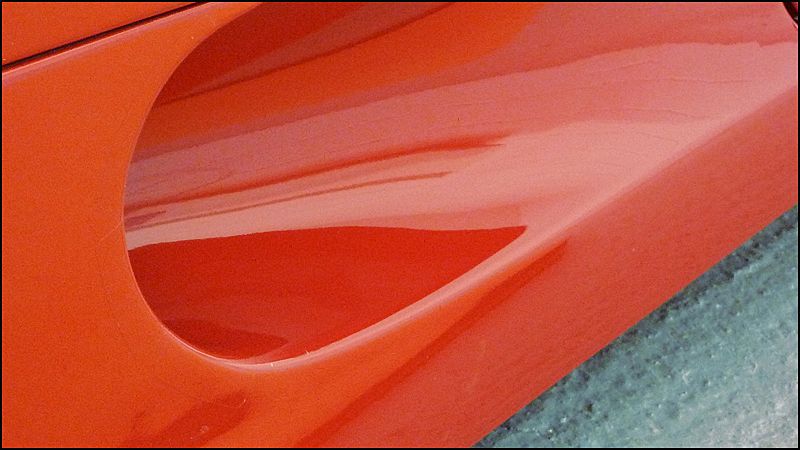
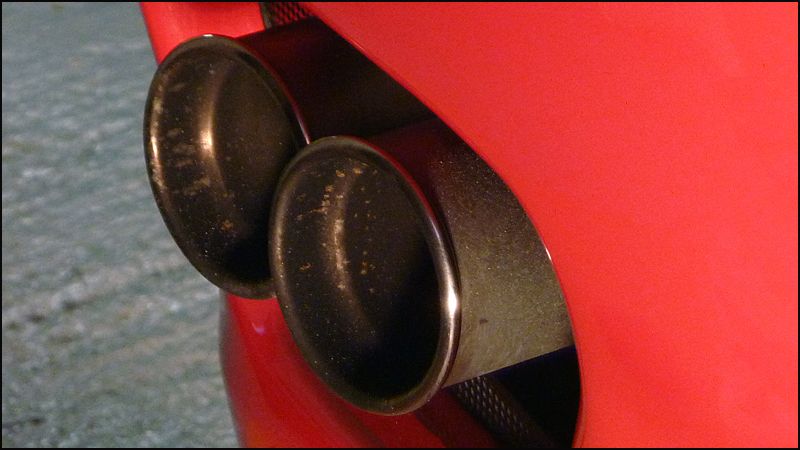
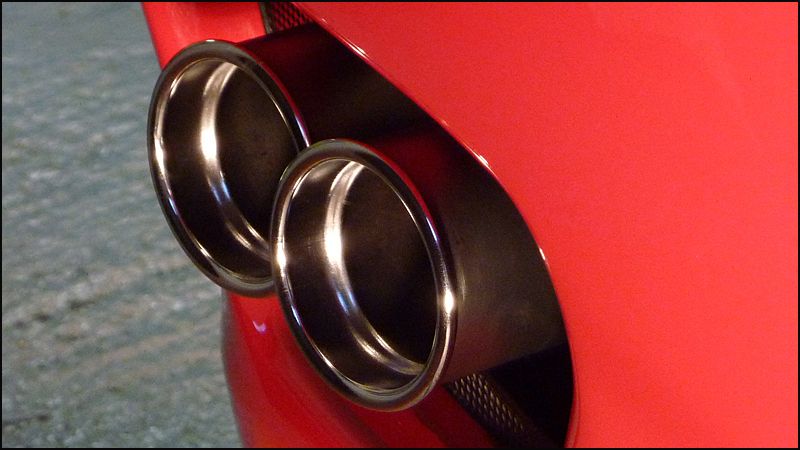
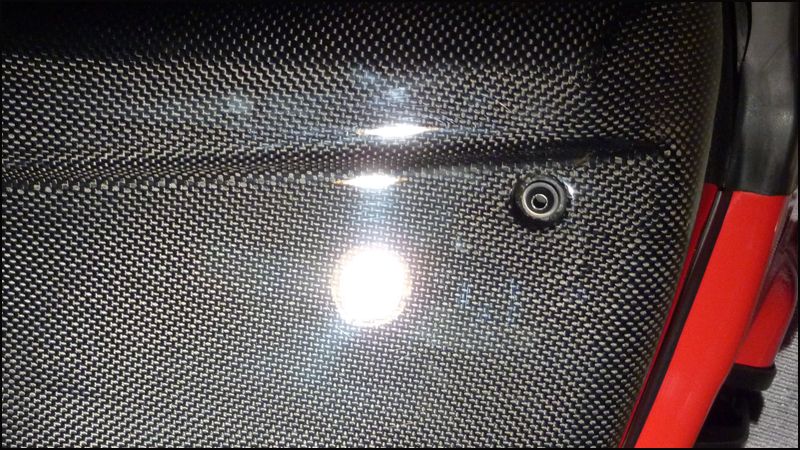
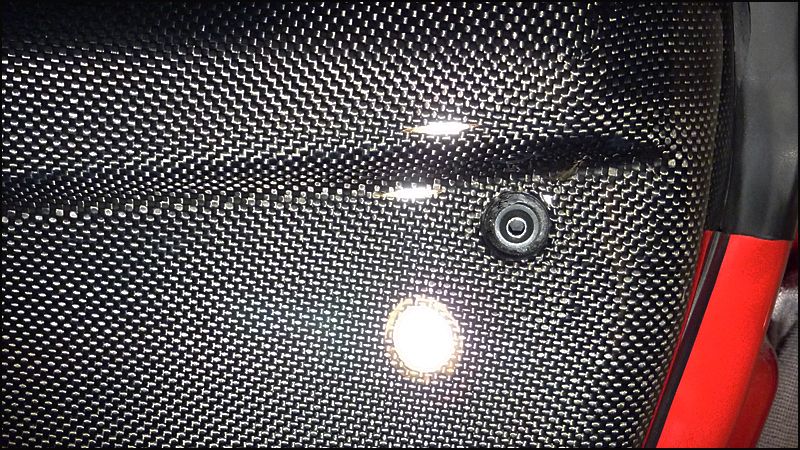
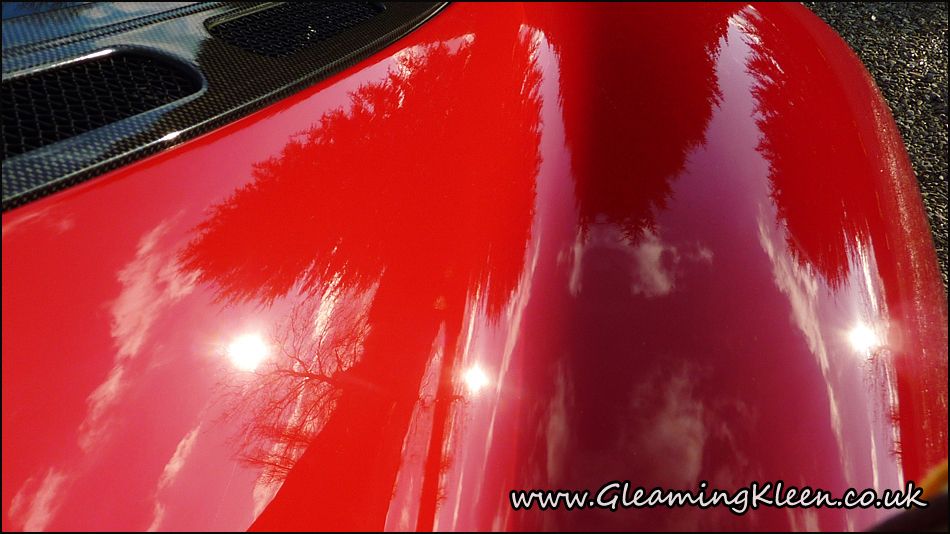
Few "before & after's" shots before the paint being refined.
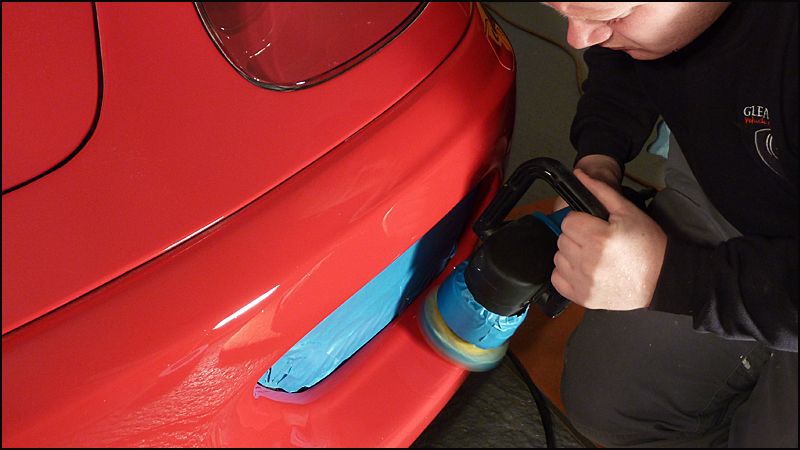
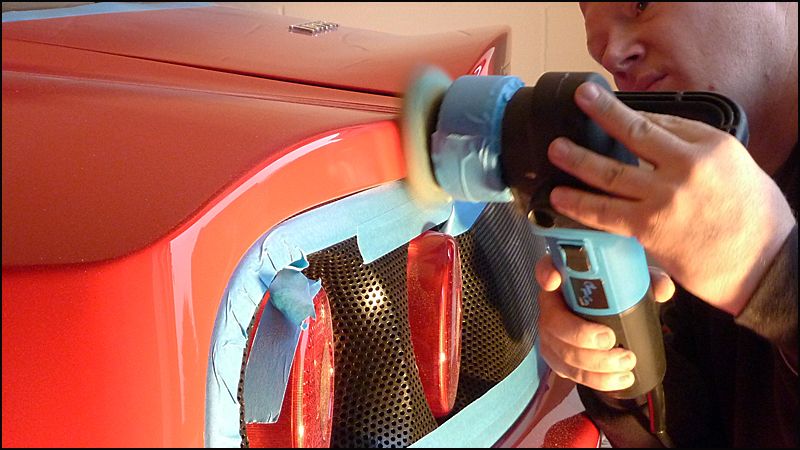
Tighter areas's such as bumpers and air intakes cut in with 4in pad
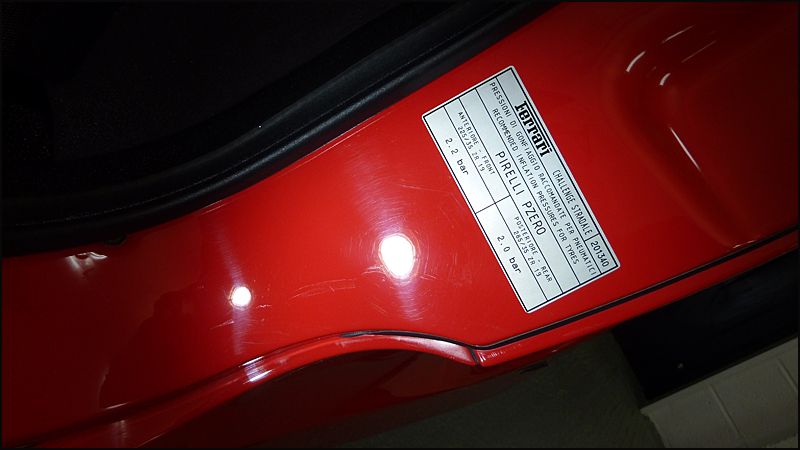
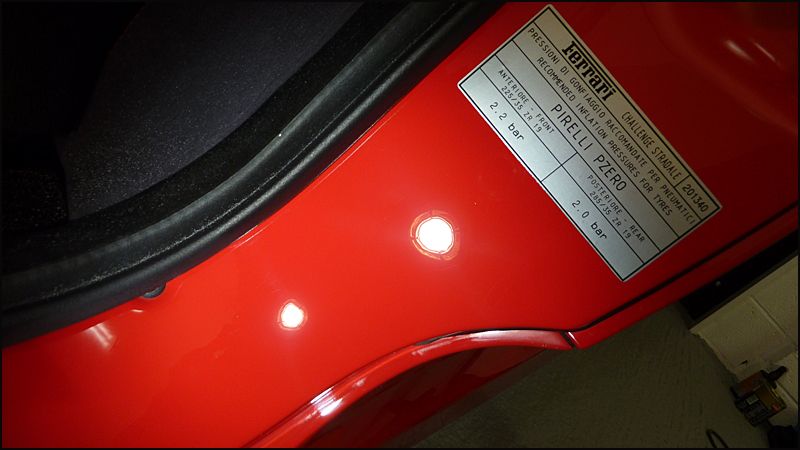
Inside the door jambs were also corrected
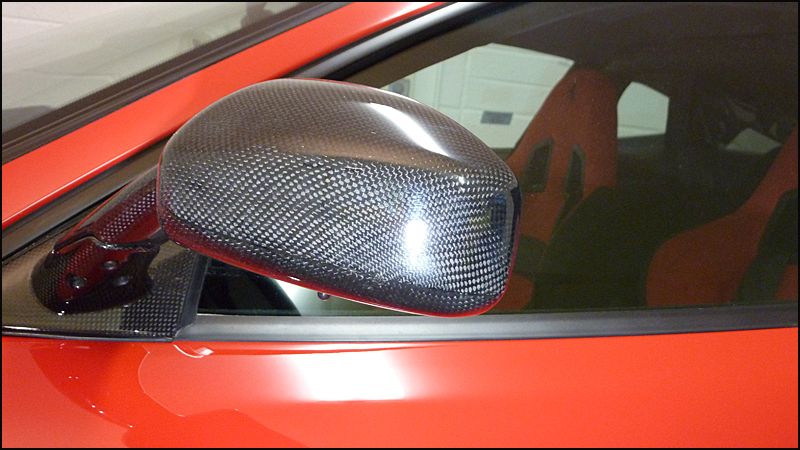
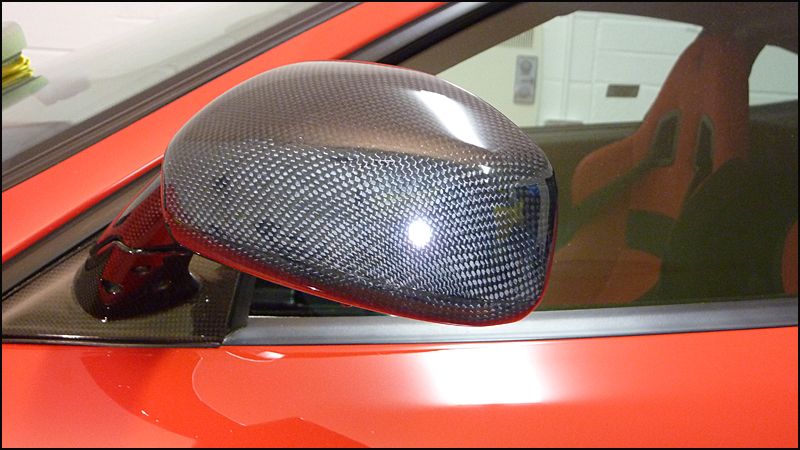
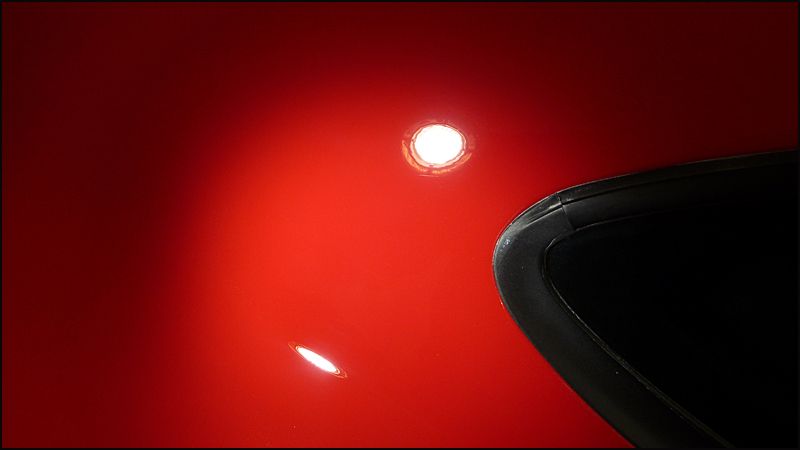
The carbon fiber wing mirrors suffered from some swirling so these were corrected using Menz 203s
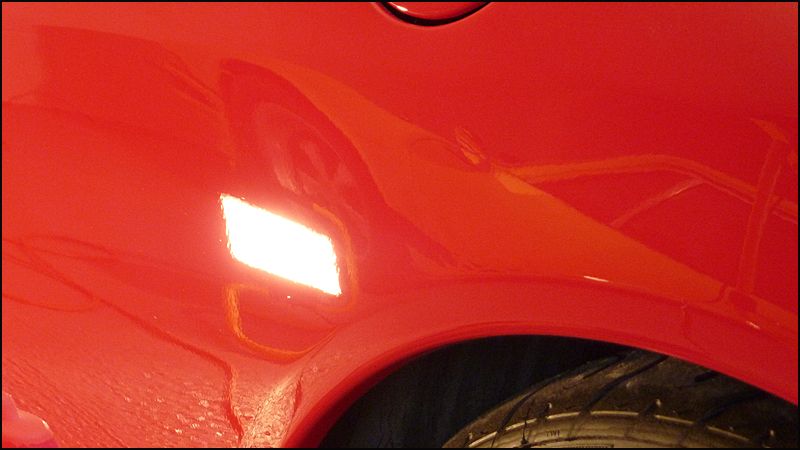
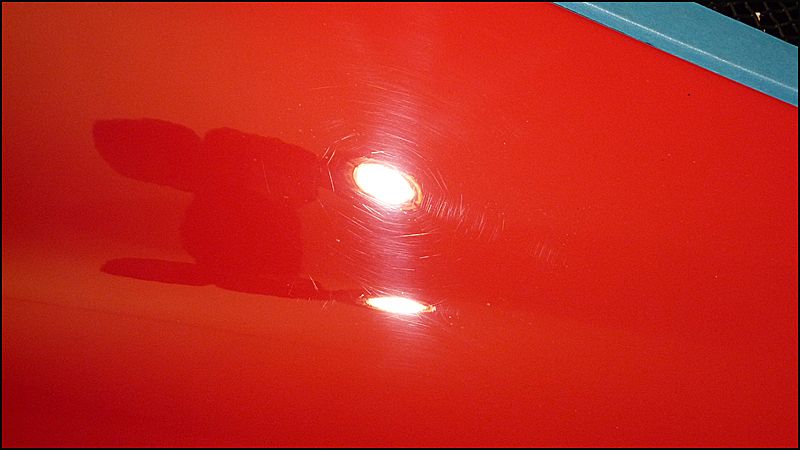
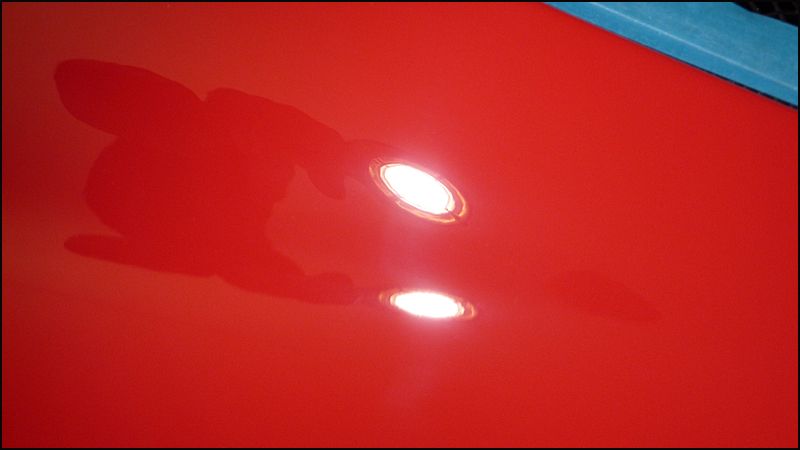
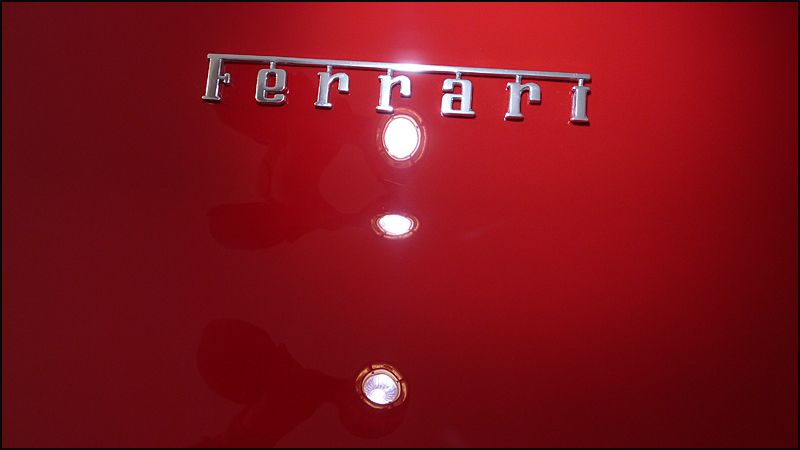
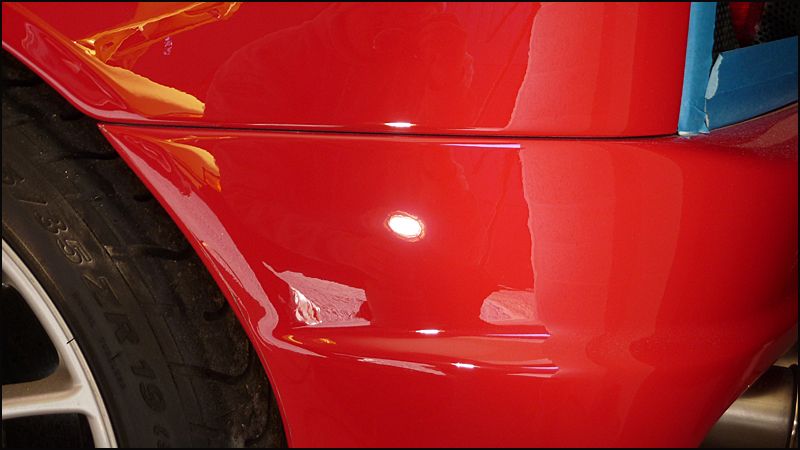
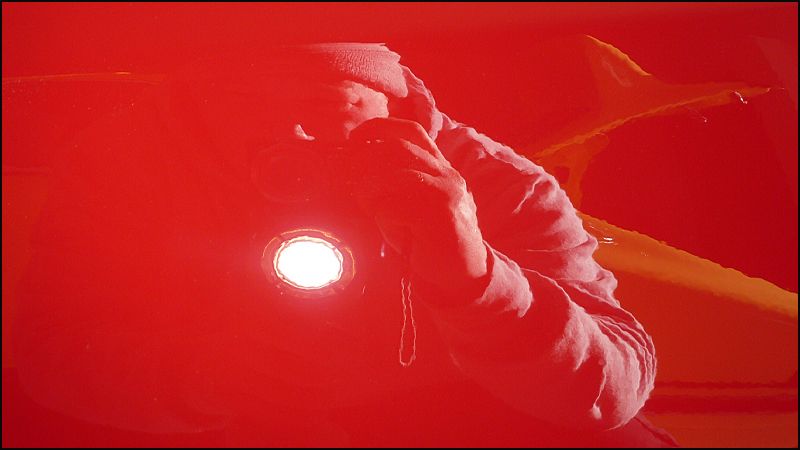
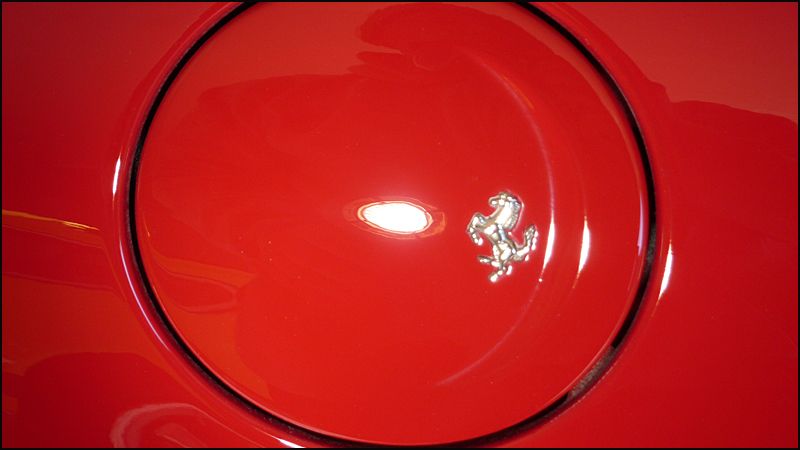
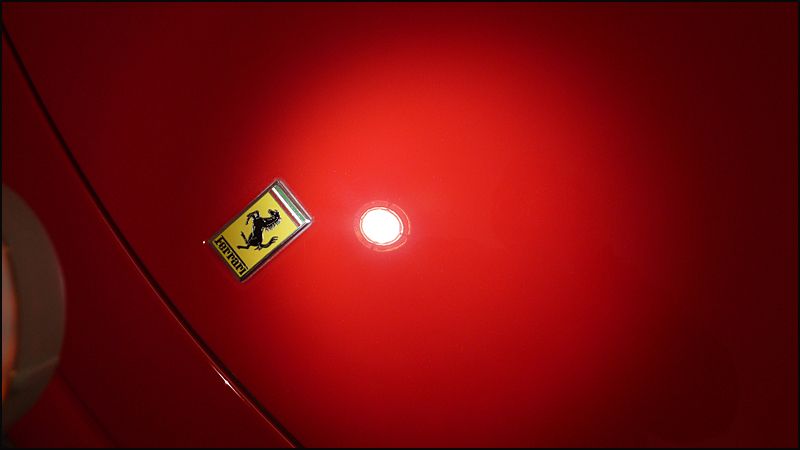
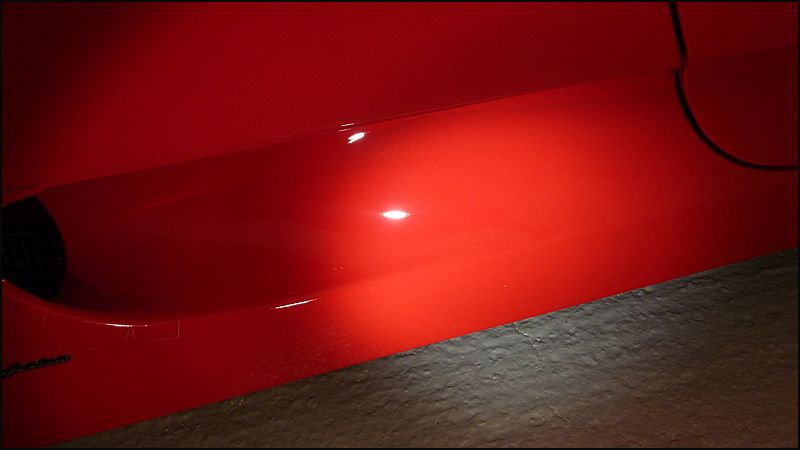
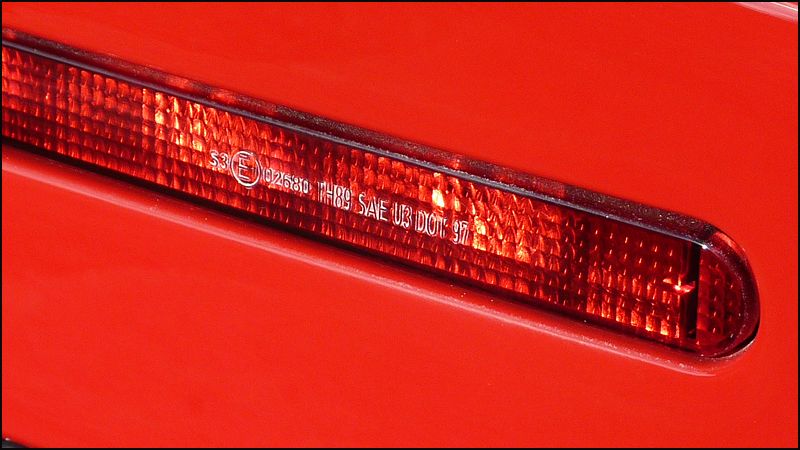
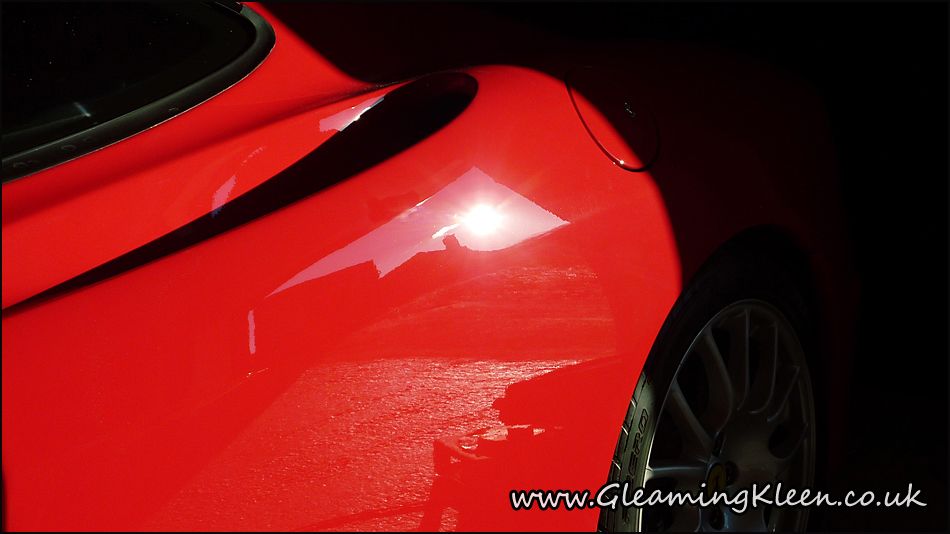
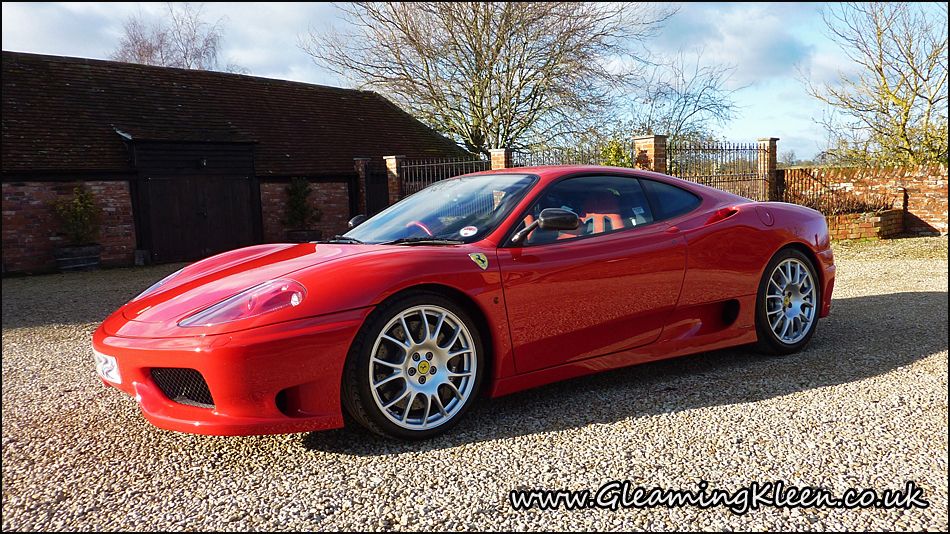
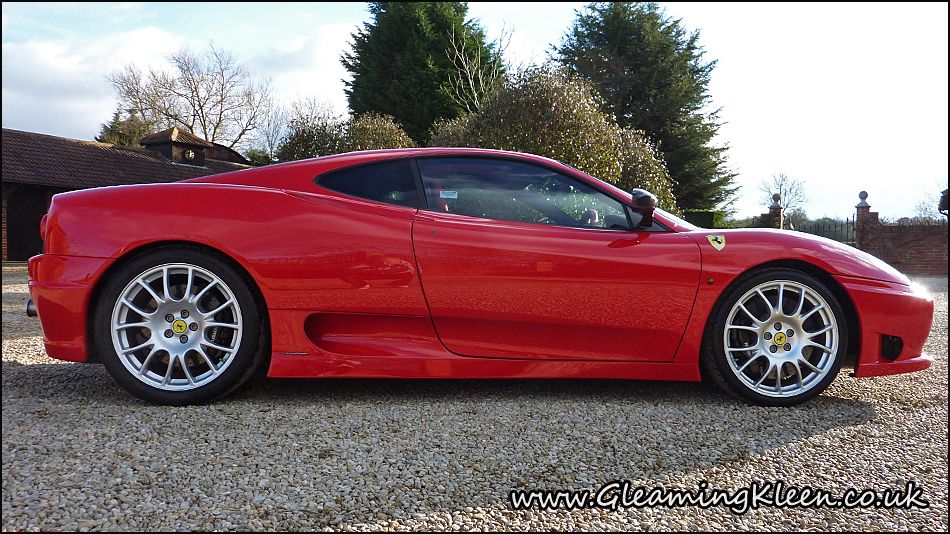
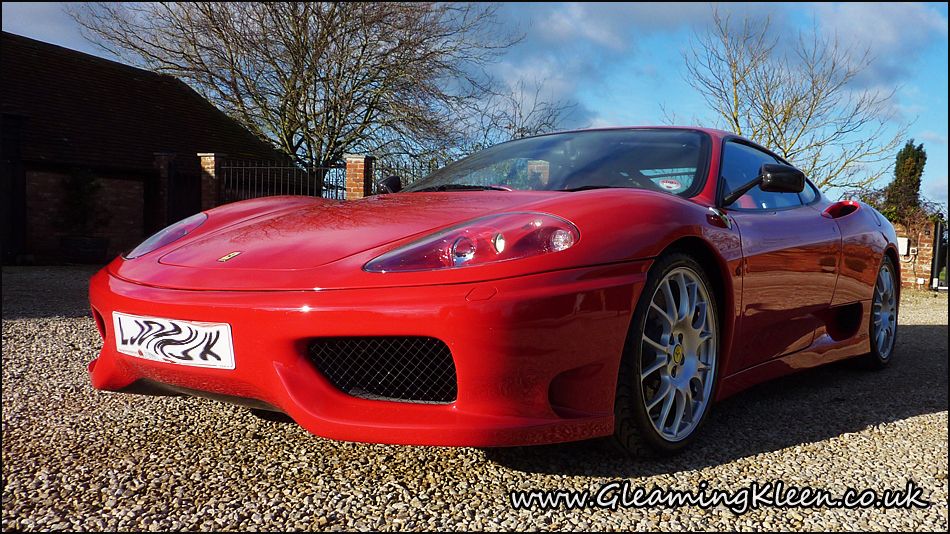
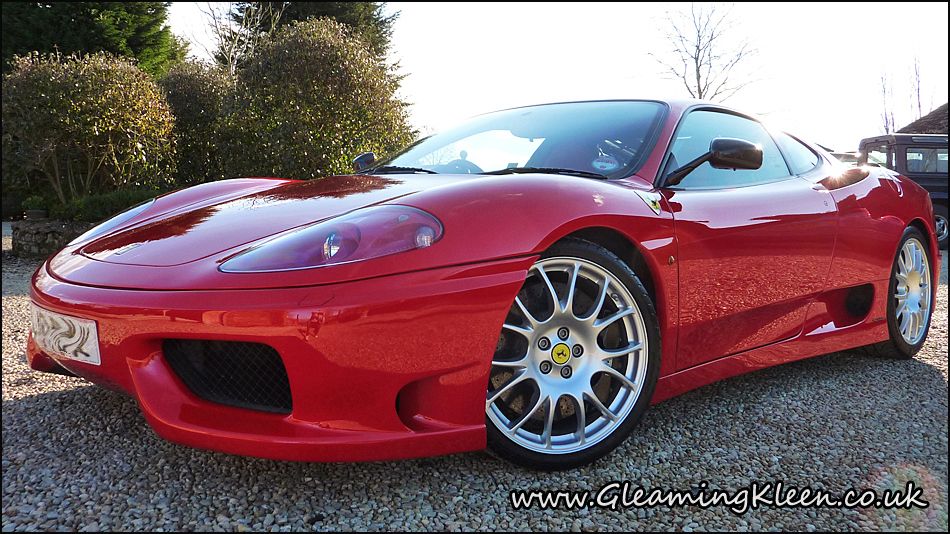
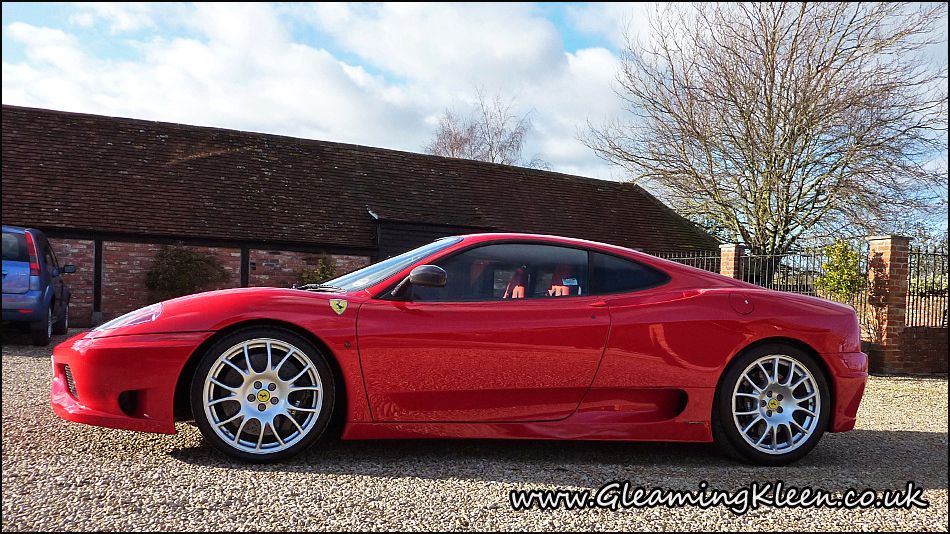
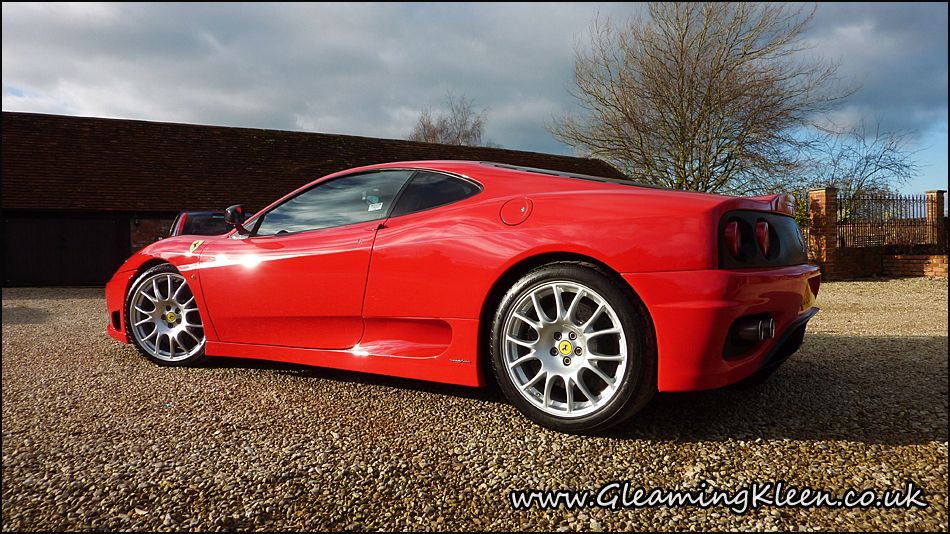
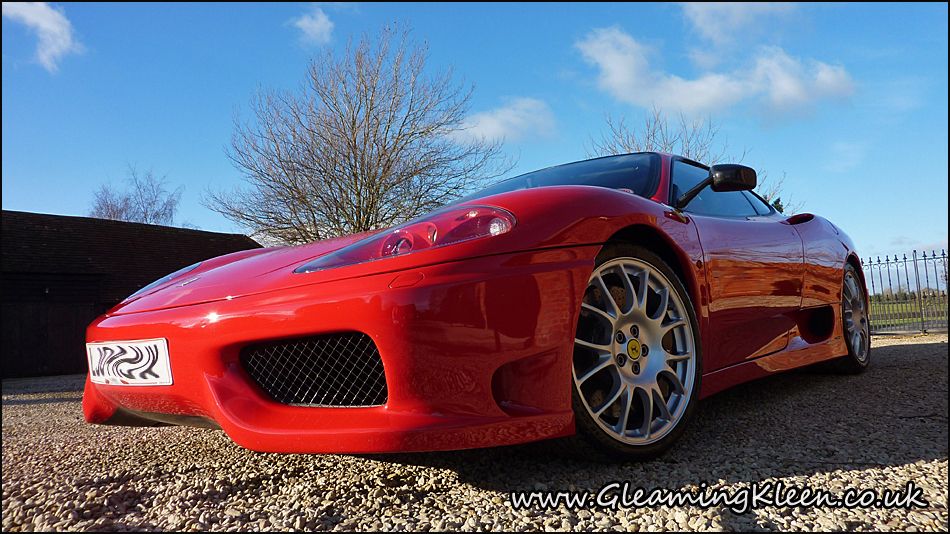
Once all the heavy polishing was complete I then refined the finish with Menz 106FA which added a tremendous amount of gloss and clarity to the paint.
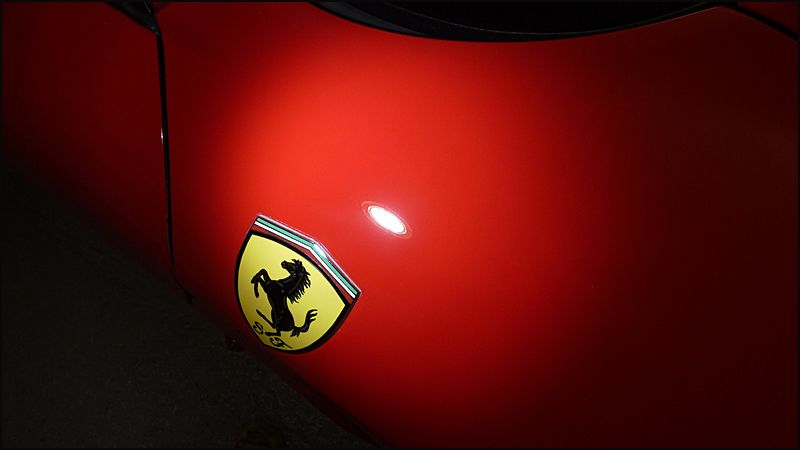
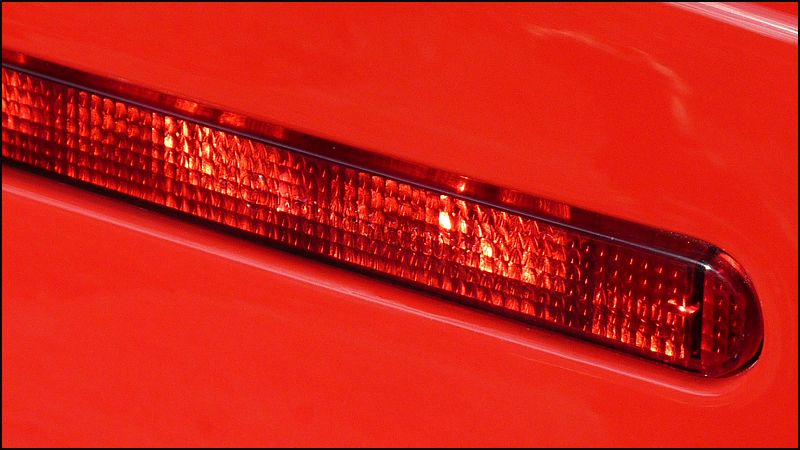
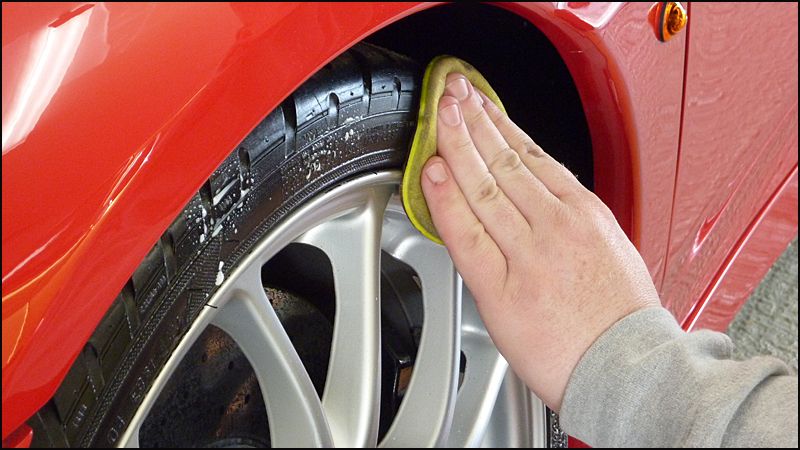
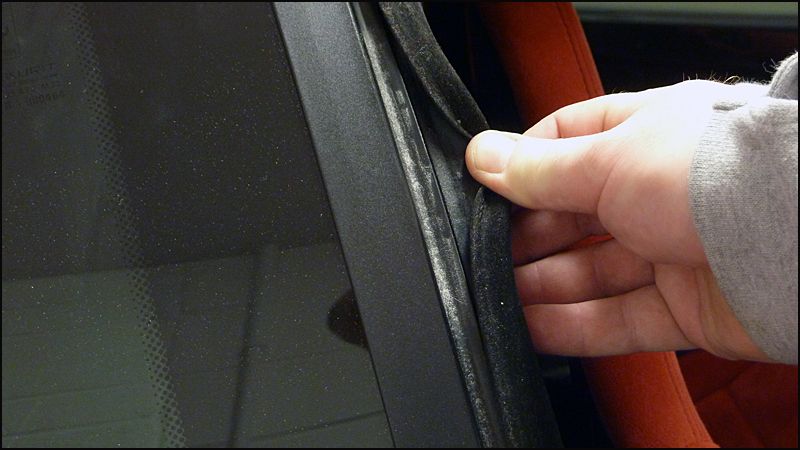
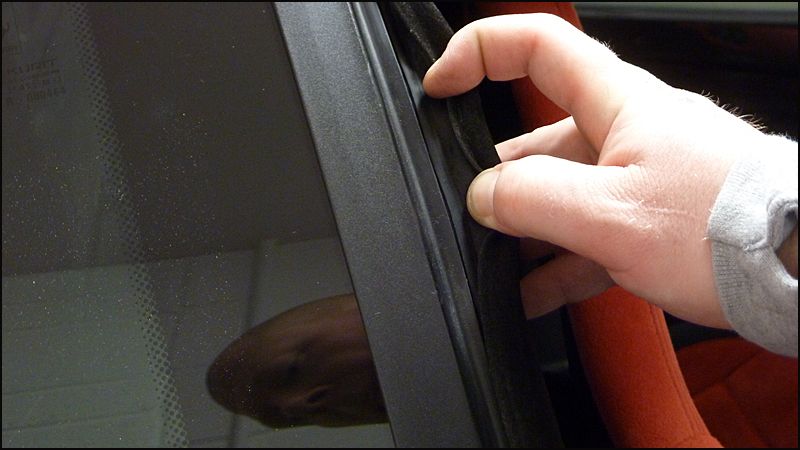
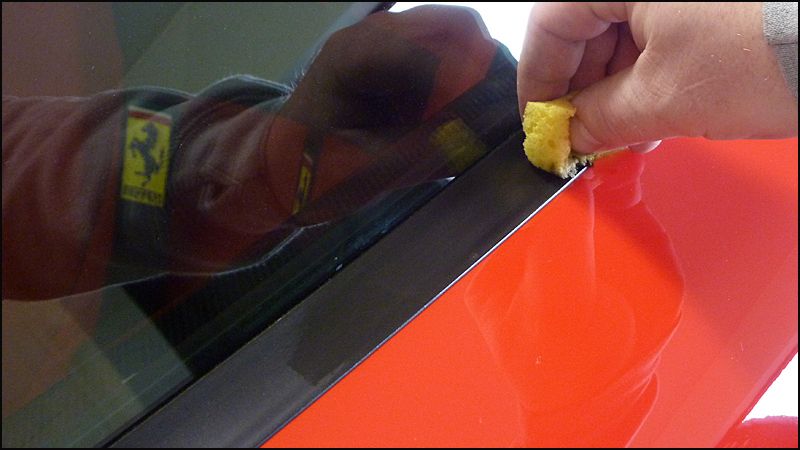
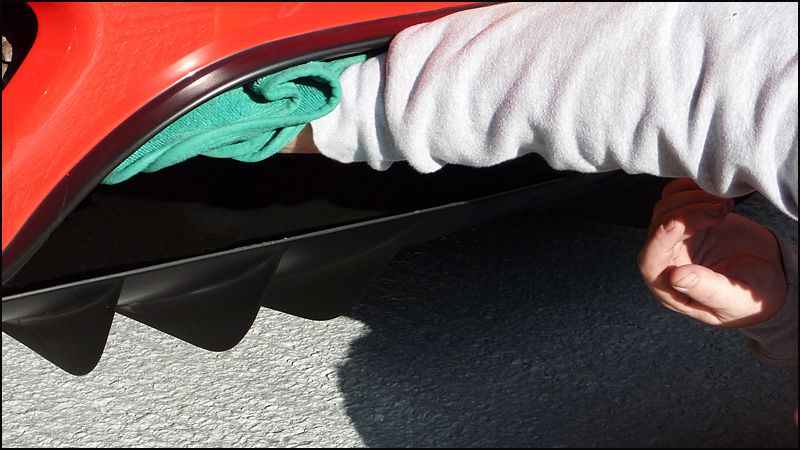
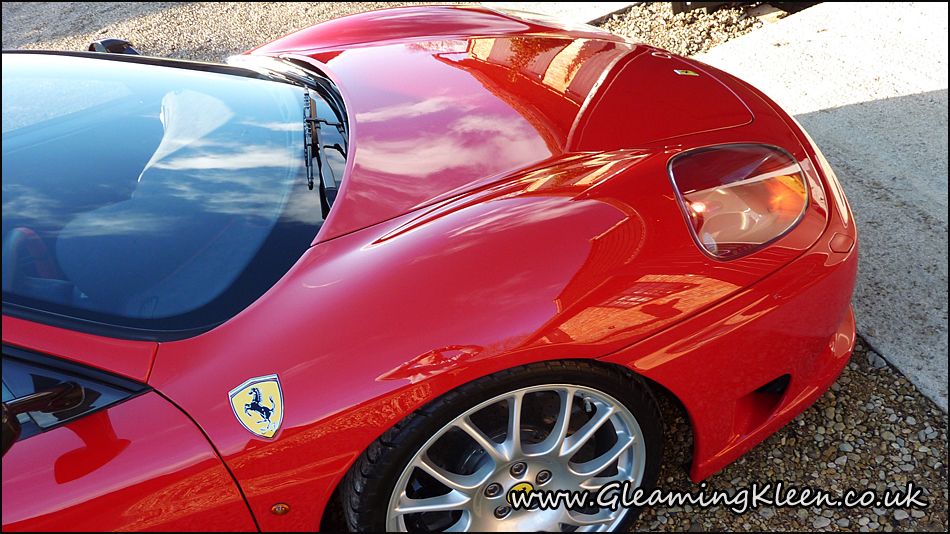
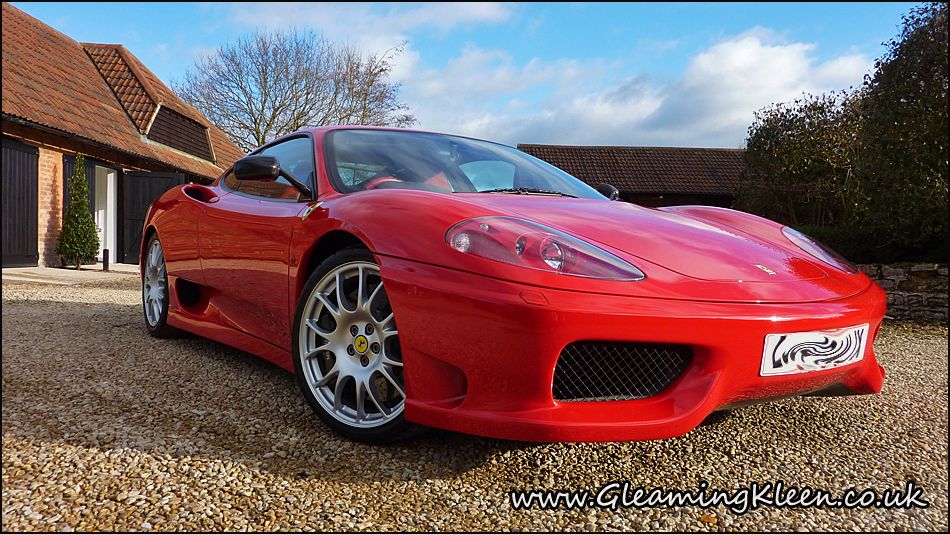
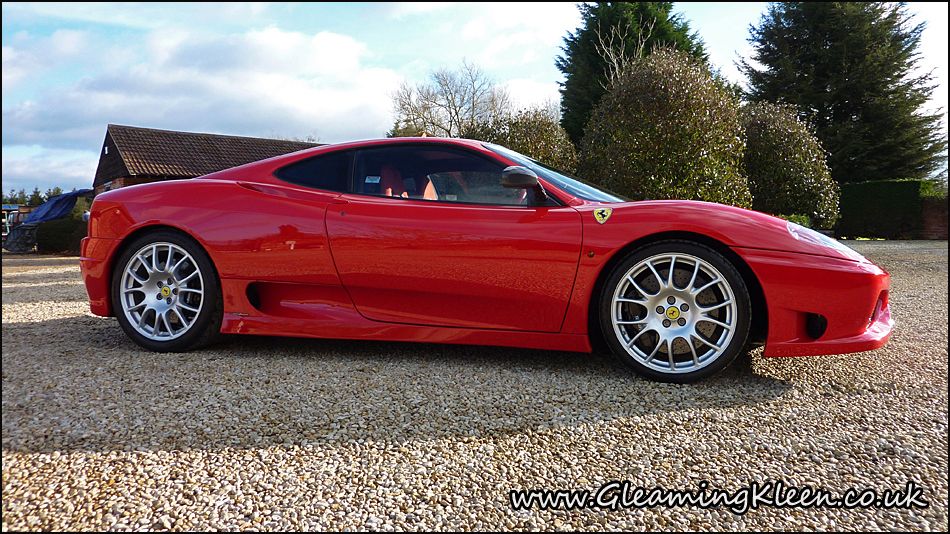
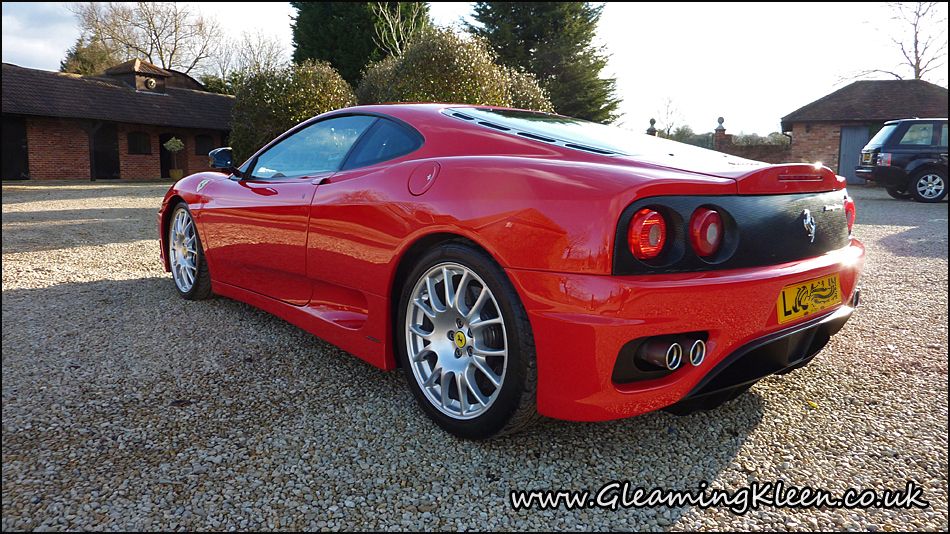
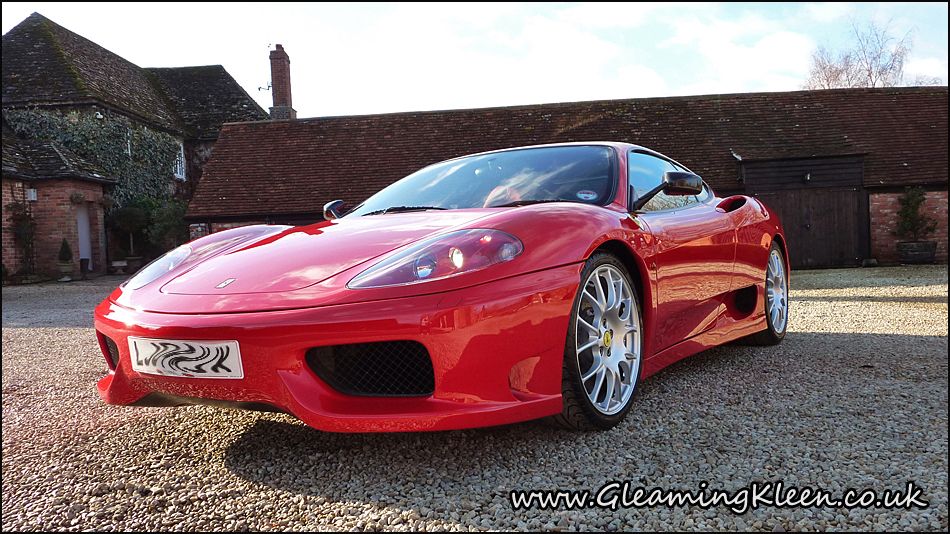
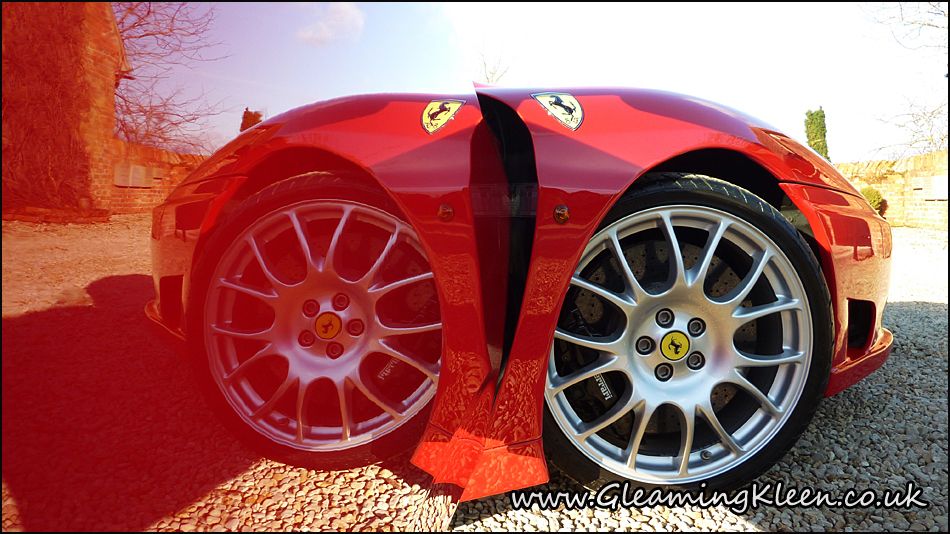
Once all of the polishing stages were done the smaller details were attended too such as the removal of polishing dust from every crack and crevice, polish residue removed from around badges and paint protection film, exhaust tips polished and sealed, sealing the wheels and dressing the tyres, protecting the rear diffuser and lastly appying a coat of a Blackfire Wet Diamond Sealant to all paintwork.

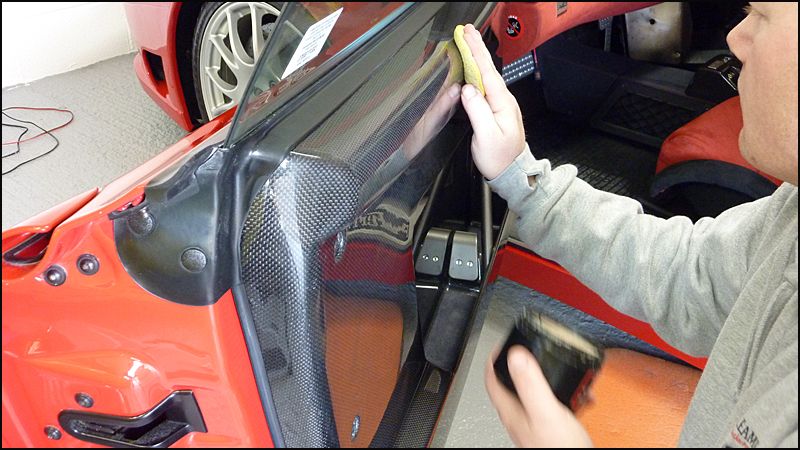
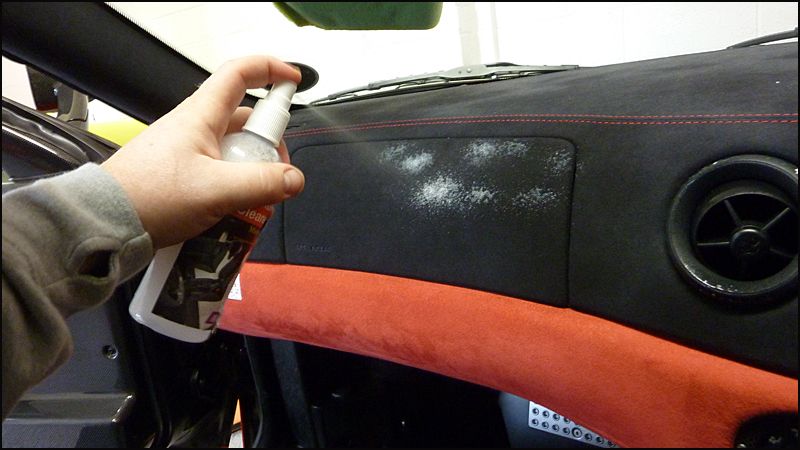
Once the exterior was complete I concentrated on the interior - this consisted of first polishing all the carbon fiber and then protecting this with a layer of Swissvax Best of Show. Once this was complete I then gave the interior a good vacuum and then cleaned the alcantera with Raceglaze Alcantera Cleaner
Usual wash and decontamination stages were carried out but didnt photograph these stages.
So starting with the engine bay
The carbon fiber was removed from the engine bay and given a light polish, I then dressed all hoses etc with swissvax Pneu and then polished the exhaust box
I found the paint on this to very "grabby/sticky" so instead of fighting with it using the rotary I used my DAS-6 PRO Dual Action Polisher. For the compounding stages I used Menz 3.02 on a LC Hydo Cyan pad.
After each hit I made sure I gave the panel a thorough IPA wipe down to ensure I was getting "true correction".
Few "before & after's" shots before the paint being refined.
Tighter areas's such as bumpers and air intakes cut in with 4in pad
Inside the door jambs were also corrected
The carbon fiber wing mirrors suffered from some swirling so these were corrected using Menz 203s
Once all the heavy polishing was complete I then refined the finish with Menz 106FA which added a tremendous amount of gloss and clarity to the paint.
Once all of the polishing stages were done the smaller details were attended too such as the removal of polishing dust from every crack and crevice, polish residue removed from around badges and paint protection film, exhaust tips polished and sealed, sealing the wheels and dressing the tyres, protecting the rear diffuser and lastly appying a coat of a Blackfire Wet Diamond Sealant to all paintwork.
Once the exterior was complete I concentrated on the interior - this consisted of first polishing all the carbon fiber and then protecting this with a layer of Swissvax Best of Show. Once this was complete I then gave the interior a good vacuum and then cleaned the alcantera with Raceglaze Alcantera Cleaner


 ...first class...