2007 QP well here goes (engine mounts )

martininkent

Junior Member
Messages
137
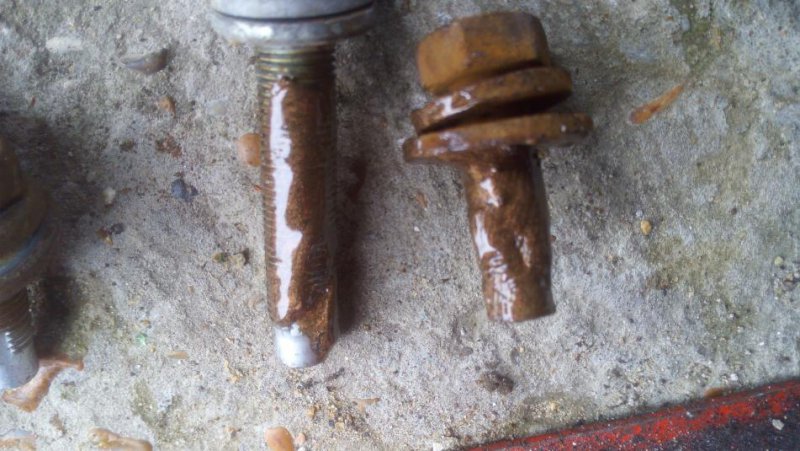
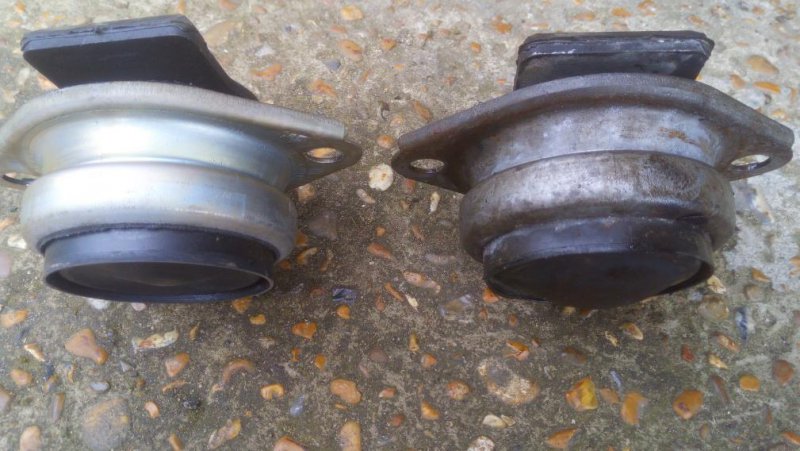
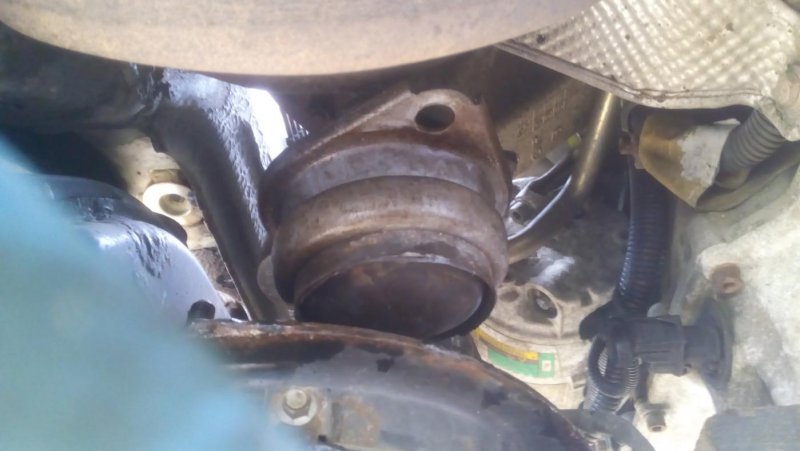
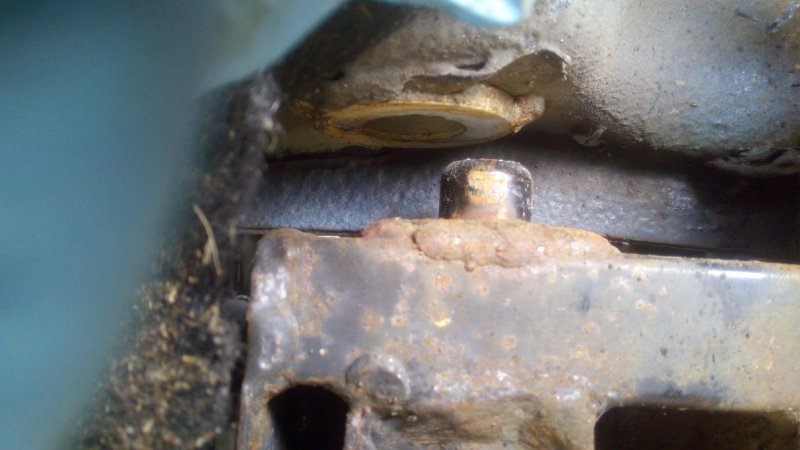
so started to prep for tomorow, (engine mounts replace )
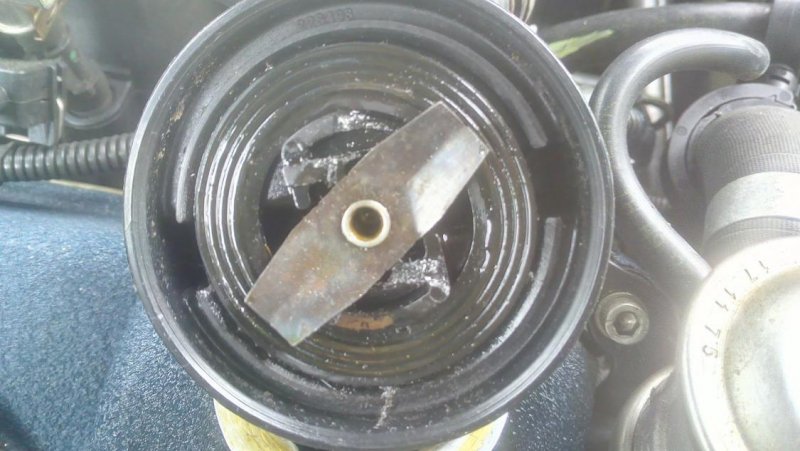
also a oil leak to check for
blowby on exhaust pipe joints ,reseal joints and replace clamps its blowing a bit (M4 type stainless marine grade clamps )
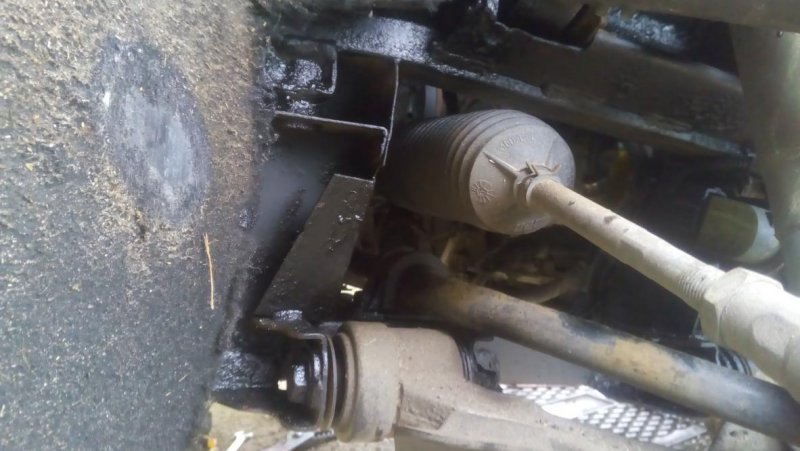
drop subframe and treat rust if any with wax if needed,
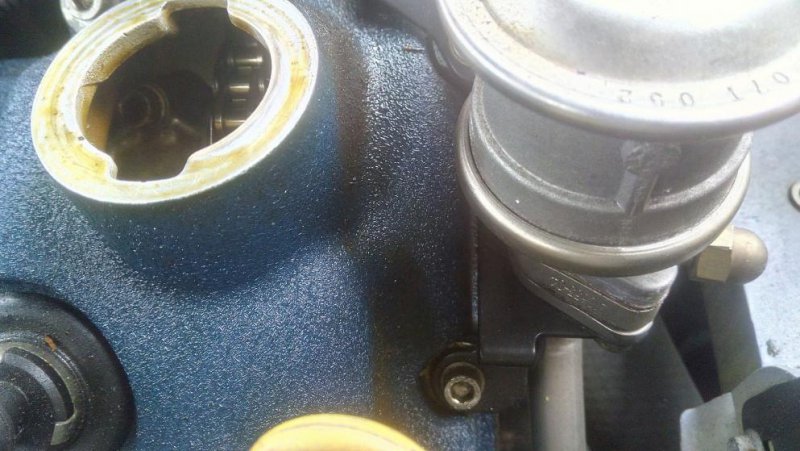
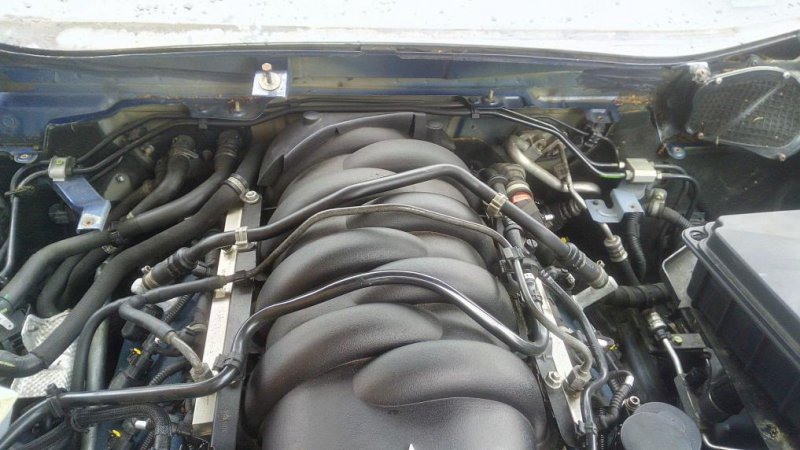
replace all spark plugs and a engine air oil and filter change, gearbox oil change

so far found the oil leak ,its coming from broken oil filer cap and running down the rocker cover following the head face then runs down the side of the sump and blown back over the gearbox sump,

,(first time i've ever removed it in 3 weeks )
new one on order,
the wiper motor and the bulkhead drain tray was nice and easy to remove, just realy to check on condition and make a bit more room for fitting the plugs but i don't think you really need it,
found n/s main link rod for wipers ball joint shot so ordered a new one
 

Attachments

  • IMG_20180402_110503.jpg
    IMG_20180402_110503.jpg
    97.2 KB · Views: 159
  • IMG_20180402_110453.jpg
    IMG_20180402_110453.jpg
    97.7 KB · Views: 163
  • IMG_20180402_110423.jpg
    IMG_20180402_110423.jpg
    98.6 KB · Views: 159

azapa

Member
Messages
1,300
Great start! Post more please. Love DIY on these "exotics". It's a little daunting to start with, but in the end they are just cars :)
 

martininkent

Junior Member
Messages
137
well i must say from experience its looks like there seems to be much more room in the engine bay than a BMW 645CI and also A PORSCHE 928, they both were knuckle scrapers,
i will post updates with pics , if anyone's interested or it may help someone in the
future,
 

Gp79

Member
Messages
1,398
Good work, interested to see updates / pics as well.

Hope your sub-frame is in good order.
 

martininkent

Junior Member
Messages
137
well all done it took me 6.30 hours, to do plugs ,engine oil and filter , air filter and cleaned off the subframe , (best i could with it still in situ ) then waxed the frame not painted just wax,
and i did the knackered engine mounts, really its not bad a job to do , all the bolts came out, the best way i found is not to use a hammer or nut gun or windy gun what ever you call it, as i think the rapid vibration and twisting action will break the bolts, 2 allen bolts were extremely seized even with a 2ft breaker bar,
but i worked them back and forth with a crack bar so i could feel the twist and i think that generated enough heat and with gradual movement to make the let go, imo !
all bolts cleaned the threads on wire wheel the copper slipped ,

next is remove my front disc and skim them on my lathe just face them off, or replace, i will find out check the tolerance of wear allowed,
you never know it may help someone to do this job if they've been considering it for a while


thanks ,
 

Attachments

  • IMG_20180403_140304.jpg
    IMG_20180403_140304.jpg
    99 KB · Views: 109
  • IMG_20180403_124325.jpg
    IMG_20180403_124325.jpg
    98.2 KB · Views: 111
  • IMG_20180403_124210.jpg
    IMG_20180403_124210.jpg
    85 KB · Views: 111
  • IMG_20180403_153941.jpg
    IMG_20180403_153941.jpg
    94.7 KB · Views: 112
  • IMG_20180403_124023.jpg
    IMG_20180403_124023.jpg
    95.4 KB · Views: 110

Ralph_Manders

Junior Member
Messages
35
Did you manage to get the mounts out without lowering the sub-frame, so lifting the engine a bit, or did you have to loosen the subframe in order to get sufficient clearance?
 

stef4u

New Member
Messages
11
Martin didn't want to use an air pressured tool for subframe bolts, agree but mostly because of not enough torque.
What I did is soak the bolts (2 hidden ones) in oil several times and used an electrical hitachi machine.
Most people start hammering to loosen and keep on doing so.
Trick however is to give short bursts loosening/ fastening: it may take a good 10 minutes but it will loosen any bolt.

To loosen the subframe is worth the hassle to also clean the top side and give it a new coating
 

martininkent

Junior Member
Messages
137
hi ralp-manders, yes i lowered the subframe by about 2 1/2 inches, raised engine by 1 inch maybe, but i also do recommend definitely undo all 6 engine mounting bolts from above 1x 18mm is the center one and 2 x 17 mm on each side of the mount using 3/8 drive as this will pass by the pipework,
, it is so much easier trust me,
i put 4 long bolts back into the subframe mounting holes and used those too hold the frame and lower it, but you could just use a jack.

sef4u if you used a high torque gun , hammer gun ,windy etc i think they would break, as you are applying high torque at a fast rate,too much rusty friction you cant feel what the bolts are doing ,

but each to there own
 

Ralph_Manders

Junior Member
Messages
35
Thanks Martin, I fear I will have to change them this year, maybe can postpone untill the cold season, but the LH side is getting a bit soft.
 

martininkent

Junior Member
Messages
137
hi ralph, go for it , its a very satisfying feeling completing a job,
and one that you have saved some money on , but you really start to know your car , and you know its been done right,