Ghibli II winter works

spacecadet

Member
Messages
378
Lot of external work just finished, Friday was like Christmas time when they all came in.

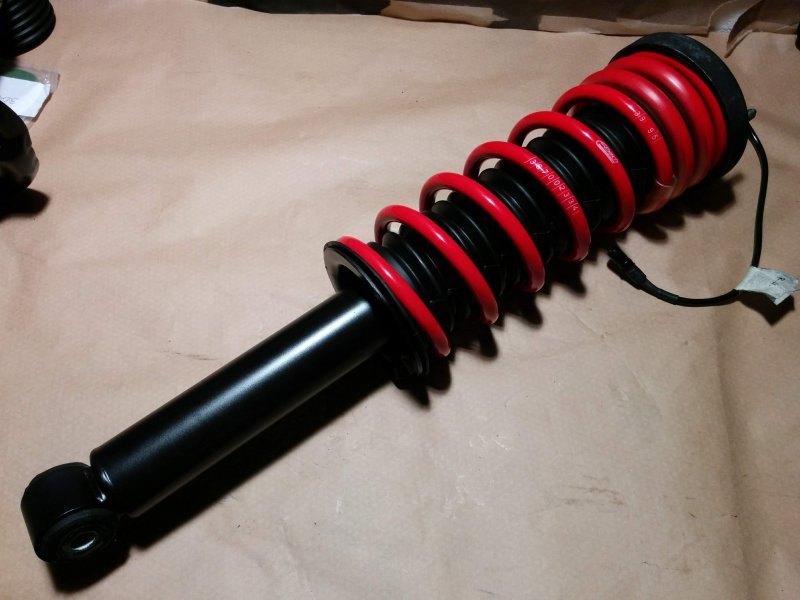
I've received the shocks. They were tested on the dyno in all 4 positions (using an electric testing harness) and despite the motors gave an audible sound there was no change in the dampening, etc. So I had a few options to choose from: 1. fully fix them, but for this other working shocks (even earlier Biturbo shocks are ok, which have a slightly different casing) have to be broken for parts 2. install Koni inserts in them 3. just open them up, clean, refill and fix in one of the position. I choose the later, because in the long run I plan to install coilovers (Intrax or HYR, the currently known out of the box solution), so right now I have them fixed in position 3. The work was done by http://www.verbaaspreparations.nl/ I know there are contacts in the UK too, but the more the better.

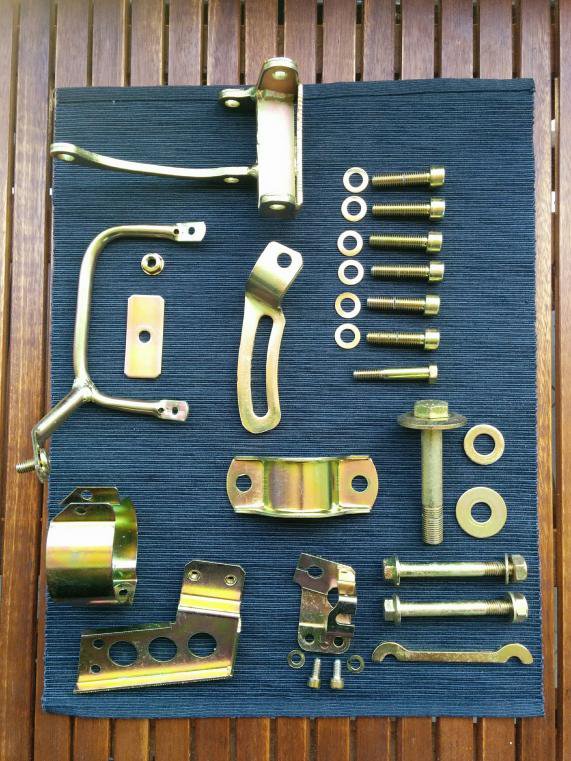
Lot of plated parts received, a small example:
IMG_20180513_152440.jpg

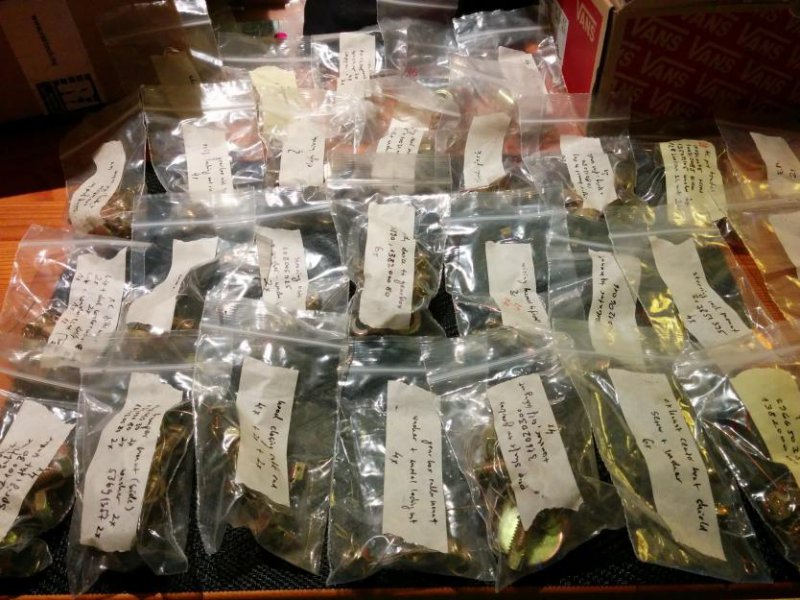
I made a catalogue before so just had to resort and verify everything
IMG_20180510_230139.jpg

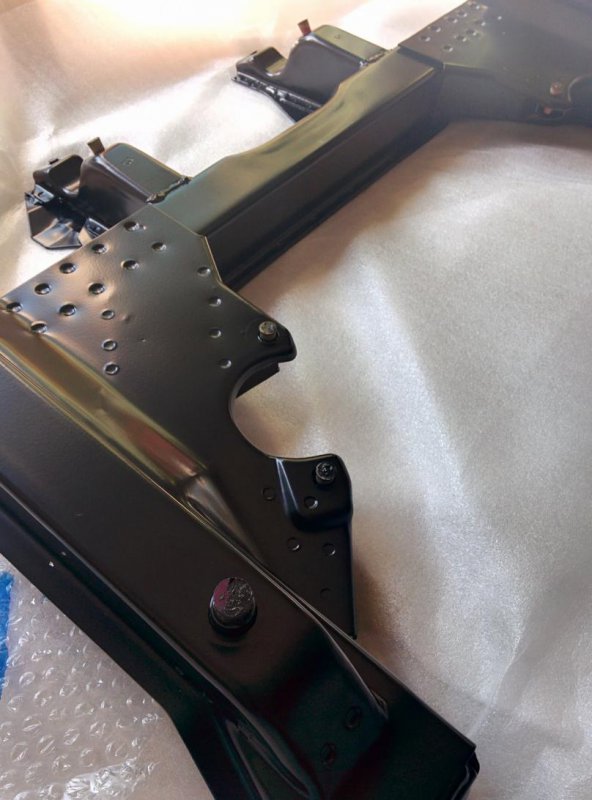
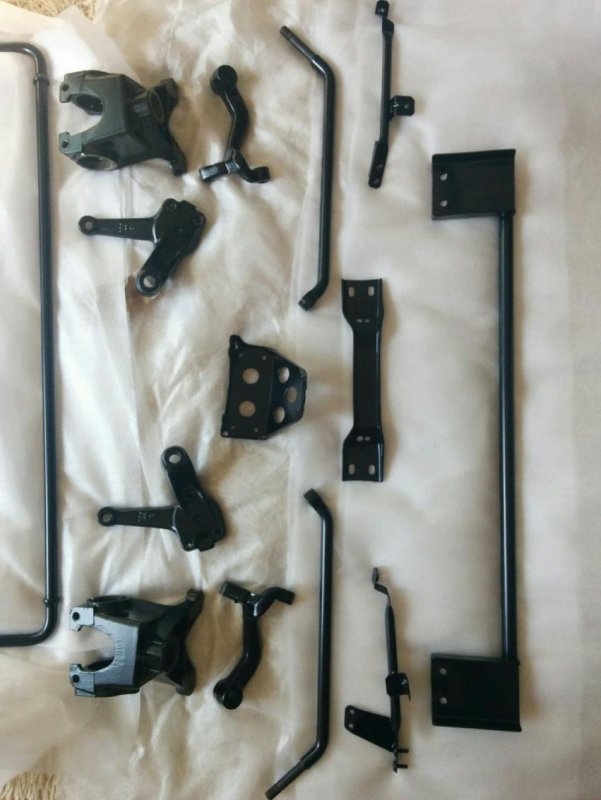
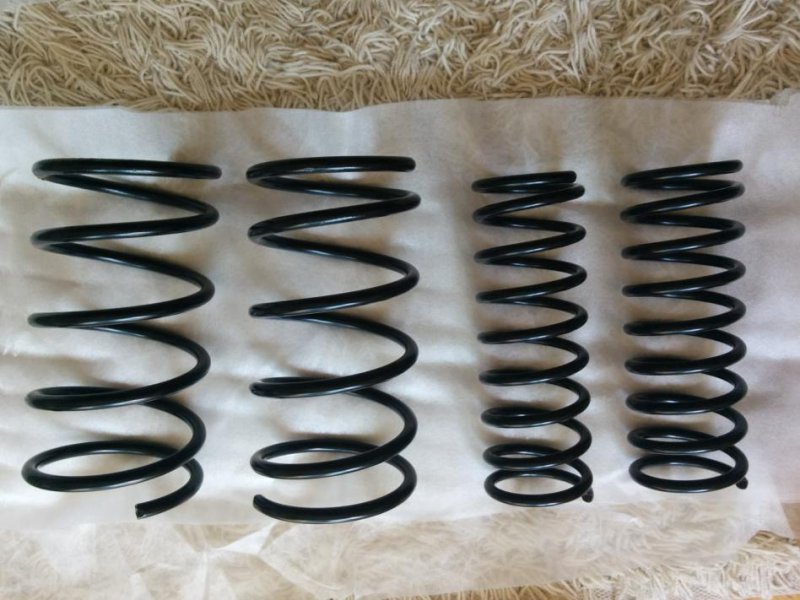
Coating of the front suspension parts is also done, originally it was powder coated so this time I did the same. Rilsan, a thermoplastic powder (like Plascoat PPA) was used used which is said to have better characteristic then the typical thermoset powders, like better impact (stone chip) and abrasion resistance and also much more flexible (which is good for springs). Will see how it holds up in the long run.
IMG_20180512_084837.jpg

IMG_20180512_092137.jpg

IMG_20180512_085308.jpg

There are a few more smaller things to sort out, and then comes the engine.
 

spacecadet

Member
Messages
378
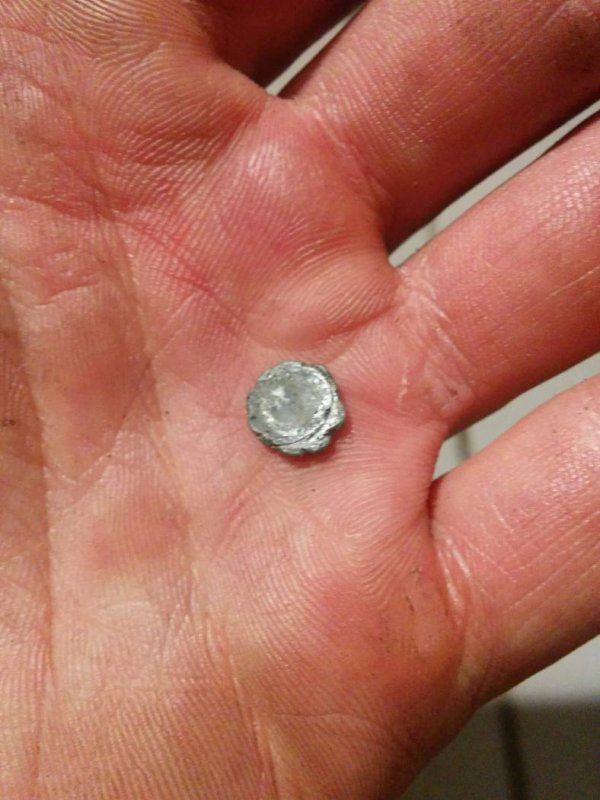
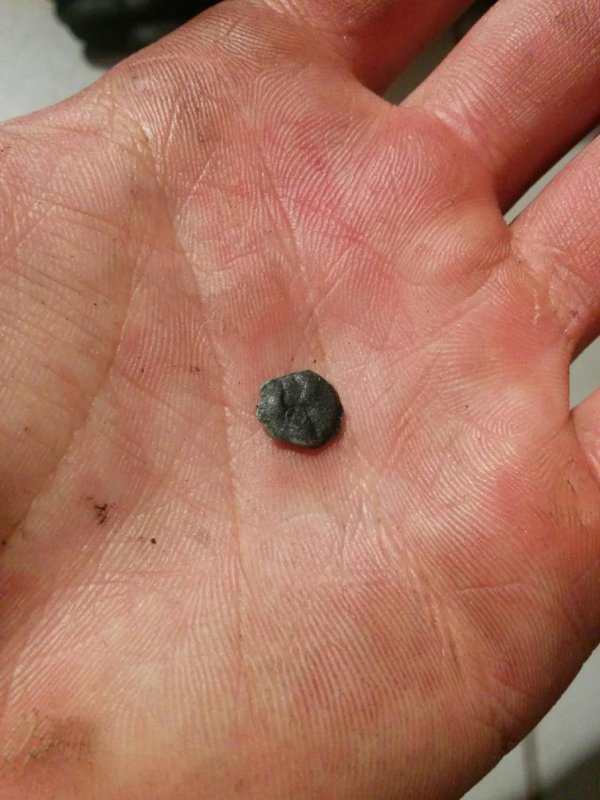
Not so soon... today I disconnected one of the turbo to check the hoses, replace if needed. I turned over the whole assembly to spill the left-over coolant and bang, a metal piece landed on the bottom of the bowl. I'm not sure where it came from, but every hole and pipe was taped down except the bended metal water return pipe, so I'm quite sure it came from there :scared3: What the **** could this be?

IMG_20180522_204827.jpg

IMG_20180522_204841.jpg
 
Messages
388
Peter, the thread you're creating here is of such value for the Ghibli II and their owners as the cars become rarer. Although, I do hope you realise that if mine needs to be refurbished in the future I'll be driving to Hungary and knocking on your door! Great thread, keep up the good work.
 

spacecadet

Member
Messages
378
A piece off the back of a corroded frost/core plug ?

Hmm, actually it has a similar shape, I'll check them.

Maybe it has been laying on top of it?

Unfortunately I haven't seen it before...

Peter, the thread you're creating here is of such value for the Ghibli II and their owners as the cars become rarer. Although, I do hope you realise that if mine needs to be refurbished in the future I'll be driving to Hungary and knocking on your door! Great thread, keep up the good work.

Thanks, since they are rare, that's only how I can get help, in return I try to give it back to the community. You are welcome anytime, but I would only offer you a drink, everything else should wait while mine is together and running :)
 

spacecadet

Member
Messages
378
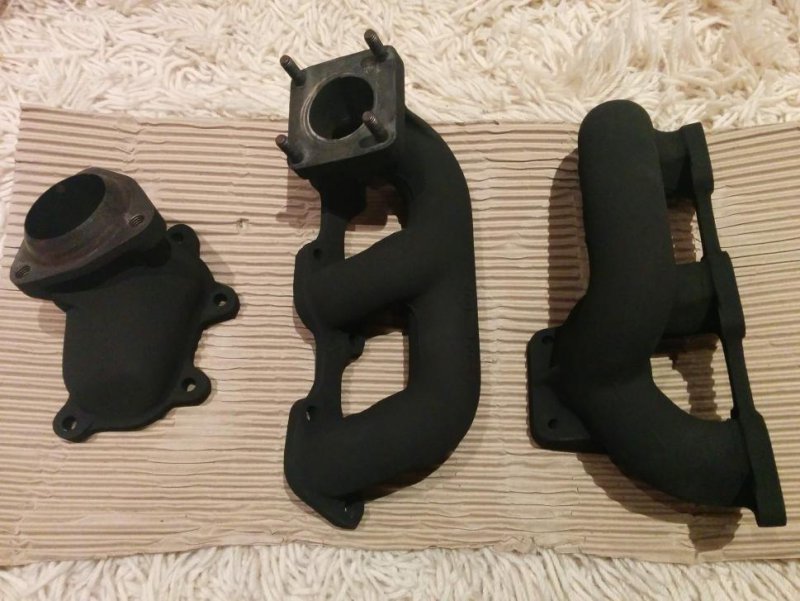
Today I've received the coated manifolds. The black looks much nicer in real, I think it will go well with the engine (red, aluminium, black), but more importantly it should reduce the temperatures in the engine bay.

IMG_20180524_202705.jpg
 

spacecadet

Member
Messages
378
Bad news from the weekend...

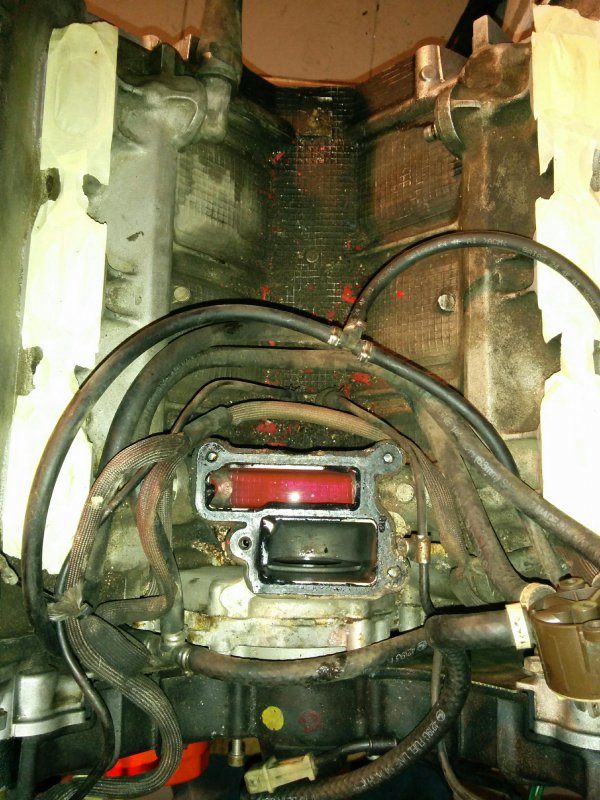
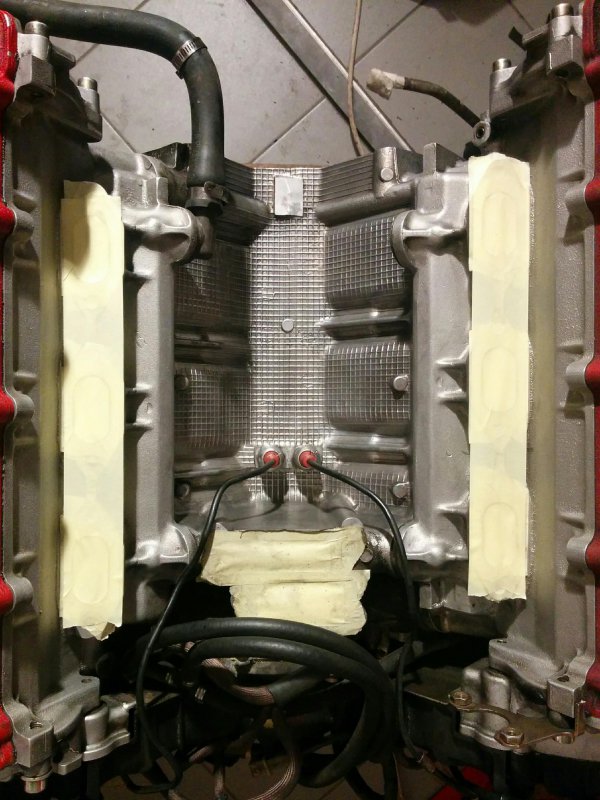
Finally started tackling the engine. The original plan was to adjust valve clearances, replace timing chain, retime and done with it. But before that I wanted to do a leak down test, so first removed the intake manifold (had to do this anyhow to paint it, it's flaking) to better notice intake valve leaks. Spent quite some time cleaning up the usual trash from the V.

IMG_20180526_174016.jpg
IMG_20180527_111501.jpg

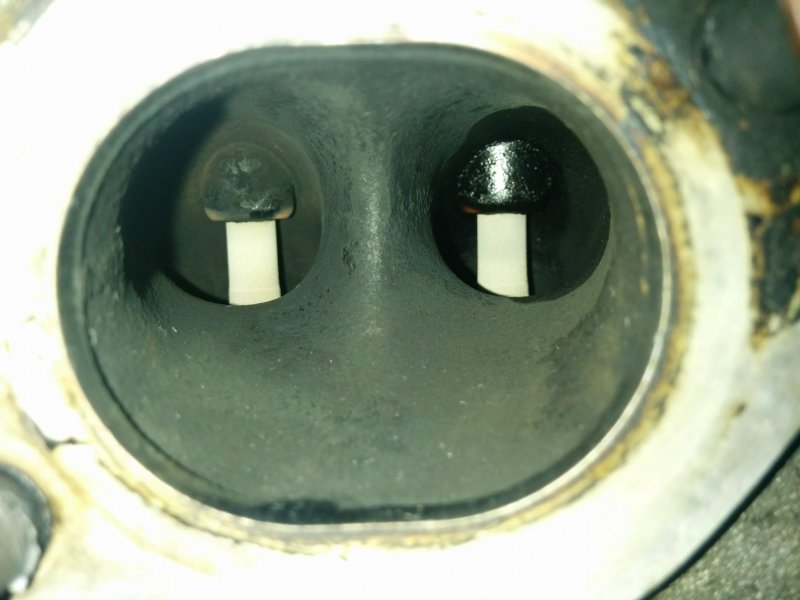
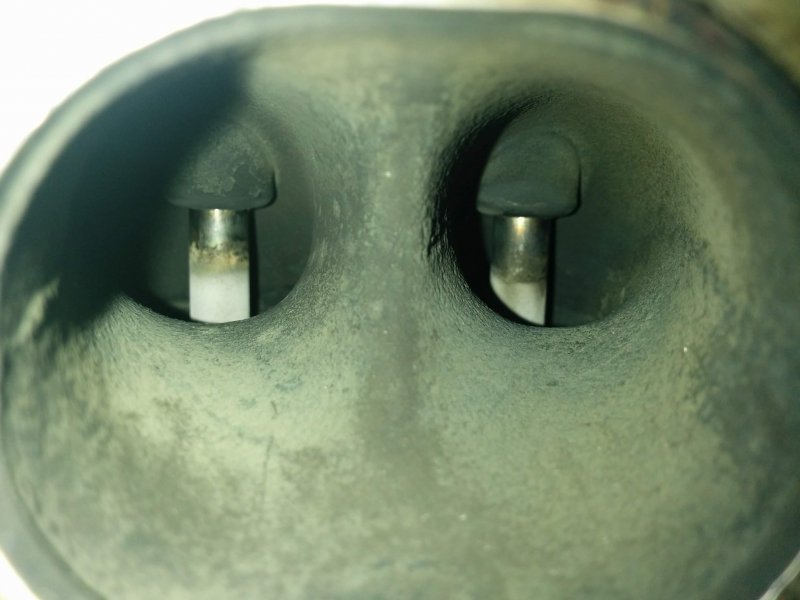
Then proceeded with the test itself. Showing terrible values, in average ~25% leak, but even if this number is not accurate I could clearly feel, see, hear the leaking exhaust valves.


Intake valves are OK, I think bottom end as well, definitely if compared to the exhaust valves. I'm quite surprised on the results, because the car was running good, got 250 bhp on the dyno (I don't have a comparison, but this is good for a ballpark number), since then I've barely used it and only the timing belt was replaced. Although while coming home I felt it much weaker then before, or I just didn't wanted to push, don't remember.

Only found one big visible leak, otherwise the valves are all white, which I don't know is because of the additives in todays fuels, or because they are burnt.

IMG_20180527_112509.jpg

IMG_20180527_112820.jpg

Now I'm after someone trustful who can help rebuilding the head, because that's as far as I'm willing to go without supervision.

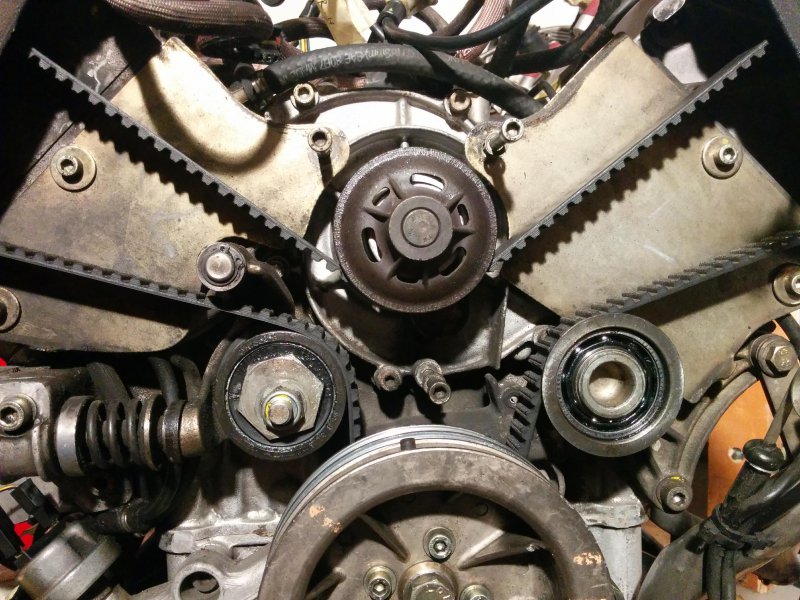
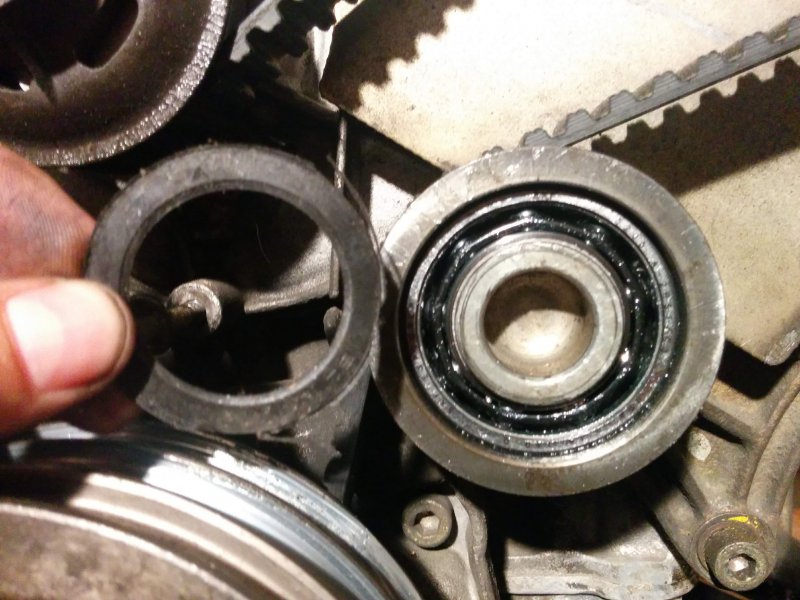
The good in the bad is that I've caught a failed idler bearing which was installed with the timing belt in last Aug, since I've only came home from the workshop. The seal came off, found it in the cover, and all the grease got pushed out. Probably it wouldn't have lasted 3 years.

IMG_20180527_125521.jpg

IMG_20180527_125539.jpg
 

Wally

Member
Messages
244
There is an updated version for the idler-bearing: SKF 3205 a-2rs1tn9/mt33. Also check the bush around which the idler-arm pivots, you want no play there... (partnr. 470037700)
 
Last edited:

spacecadet

Member
Messages
378
Thanks for the tip, the current ones are SKF 3205 A-2RS1/C3 (different cage and grease, and greater internal clearance)
 

spacecadet

Member
Messages
378
Small progress from the weekend

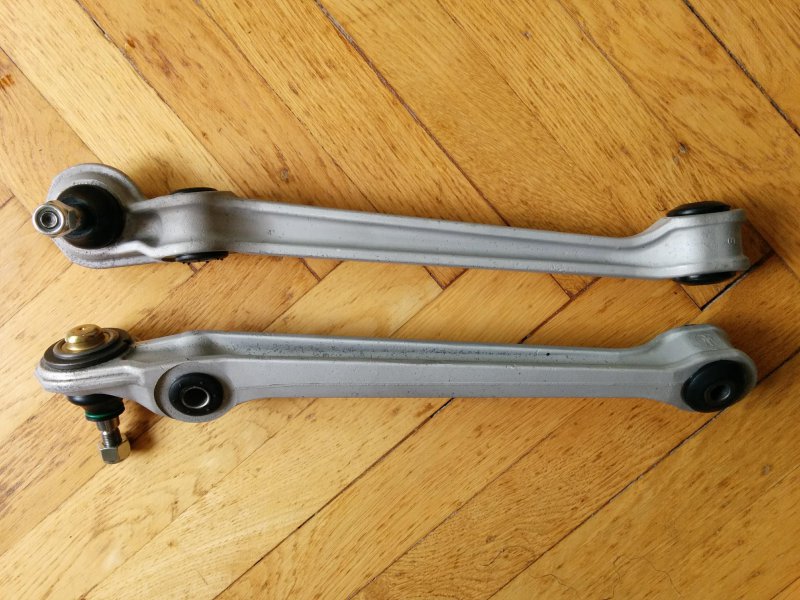
Front lower control arms bead blasted, rubber joints and ball joints replaced. I'm thinking whether to keep them like this or polish up for easier maintenance, protection from dirt / corrosion. I couldn't press out the ball joints, stopped at 9 tonnes, so took it to a shop where they used a dynamic press and they just slipped out. The rubber joints came out easily, but pressing them in was a bit trickier. In theory should have machined a reducer, but on one side the entry was more gradual, that's where I could press them in.

IMG_20180612_084859.jpg

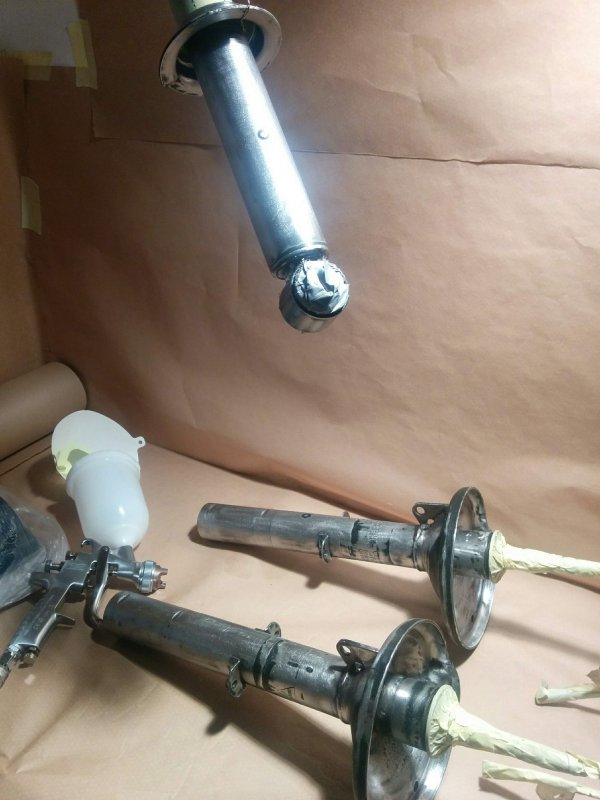
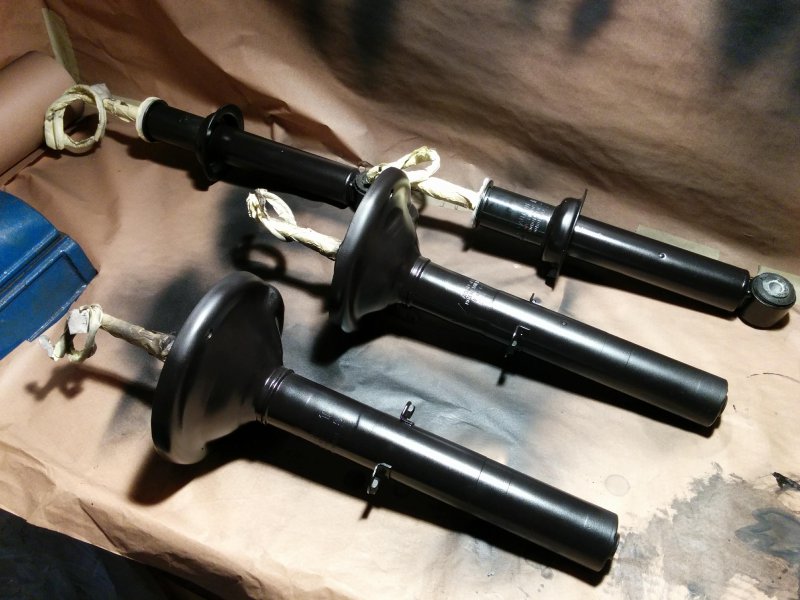
Bought a proper quality spray gun to do small, less visible, non panel painting jobs, as I was fed up with either waiting or watching the result of lazy preparation. First I wanted to repaint the shocks. Especially the front ones below the spring in the cup was badly corroded. Ground down all the rust as much as I could, passivated the remaining unreachable areas, sanded back to shiny metal and then applied 2 coats of 2K epoxy primer tinted to black (small chips only on the top coat won't be visible) followed by 2 coats of single stage semi-gloss 2K top coat. This was my first ever try, didn't properly adjust the gun and the paint came out a bit dry, leaving a sandpaper like texture which I'm not truly satisfied with. Will try slightly wet-sanding and hitting with another coat.

IMG_20180610_161424.jpg

IMG_20180612_083158.jpg

Meanwhile decided that I'm going to remove the head and do a valve job. For this fortunately I found who can help in the critical steps, I'll only do the disassembly / monkey work. This will even more lengthen the already too long process but no turning back now.
 

spacecadet

Member
Messages
378
Will see how they hold up.

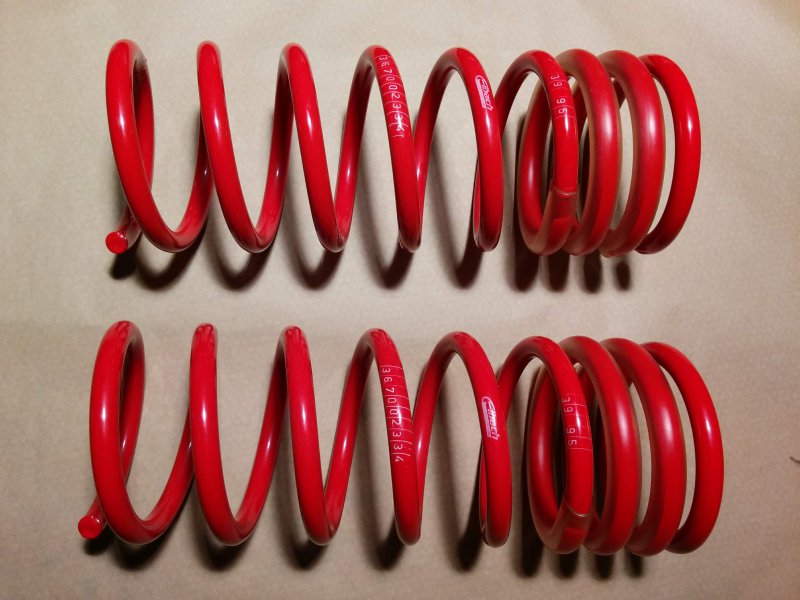
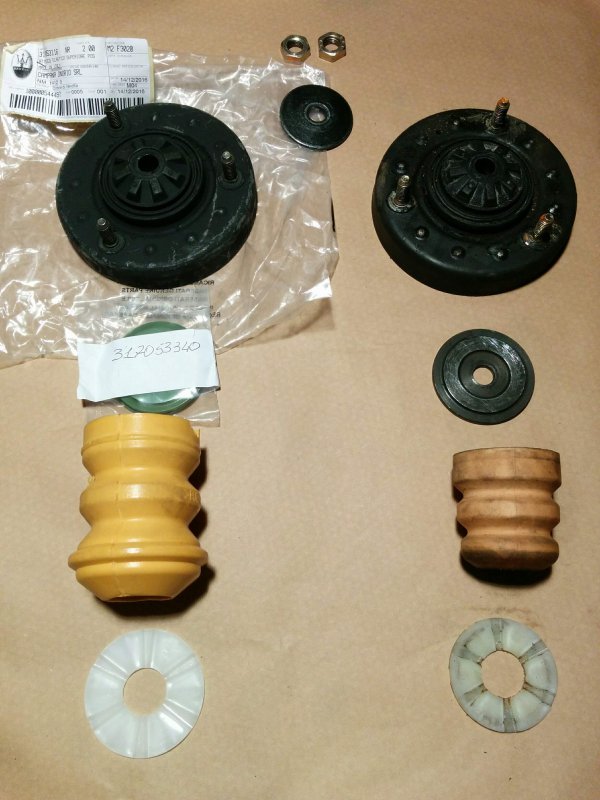
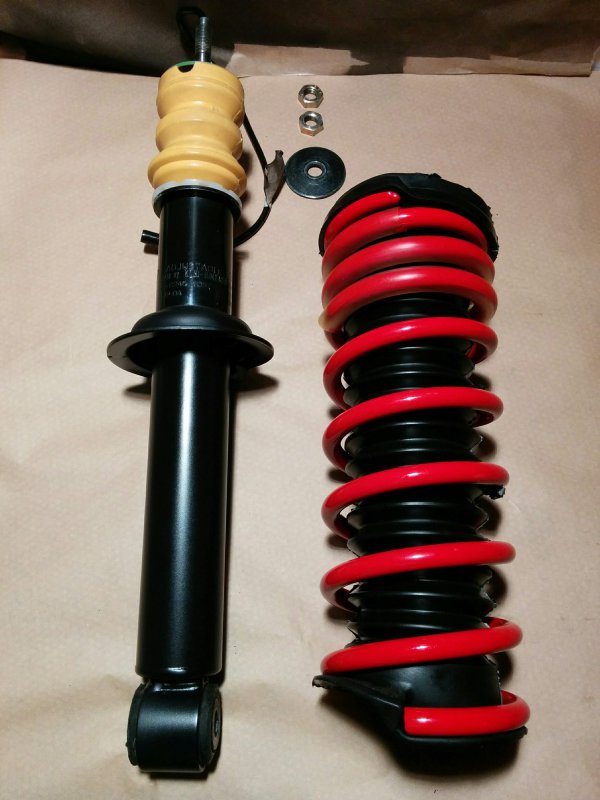
I've tried fixing the paint, the second try came out better, though still not perfect, but I'll keep it as it is for now. Also assembled the back ones with the Cup spring, new top mount, teflon washer, and a bigger bump stop. I've seen several rear trailing arms (Ghibli and Shamal too) having a hit on the top tube, which I think happens on too much compression when they hit the chassis.

IMG_20180617_184210.jpg

IMG_20180617_193459.jpg

IMG_20180617_194019.jpg

IMG_20180617_203120.jpg
 

spacecadet

Member
Messages
378
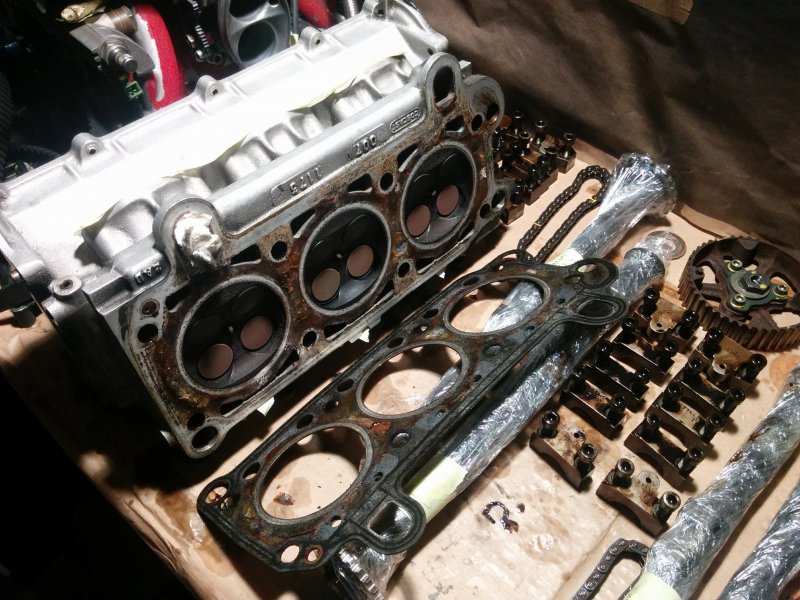
Heads are down. It went quite smooth, no issues encountered.

Removed the crank pulley, so that the timing belt can be removed. Then removed the back covers, put a wrench on the rear nut to hold the exhaust camshaft and zipped down the front nut of the timing pulley. After the pulley came down the front cover could be also removed. Finally the cam caps and the cams. Did a final leak down test now that the valves are guaranteed to be closed, but the numbers didn't change so removed the heads.

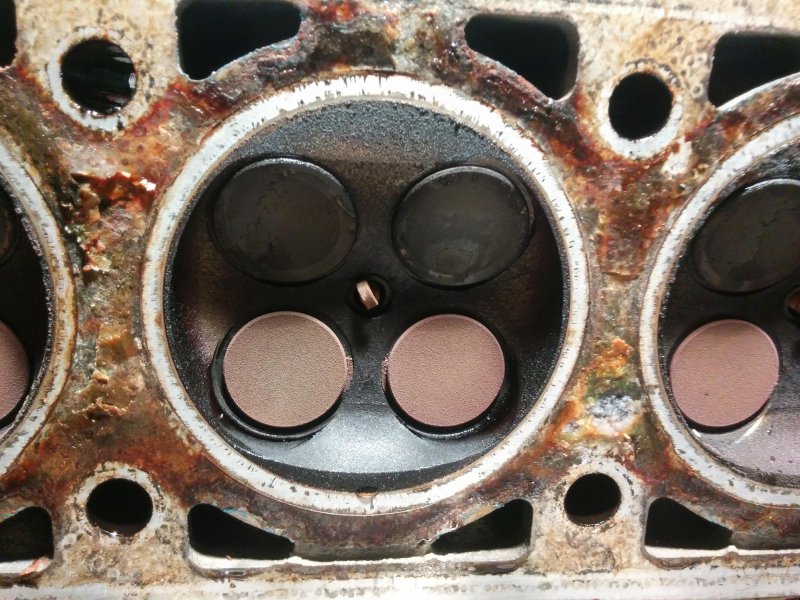
I'm glad I did, because the gaskets were disgusting, deteriorated from the coolant. I still have to remove the remains from the head, hope it's not corroded like in the other thread, but doesn't seem so. Strange though because the car has a known history, I also changed the coolant twice in the last 4 years, and it came out just fine.

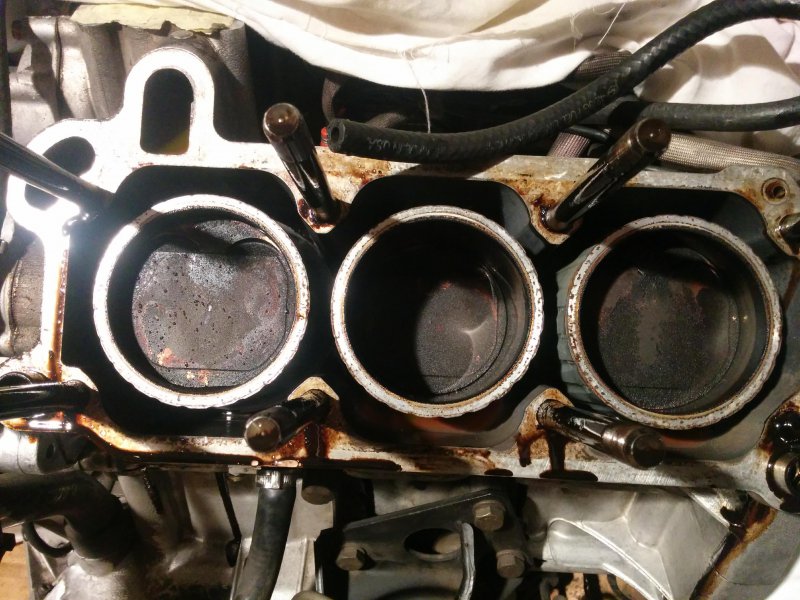
Found some drops of coolant in one of the cylinder, otherwise the everything looks ok on the first quick check. Machining marks in the liners are also still fully visible.

IMG_20180625_103605.jpg

IMG_20180625_103621.jpg

IMG_20180625_103814.jpg

IMG_20180625_103825.jpg
 

spacecadet

Member
Messages
378
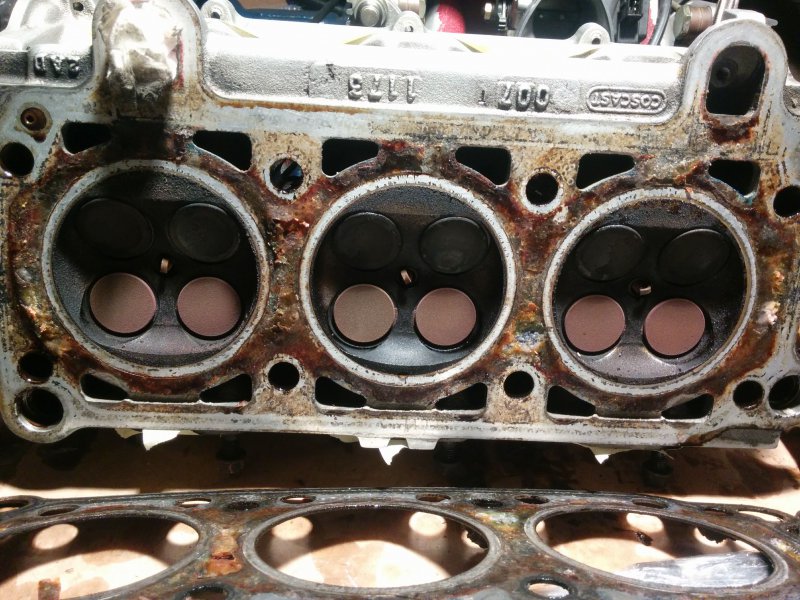
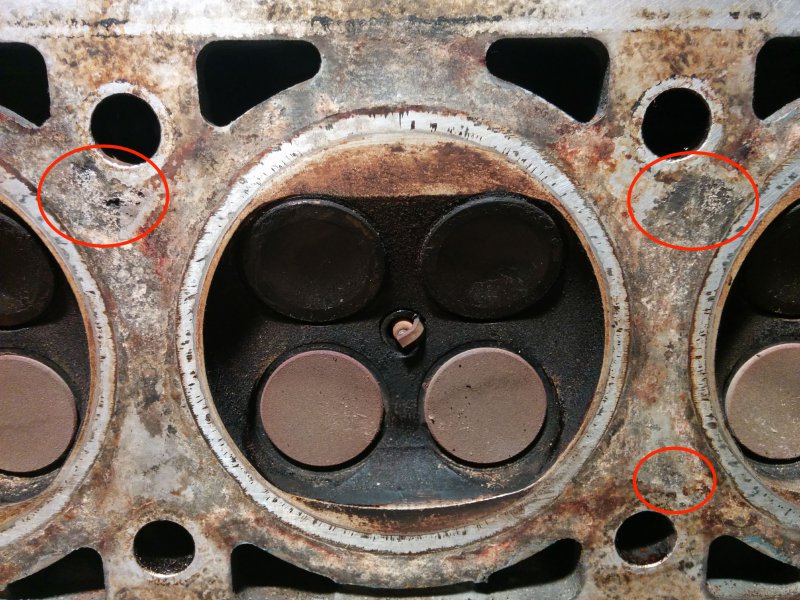
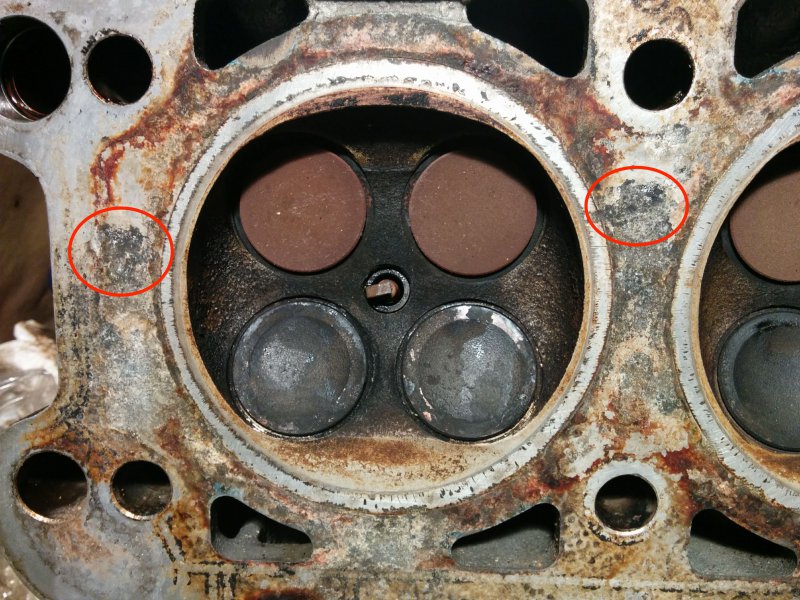
Biggest chucks of the gasket removed, there is some slight pitting, at a single place even braking through the surface.

IMG_20180626_211958.jpg

IMG_20180626_222756.jpg

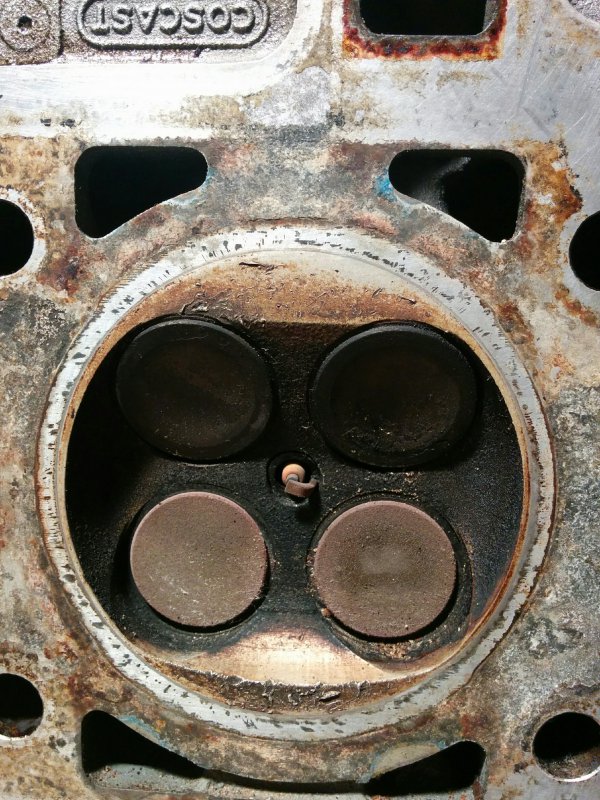
In one combustion chamber there are strange marks, like something hard escaped there, but only on the edges. Also strange that there are no marks on the piston.

IMG_20180626_211928.jpg