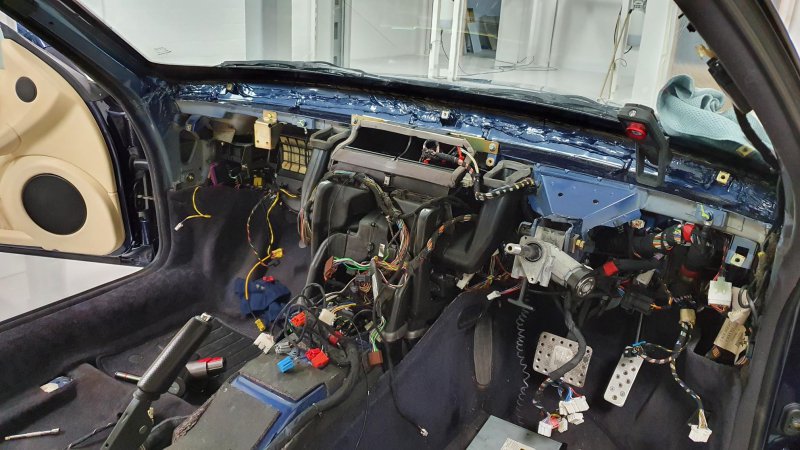
So finally got it all apart and thankfully there is a new heater matrix in there....also thankfully found a fair few of the missing fixings behind the dash, along with a very Heath Robinson install of a Nokia handsfree kit with tentacles going everywhere and the remnants of an old radar jammer....all now removed.
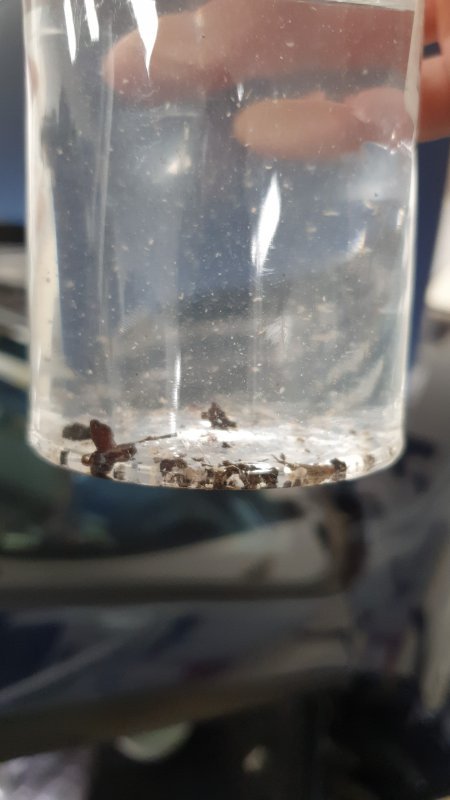
The source of the problem was a very blocked condensate line, blocked at the kink under the evaporator box. Terrible design to be Frank.
Sorted by attaching a bottle to the lower part of the line and making an airtight seal on the pipe and then using it like a set of bellows to blow the crud back up the line, before sucking it back down under negative pressure...whilst feeding it water from the top. Repeated the process until all the crud and leaves had been drawn through the pipe. It now drains out perfectly.
Yes I could have done this without removing the dash but I'm not sure I would have been able to trace it so easily...I can also now put it back together correctly once and for all with the metal / metal heater core, all the correct fixings and have sorted the steering column problem and a few other niggles too.