boomerang
Member
- Messages
- 412
Great project, great sympathy for you, keeping this one from the scrap yard!
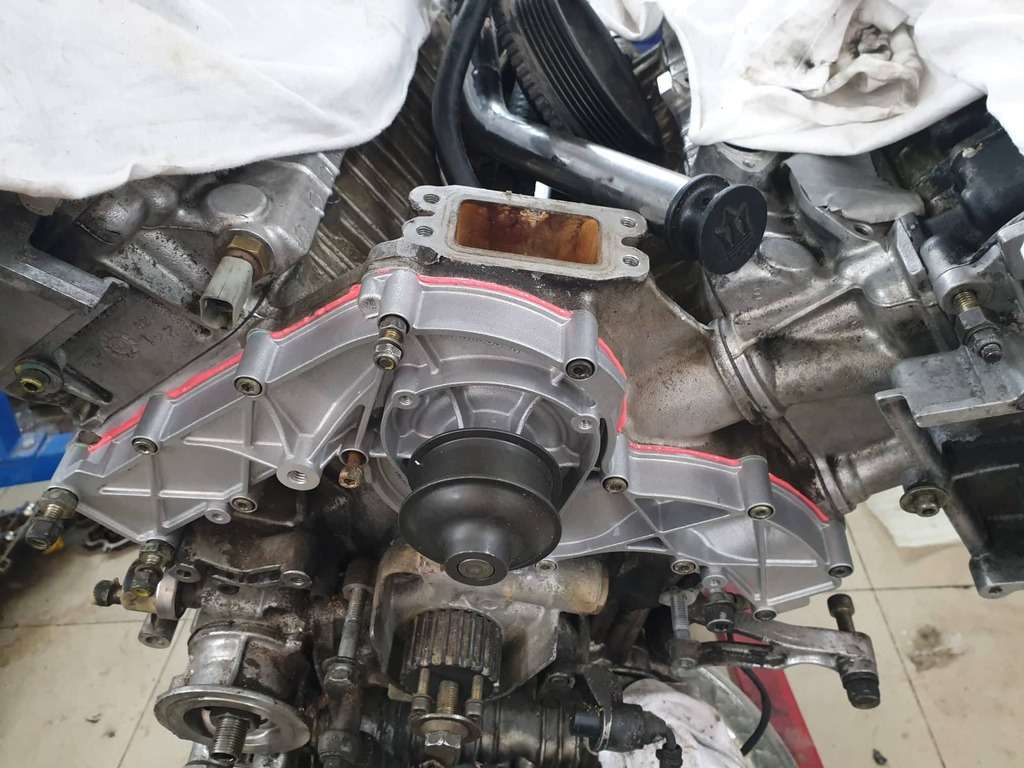
Regarding the deep corrosion, I think machining it down to get rid of it, will cause a problem regarding compression ratio.
From the picture it seems you would have to take of even more then 1 MM.
You better try to find someone who can weld aluminum/ can do repairs on aluminum cilinder heads.
We did that in these occasions with good results.
They first cleaned the spot thoroughly by sand blasting the spot, pre heated the cilinder head and then welded the spot.
Then they machined the head, but took off as little material as was possible.
Has proven itself as a solid and durable repair.
")