Ghibli II winter works

spacecadet

Member
Messages
378
Thanks! Will try to keep this thread a bit more up-to-date. I admit that sometimes I was bit low on dedication, but spring is approaching, things will speed up again. Although I also have to prepare another car too for the season.
 

spacecadet

Member
Messages
378
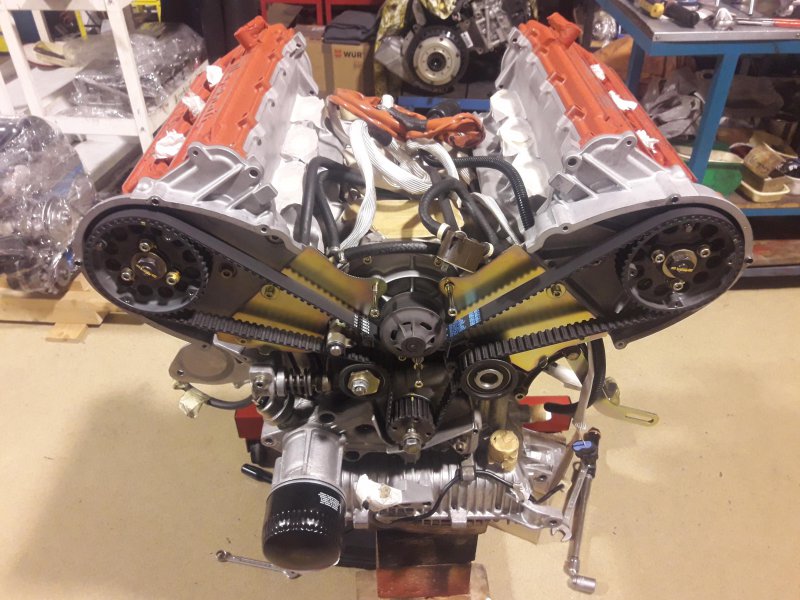
Update time

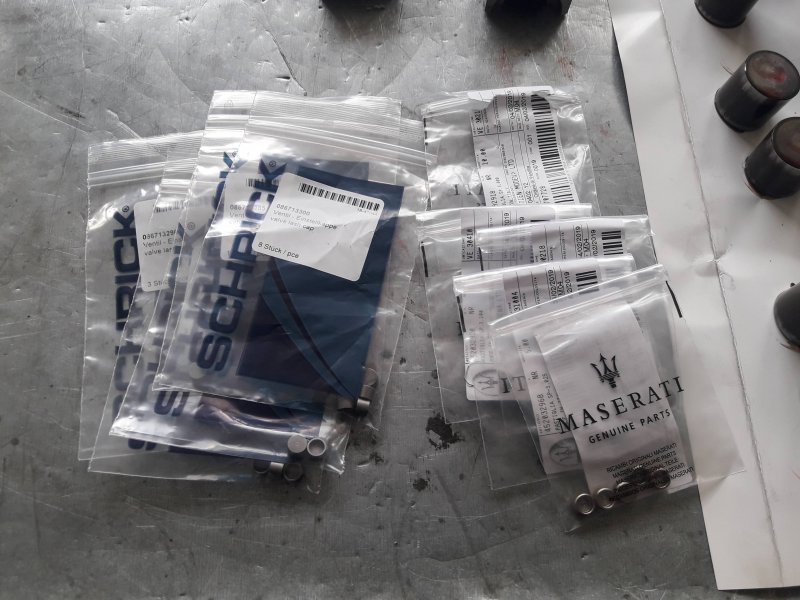
Engine is shaping up nicely, last time I've took the new shims and set up the valve clearances. Not all the shims are available from Maserati, and it's also min 5 order per size, so I also got some from Schrick, but those are only in 0.05mm increments. Also used a few current ones and ground down by hand.
55366

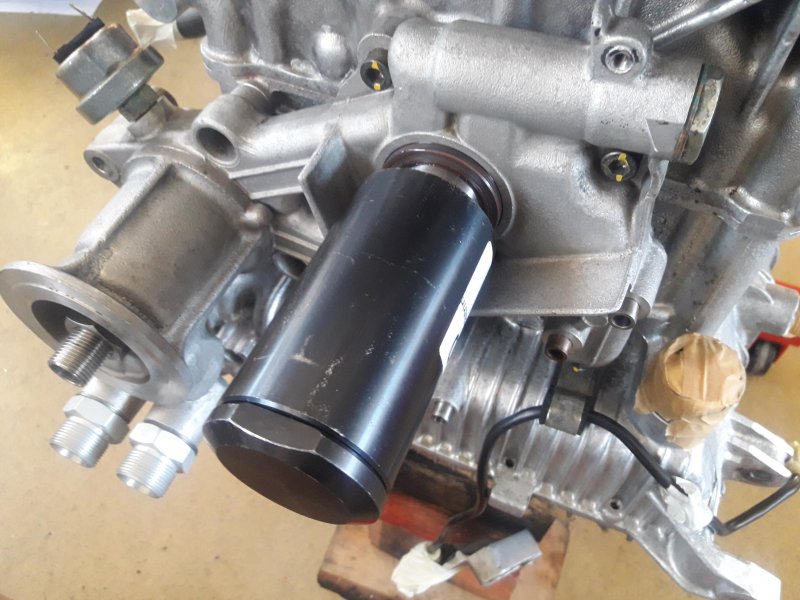
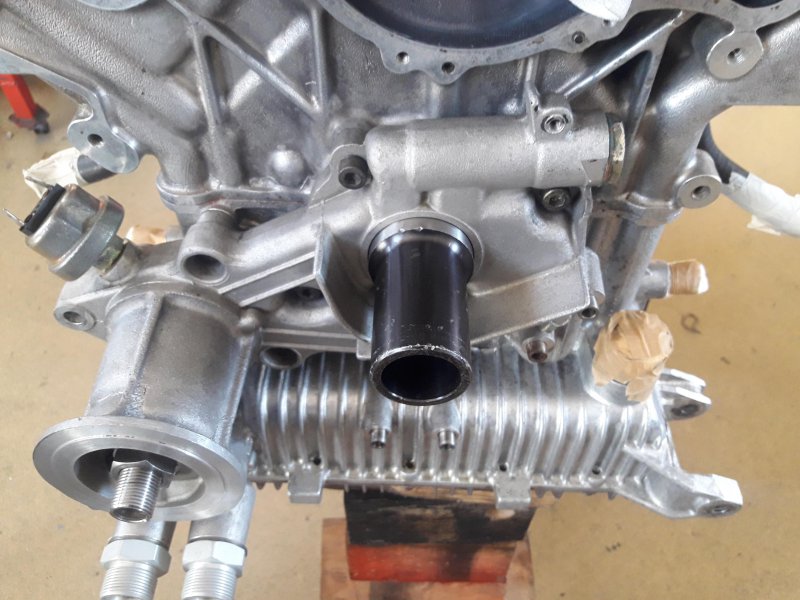
Installing oil pump and new front seal. Using the factory tools made this a breeze
55367

55368

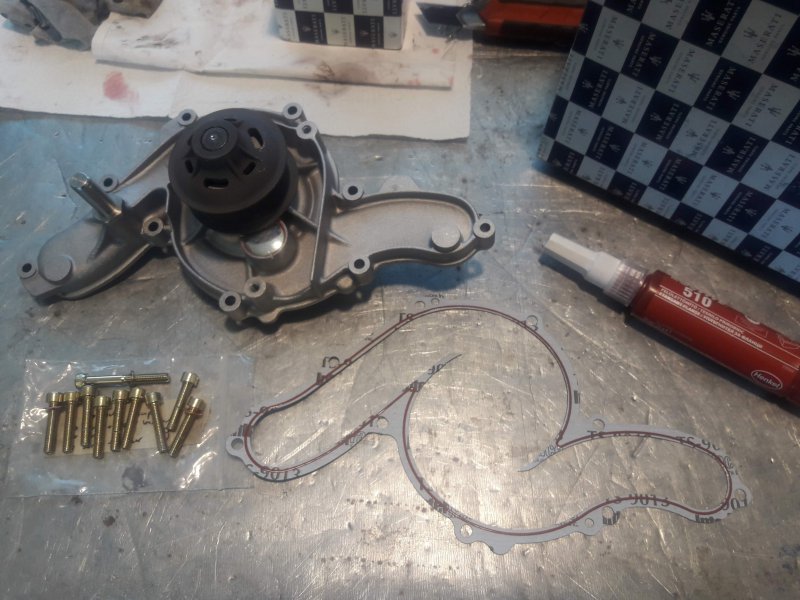
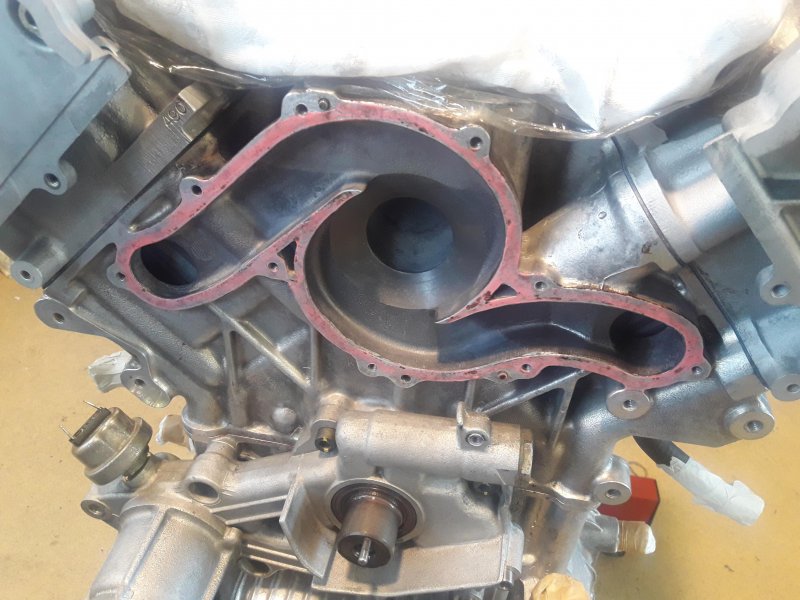
Installing new water pump. I had these on the shelf 2016, heard it's harder to get nowadays, but there is an aftermarket solution, not sure how it can be sourced: http://www.bugattiautoricambi.com/cat/motori/it/PA10331/show# It was "In preparation", only went into "Normal" status recently.
55369

55370

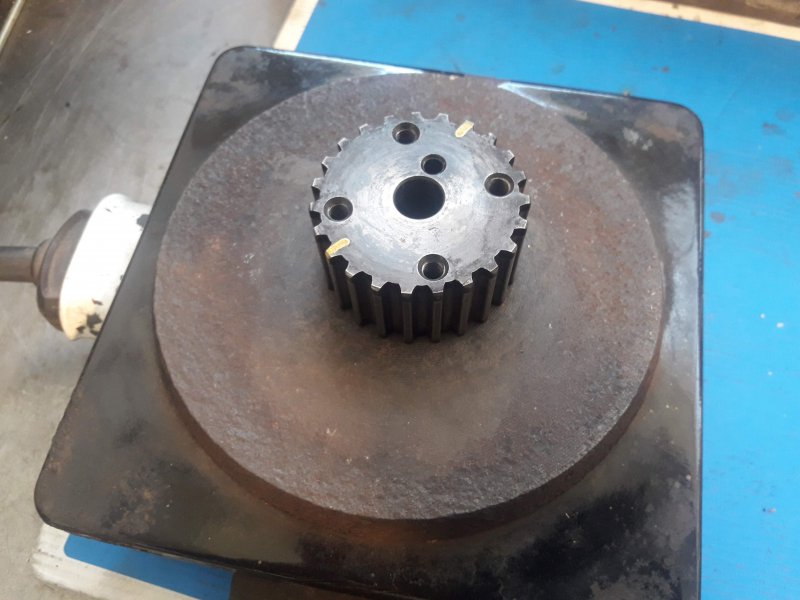
Crank pulley was quite tricky to install. It has to be heated up on a place to 250C and then dropped onto the crank. There are only a few seconds for this, since as soon as it touches the crank, that big mass will cool it down instantly and will get stuck halfway if not properly aligned to the centering pin. Yeah I needed 2 or 3 tries.
55371

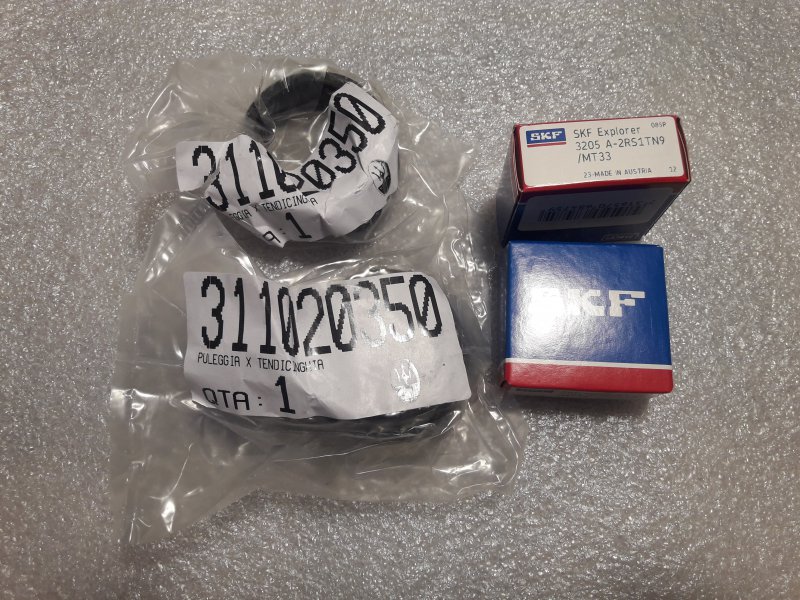
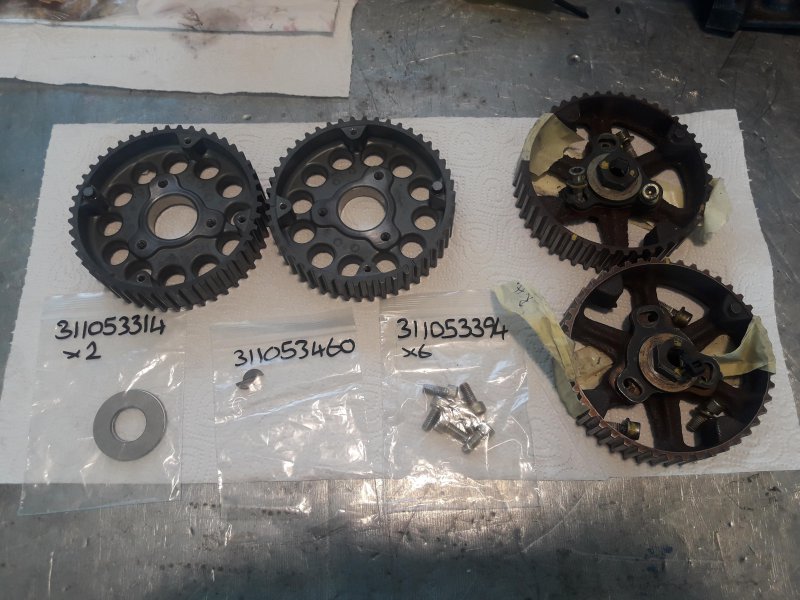
Also replaced the timing pulleys, mine were badly corroded. Could only get the older / newer style, not transitional style I had.
55372

Finally new bearings too

55373

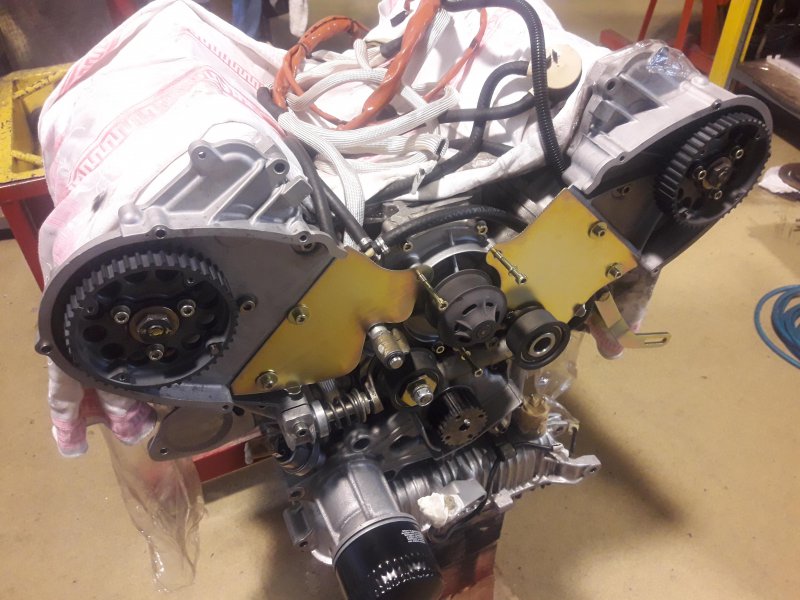
I'm currently waiting for the timing belts, first received a wrong one (for the 3V engines), then an expired one (from 2012). Otherwise the engine is more or less complete, only needs the the accessory items.
55374
 

spacecadet

Member
Messages
378
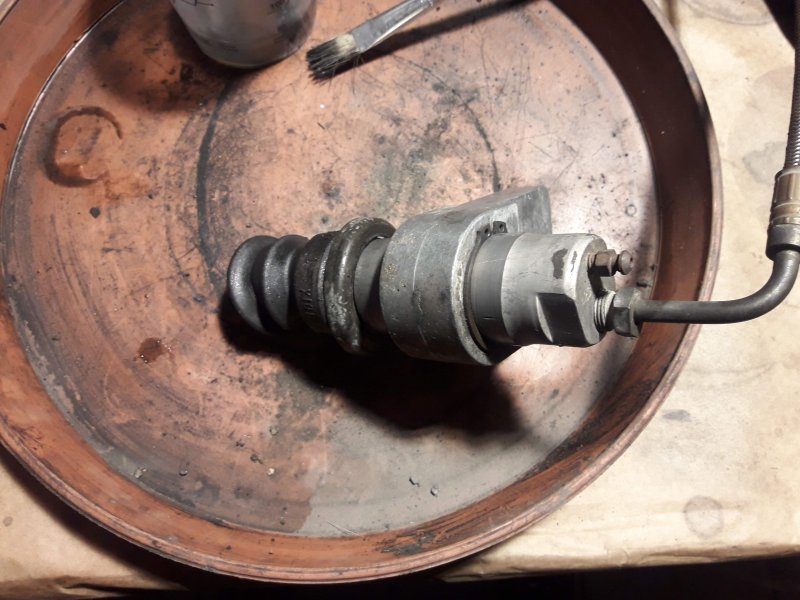
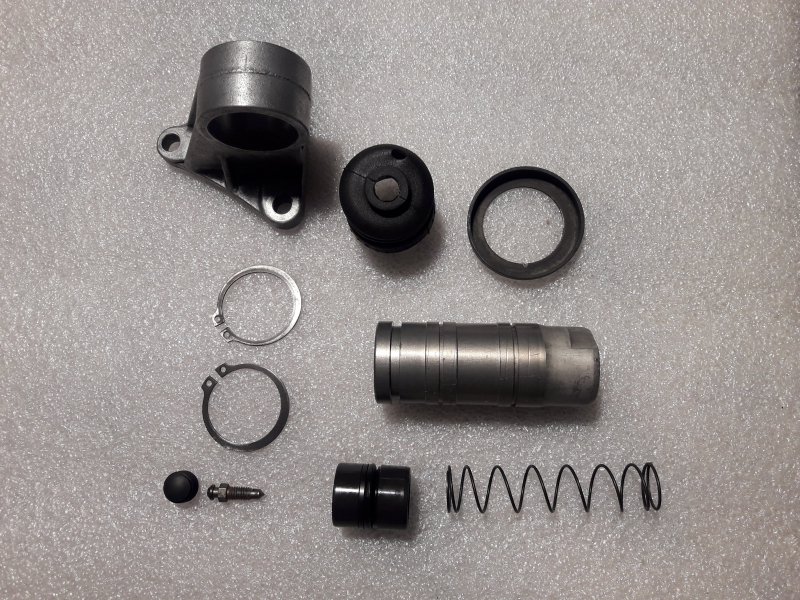
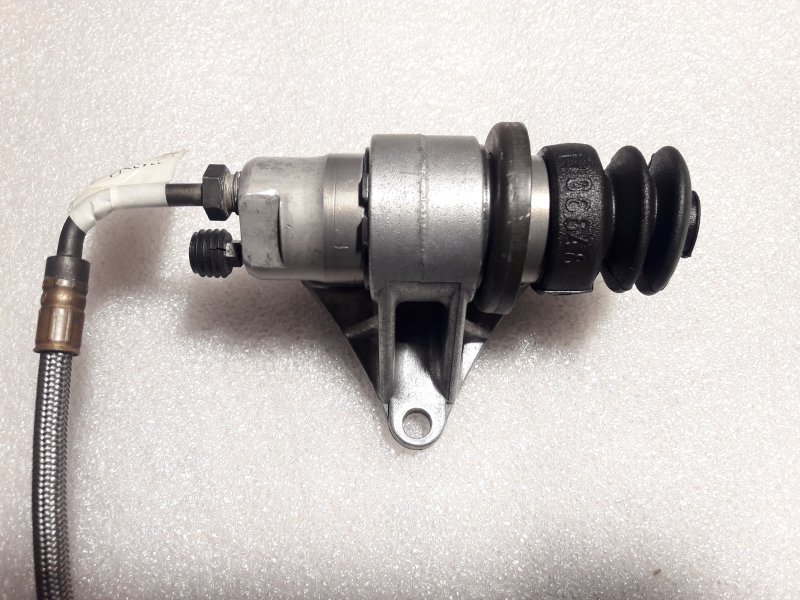
I have a fully revisioned gearbox from a GT which I'm going to use, and realized that the clutch slave cylinder mounts on the gearbox changed on the GT. Everything else is identical. Fortunately had the new slave cylinder too, so used the best of both parts.

Pre GT

55379

GT parts

55378

Assembled

55380

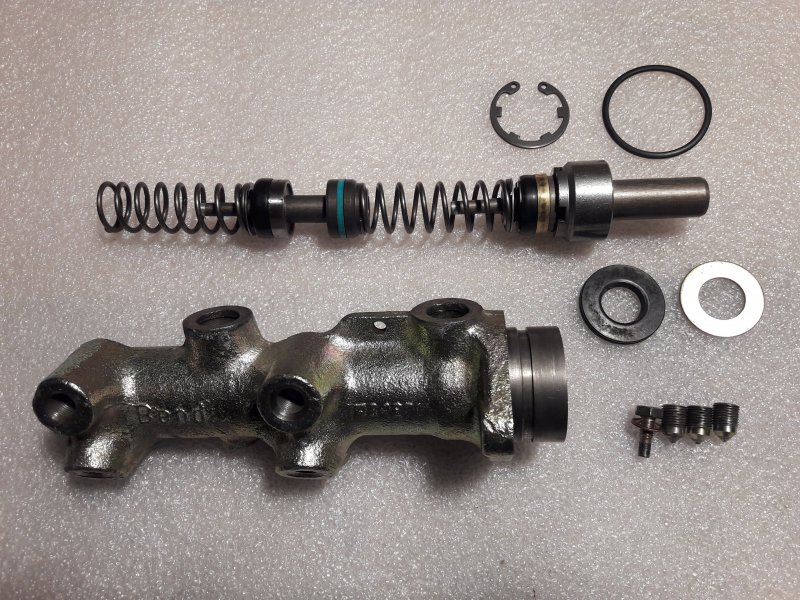
While there, I've also cleaned out the brake master cylinder

55381
 

spacecadet

Member
Messages
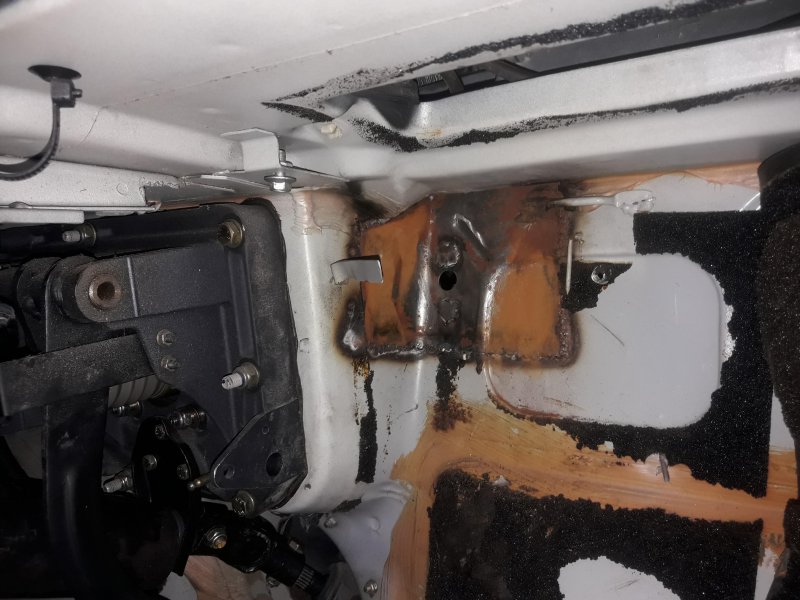
378
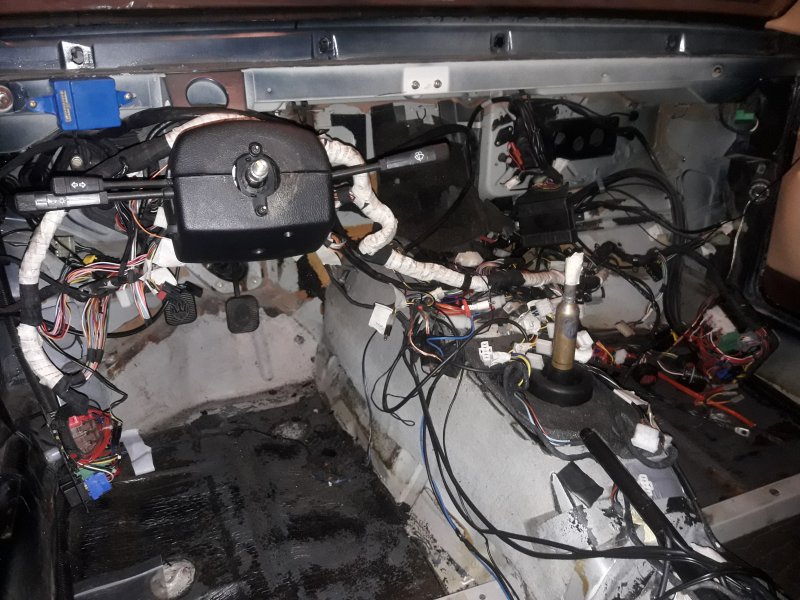
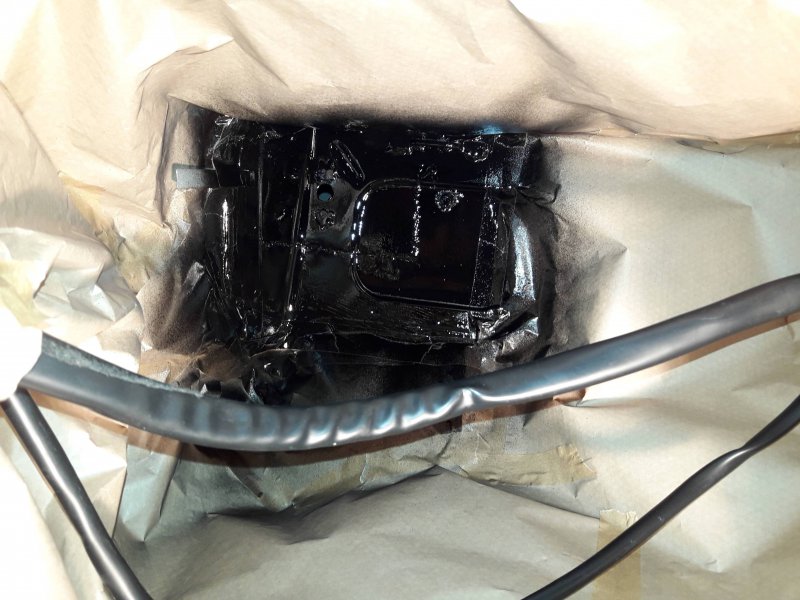
Now the ugly part. Wanted to assemble the interior (back seats, front seats) when noticed that the sheet metal used for the firewall repair was not treated from the inside. I couldn't properly reach it with the heater box in place, so I had to strip the whole dashboard. Compared to all the mechanical work so far, the interior is such a hack. The main wiring loom is attached to the dashboard, but it has hard to reach connectors on the sides. So neither detaching the connectors, nor detaching the loom is an easy task. I did the later in the end, but to reach the attachment points first I had to half way remove the dashboard then reach in, remove the attachment, and finally the dashboard can be removed. Given the steering wheel wouldn't be in the way. I thought I will be able to tilt out the dash, but it's impossible so, the wheel definitely has to be removed first, it's just a single nut.

Based on the workshop manual this was fixed in QP4, the wiring loom looks like is attached to the body and not the dash.

The good in the bad is that I could peek into the possible rust nest places below the A pillars. Fortunately they are pristine, no traces of rust, for a piece of mind, will treat them with cavity wax.

In another 30-40 hours of unexpected work

55382

The problematic area

55383

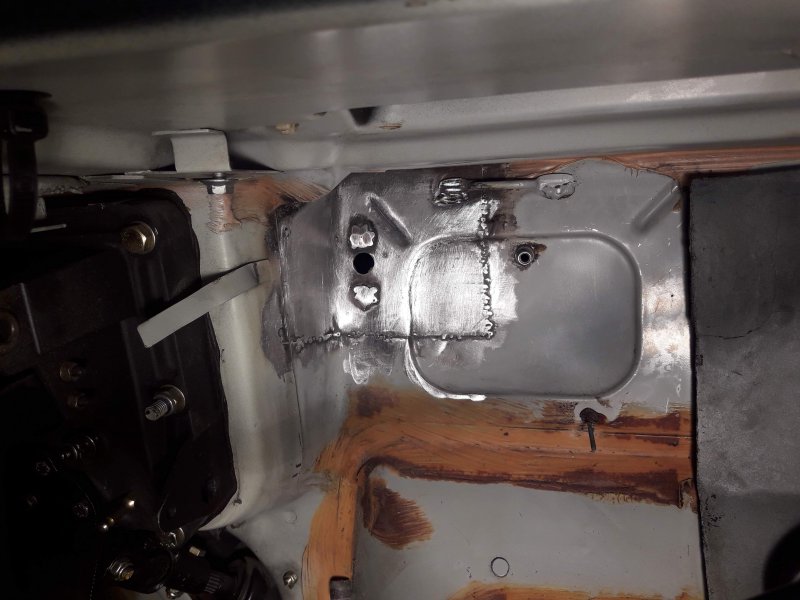
After cleaning

55384

Immediately primed, will seam seal, and top coat. Currently I'm trying to source some color charts to some extent color match with the existing white paint.

55385
 

ZAM400209

Member
Messages
585
awe inspiring level of attention to detail, spacecadet

I hope to see this car one day

How did you get the crank-pulley back off the shaft, after it went on 'badly' a couple of times? Did you have to reheat it in situ..?


P.S. what's that blue bolt-on box on the bulkhead, under the windscreen, and upper-left of the column in that dashboard shot??
 

spacecadet

Member
Messages
378
awe inspiring level of attention to detail, spacecadet

I hope to see this car one day

Thanks, me too :)

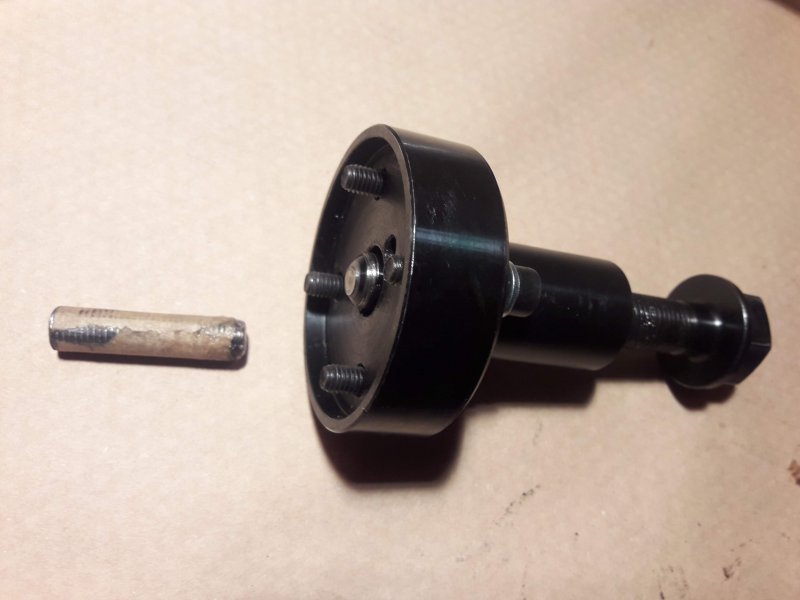
How did you get the crank-pulley back off the shaft, after it went on 'badly' a couple of times? Did you have to reheat it in situ..?

I've just pulled it off the same way as initially. There is a special tool I've used at disassembly which wasn't with me, so quickly mocked together something similar from some leftover iron and bolts.

55629

P.S. what's that blue bolt-on box on the bulkhead, under the windscreen, and upper-left of the column in that dashboard shot??

It's some relay / control unit, marked as Lancia A727 575 12V, probably connected to the central locking system.
 

spacecadet

Member
Messages
378
Just finished timing the engine

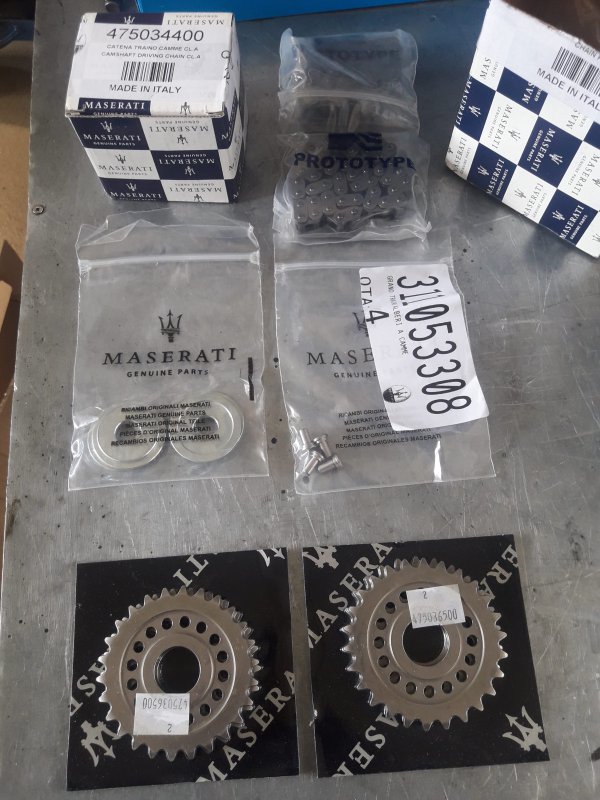
New timing chain and sprockets. Original chain was from Regina Chain, new one from Prototype? I hope it's not a real prototype :)

55630

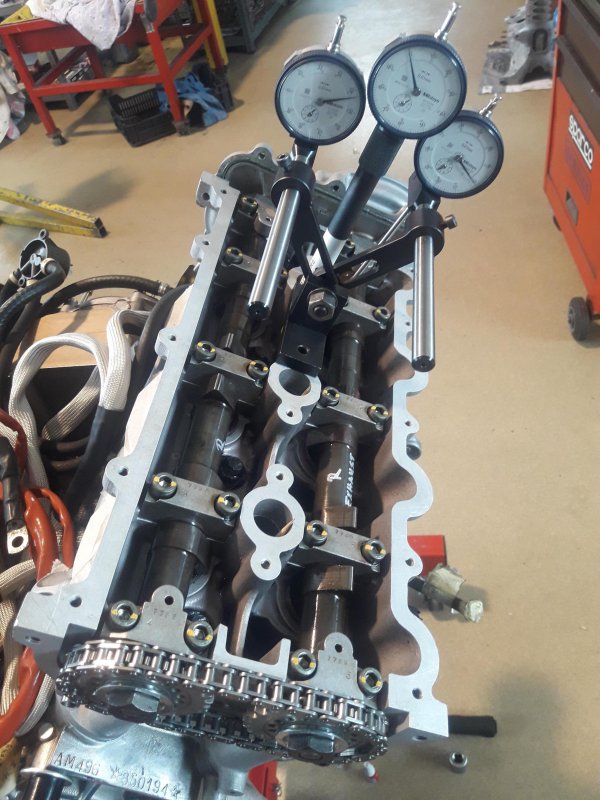
Setting valve aperture

55631

Engine is now ready, going to bring home next time to finish assembly with accessories.

55633
 

ZAM400209

Member
Messages
585
"Lancia A727 575 12V"

ok- thanks; I'll have to have a think about that!

I'd say your removal tool looked like a modified Q-max cutter from the good-old-days of metalwork, but it looks too shallow.

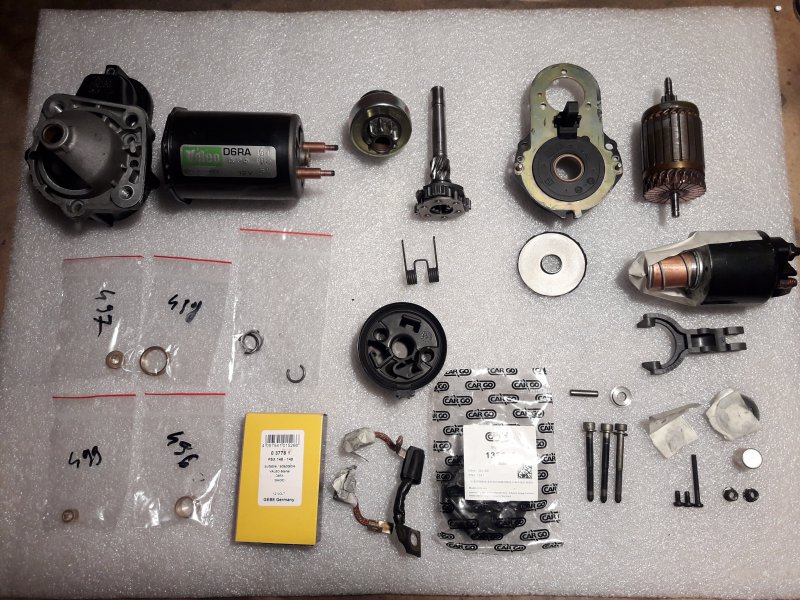
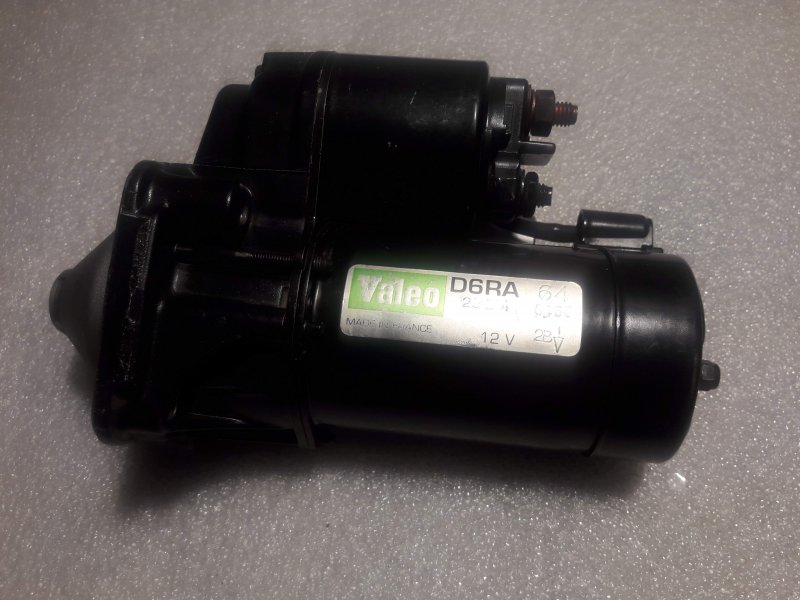
Further to your starter motor rebuild- do you still have the rubber-boot that goes over the back of it? Mine had perished when I swapped mine out- I think I used some heat shrink to cover it up...

was there any sign of wear on the old chains? And do the new ones come linked-round-in-a-loop? You don't have to fit a link, to join it up, or anything..?