Parrot install How-To

CatmanV2

Member
Messages
48,859
Morning all. There's been a lot of discussion around the possibilities and difficulties of fitting aftermarket handsfree / iPod controllers. Having read as much as I could, I came to the conclusion that it probably wouldn't be that bad. So a few weeks back, I took the plunge and bought a Parrot MKi9200 from ebay, and finally got round to fitting it this weekend.
It took me about 2.5 hours from scratch being *really* careful. I reckon I could easily knock an hour off that now. And I am *very* happy with the results.

Now read on, if you dare ;)

Step 1: Get to the back of the NIT. I used this thread:
http://www.sportsmaserati.co.uk/showthread.php/679-NIT-units-or-What-s-in-the-arm-rest-of-a-4200
so full thanks to David.
I think you can *probably* do it without freeing the armrest, but some of it's actually better to get to from below. Getting to the ISO's are fiddly.

Once you get the arm rest freed, you can unplug the ISO terminals. If you're not familiar with them, they have a locking prong: See arrow on the photo below:
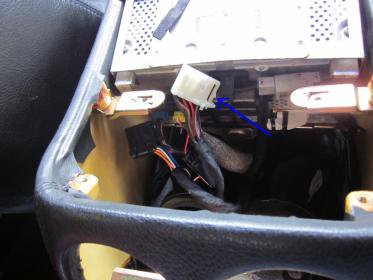
NITconnections.jpg

Push that in or you're going nowhere :)

The parrot comes with a pair of ISO sockets, a pair of ISO plugs, and needs two power connections: One permanent 12v and one ignition switched.

The ISO plugs simply plug into the back of the NIT unit where the old ones came out. The plugs that you have just removed plug into the sockets like this:
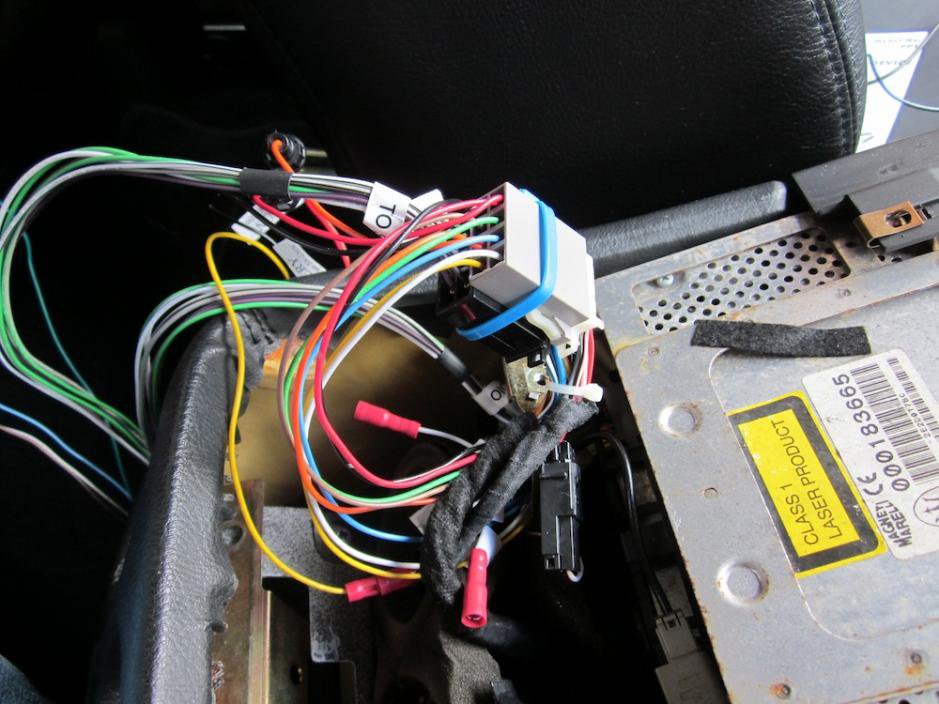
bundledISO.jpg

I have bundled them together using cable ties to keep things neat.

The power leads for the Parrot can be swapped for vehicles that use different switched / permanent connections, but we are fortunate that Maserati use the 'standard' layout. Here you can see the red and orange cables are connected to each other as the default:
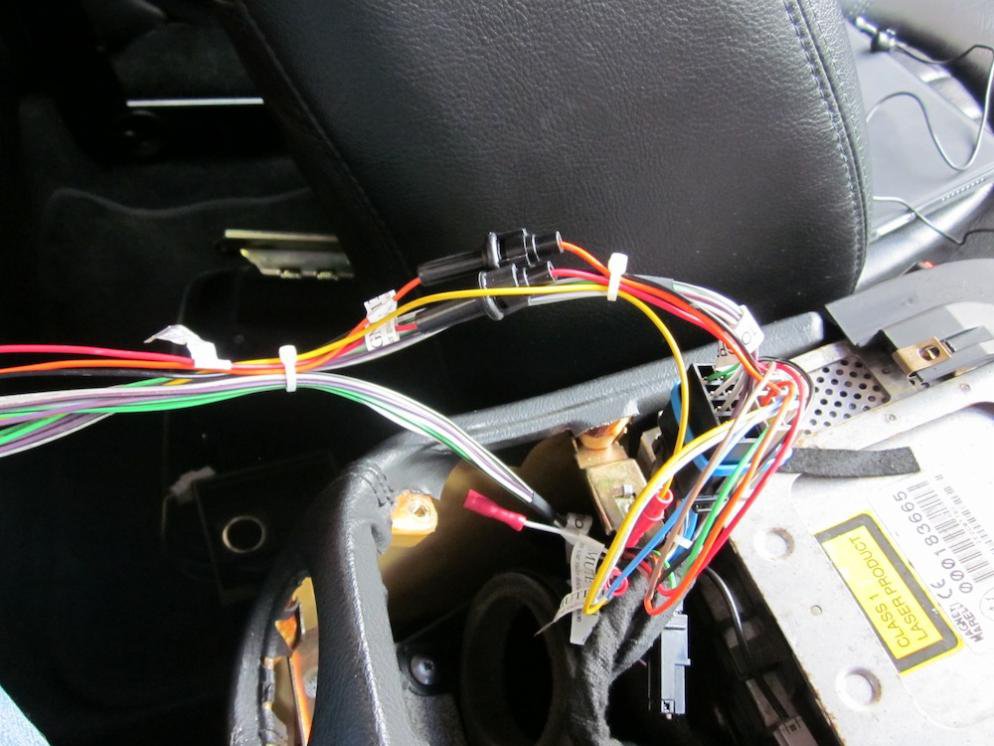
bundledpower.jpg

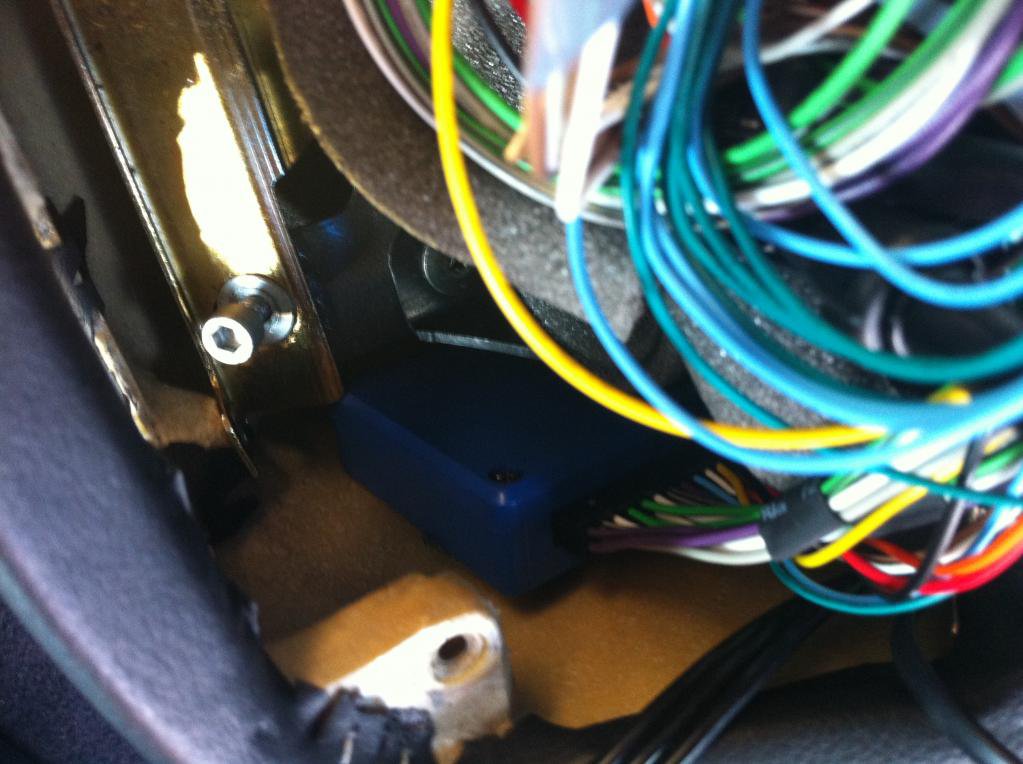
The easiest way to mount the brains of the unit is actually to slide it up from underneath. I haven't actually got a picture, but here is the mounting that I used. Effectively it's a pair of cable ties and a PCB tie down. Not elegant, but it holds the control unit snugly:
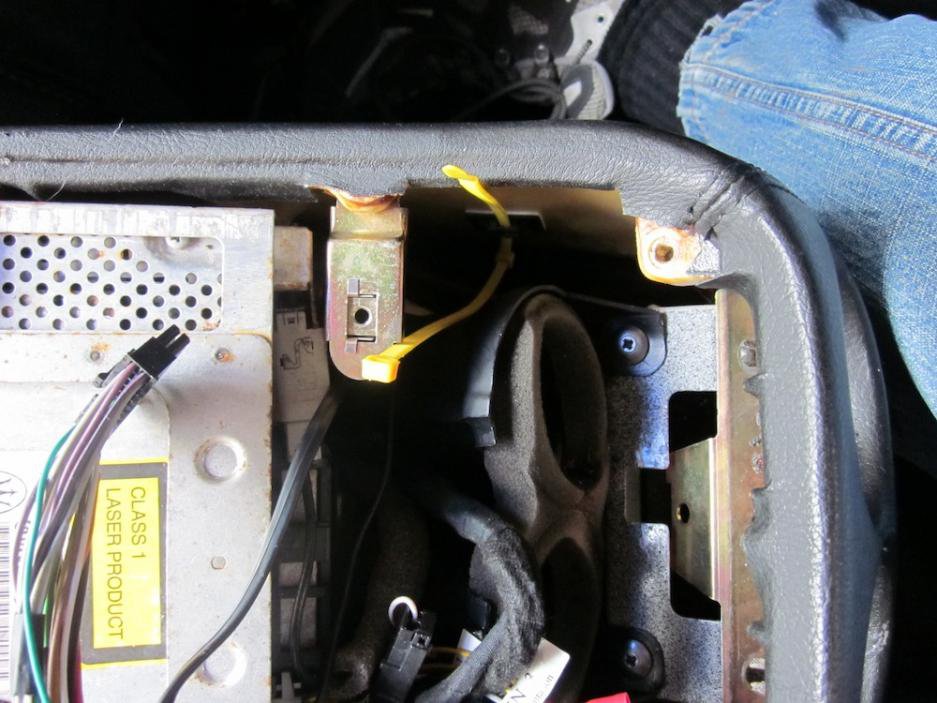
controlmounting.jpg

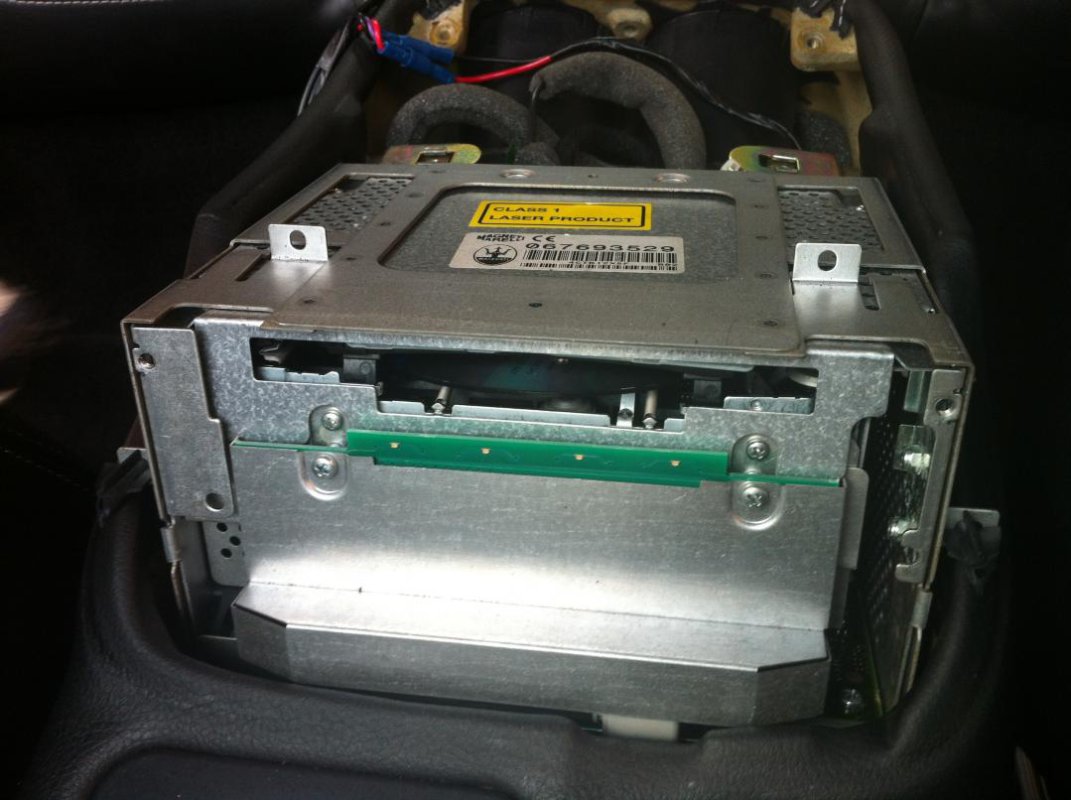
Once you have got to that point, it's best to make sure that everything works and that it'll all fit in:
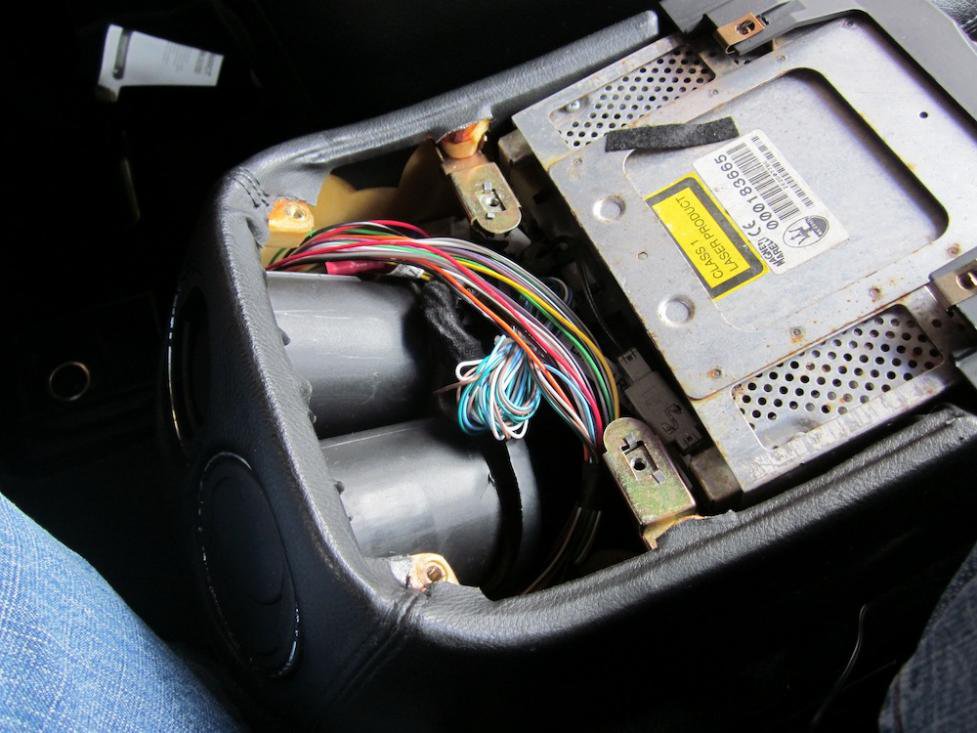
testfit.jpg

The cables are simply bundled up with cable ties and tucked to the side. The control unit is mounted vertically on the inner face of the armrest, facing the camera.

Once you're happy that it's all working you can proceed to mount the remote components. These are the microphone, the display, the controls and whatever additional source you may desire. In my case, an iPod classic.

I wanted the microphone to be mounted on the top of the a-pillar. Access is relatively easy: Remove the screw visible here on the b-pillar:
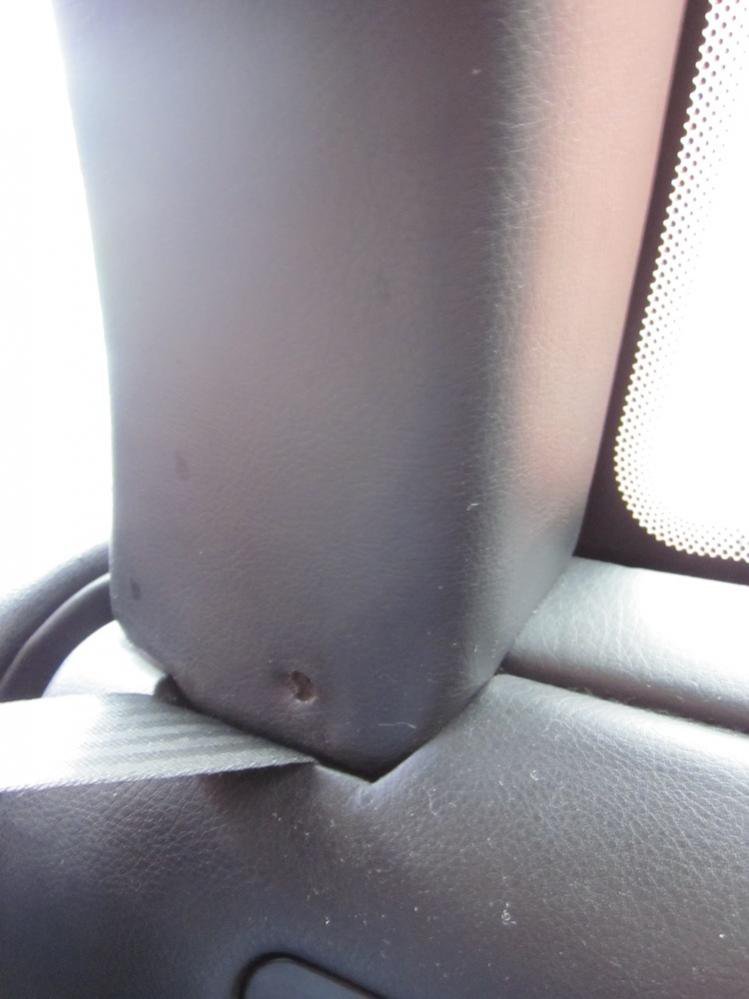
Trimscrew.jpg

Then remove the top of the b-pillar trim. This is held in by a plastic trim plug, so simply pull or lever using your favoured trim removal tools.

A screw is then exposed that holds the longitudinal trim in place. Remove the screw and then pull the longitudinal trim piece free. Again it's held in by trim clips.

This will then expose the screw that holds the a-pillar trim on:
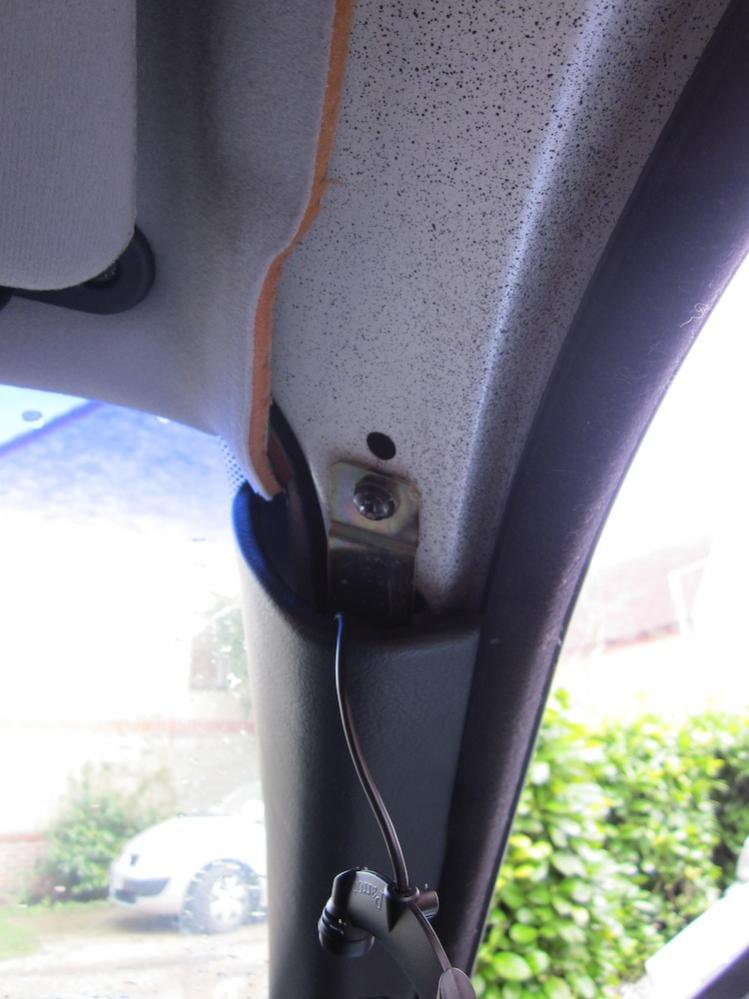
apillarscrew.jpg

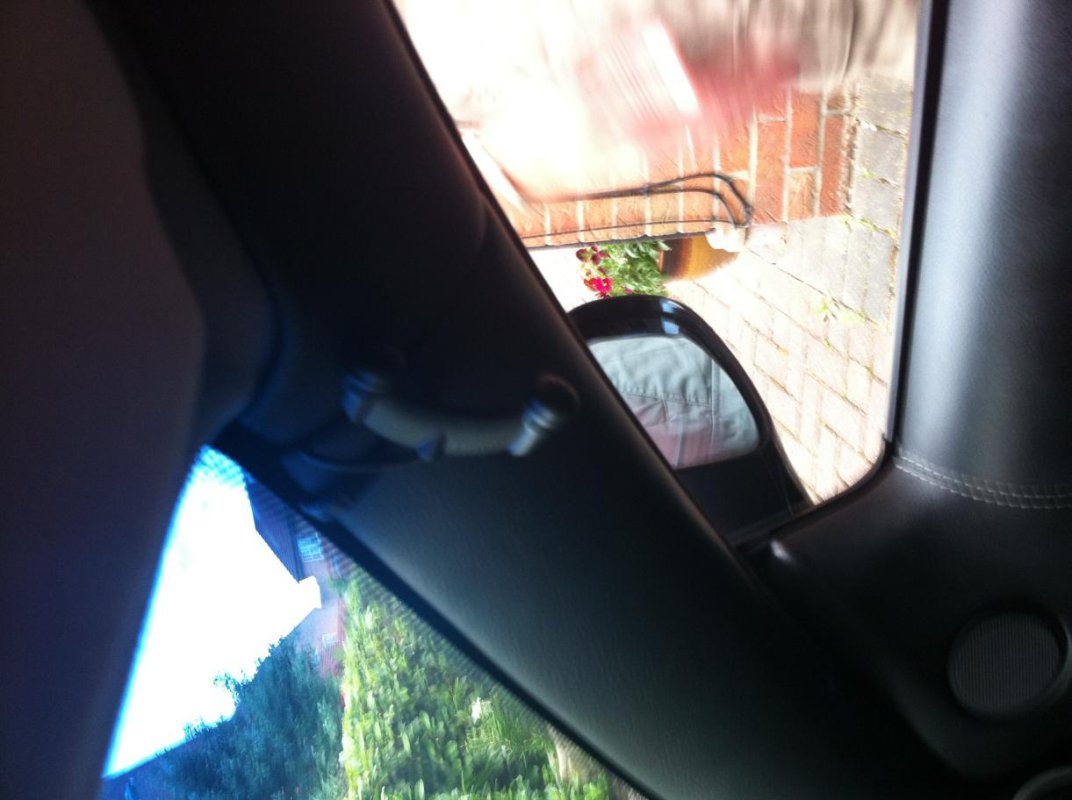
You can loosen or remove as is your desire, to run the microphone cable up behind the pillar trim. Put all your trim back, and tuck the microphone fixing into the trim, and clip on the microphone:
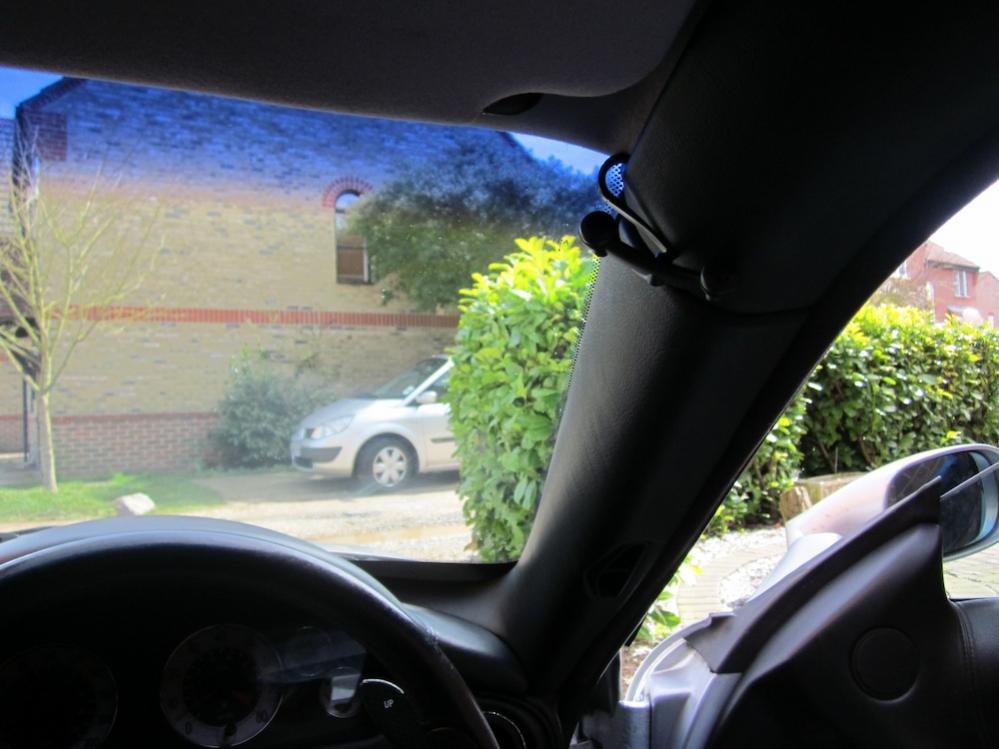
mic.jpg

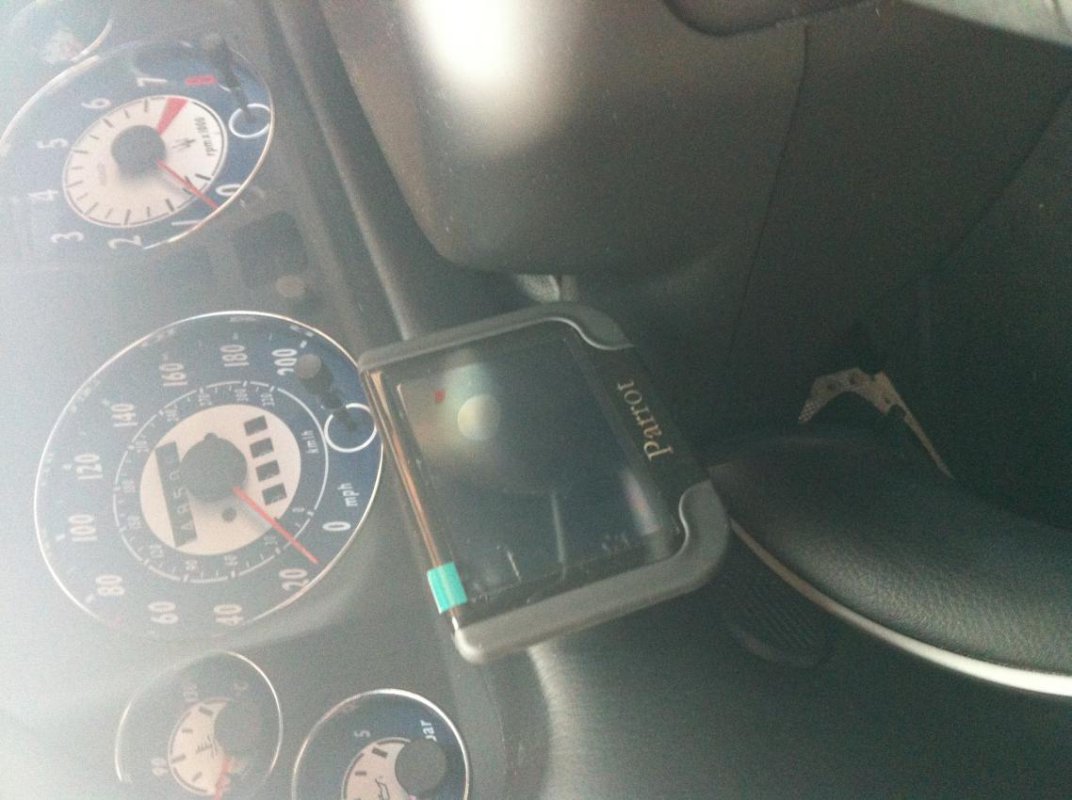
I ran the cable from the Parrot control unit to the base of the a-pillar by tucking under the edge of the transmission tunnel trim / arm rest and then under the carpet. The cables are a little short, but there is no risk of chafing. The screen cable I also ran along the same route, but then up to the left hand side of the control column where I fixed it with a double sided pad.
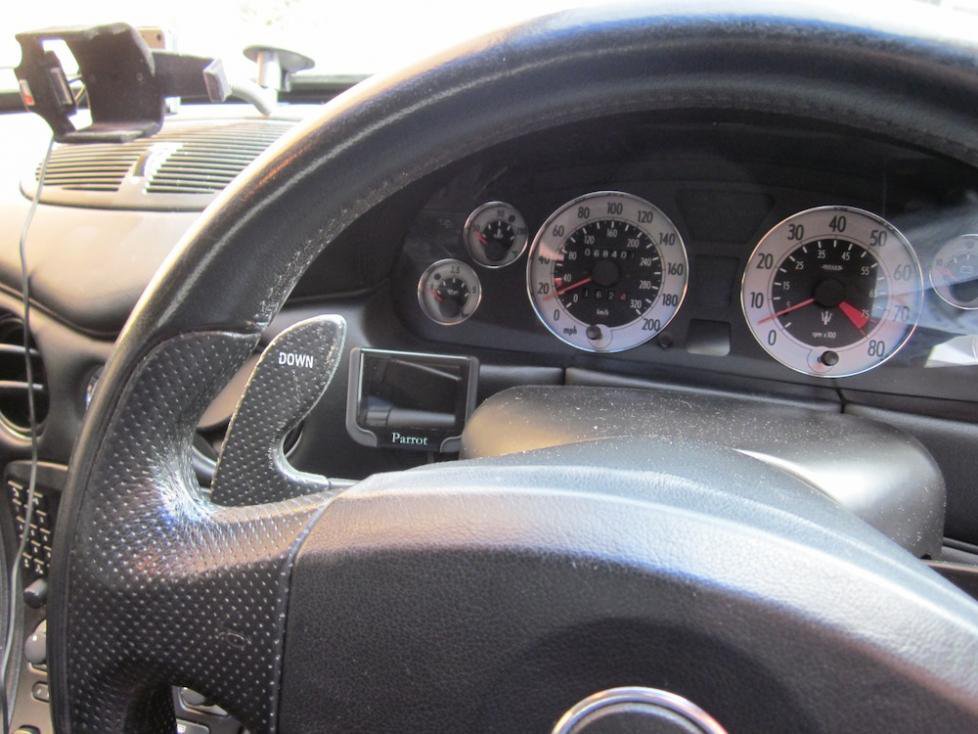
screen.jpg

The controls are wireless, so can be mounted anywhere, but I went for near the window controls:
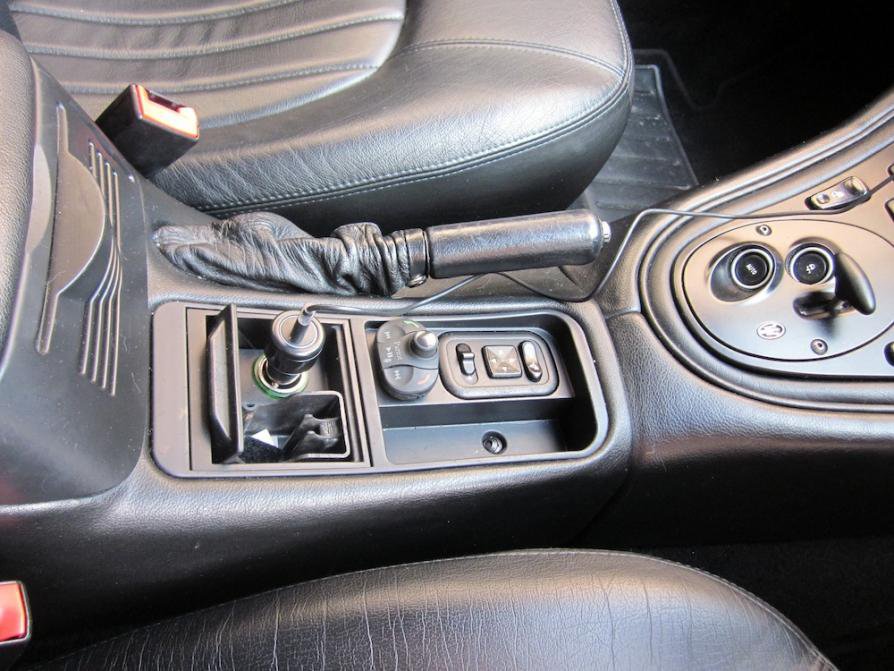
controls.jpg

The lighter plug is for my phone holder.

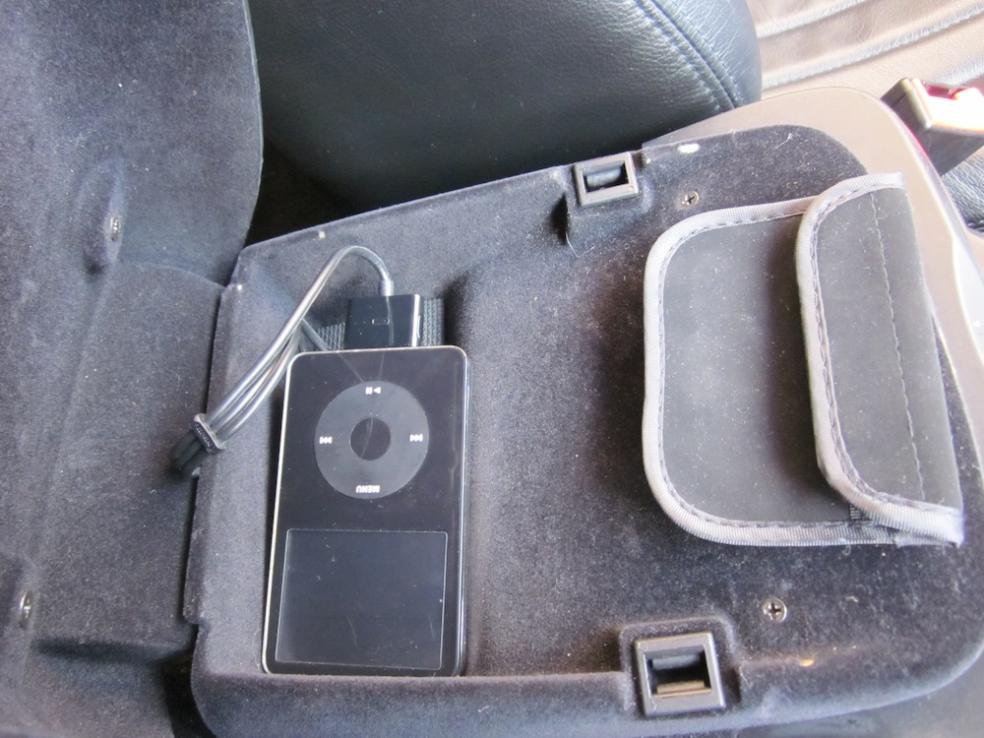
Finally the iPod itself. This I simply placed in the arm rest storage. I *could* drill through to be more professional, but there is enough relief to run the cable through the hinge gap, and I prefer a minimal damage install in case I ever want to remove it.
ipod.jpg

After a test run to make sure I've not introduced any new rattles or sillyness, I'm delighted with the system. The music playing is much improved, the controls are easy and the menus intuitive. The Parrot mutes when instructions are delivered from TomTom on the iPhone. It's all good.

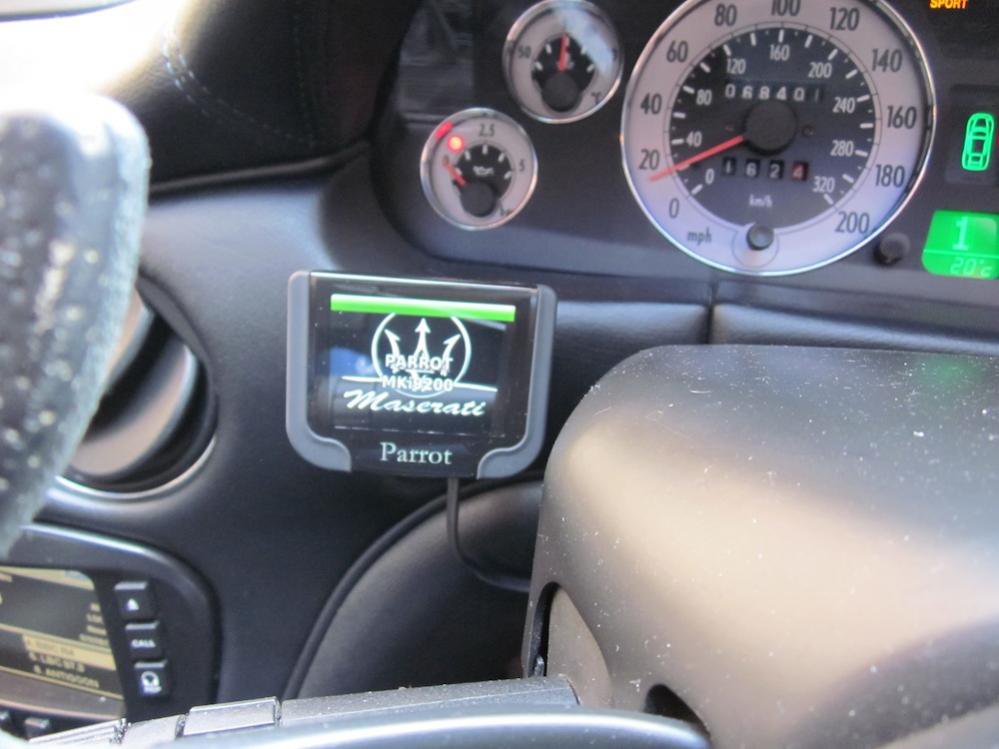
Even better with custom wallpaper :)
wallpaper.jpg

If anyone wants a fitting service, I'd be happy to oblige for exchange of suitable tokens of esteem. Or happy to help anyone fit who wants to bring their car round :)

Cheers

C
 

jerkmoans

New Member
Messages
366
Well after an afternoon of enlightenment, literary quips and no little amount of bloodshed I can attest that Catman is a Zen Master, or as near as dammit, who truly knows his stuff.

plan.jpg

Having first done my due diligence (above) with an added bottle of something for Mrs Catman, and after every Hampton on the M25 and M11 did their level best to prevent my journey, I made it to the Catman Dojo with a mixture of excitement and trepidation as to the violations my most recent and prized possession was about to be subjected to. I had no idea...

C has posted an enlightening and detailed schematic of the whole process above, but I shall seek to add a few minor details. Apparently a post facelift (2005) 4200 has some subtle but all too real differences to his 2002 model.

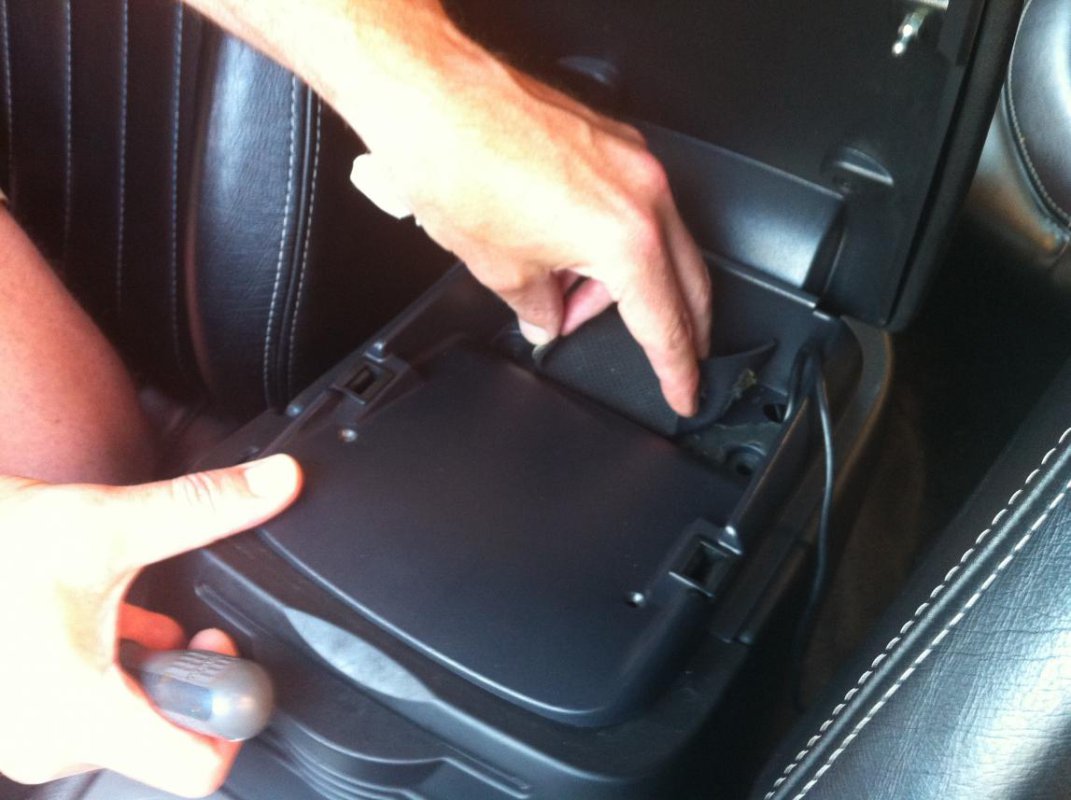
First up was getting access to the whole NIT zone. This required a pretty simple removal of the screws from the locations that can be seen here:

IMG_3022.jpg

But... hold on: what's this? Someone had previously installed a state-of-the-art Dension Icelink FM, allowing early iPod connectivity through the FM radio. This antediluvian technology had to go.

IMG_3023.jpg

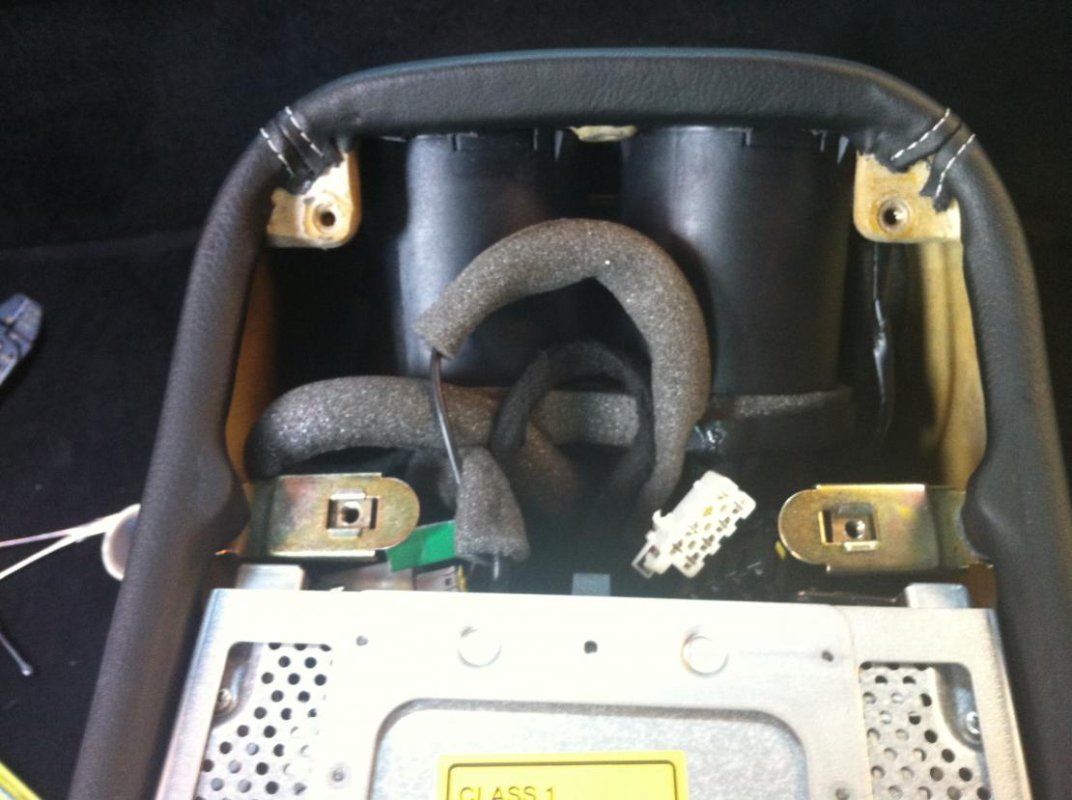
Next up was trying to get the rear seat ventilation ducts out. This ostensibly simple task proved the most difficult bit of the whole exercise, so much so that we (well Catman, with me vacillating between making encouraging noises and fearing for the state of my sumptuous interior) gave up on them for a while, attempting to force the issue without pulling them out. The problems were twofold: as it transpired there is a ridge along the underside of each one, preventing rotation. This means that while the springy plastic clips around the top edge can be relatively easily accessed and prodded with a pointy tool, those at the bottom remain resolutely out of reach. You can just about make out the top clips in this photo:

IMG_3024.jpg

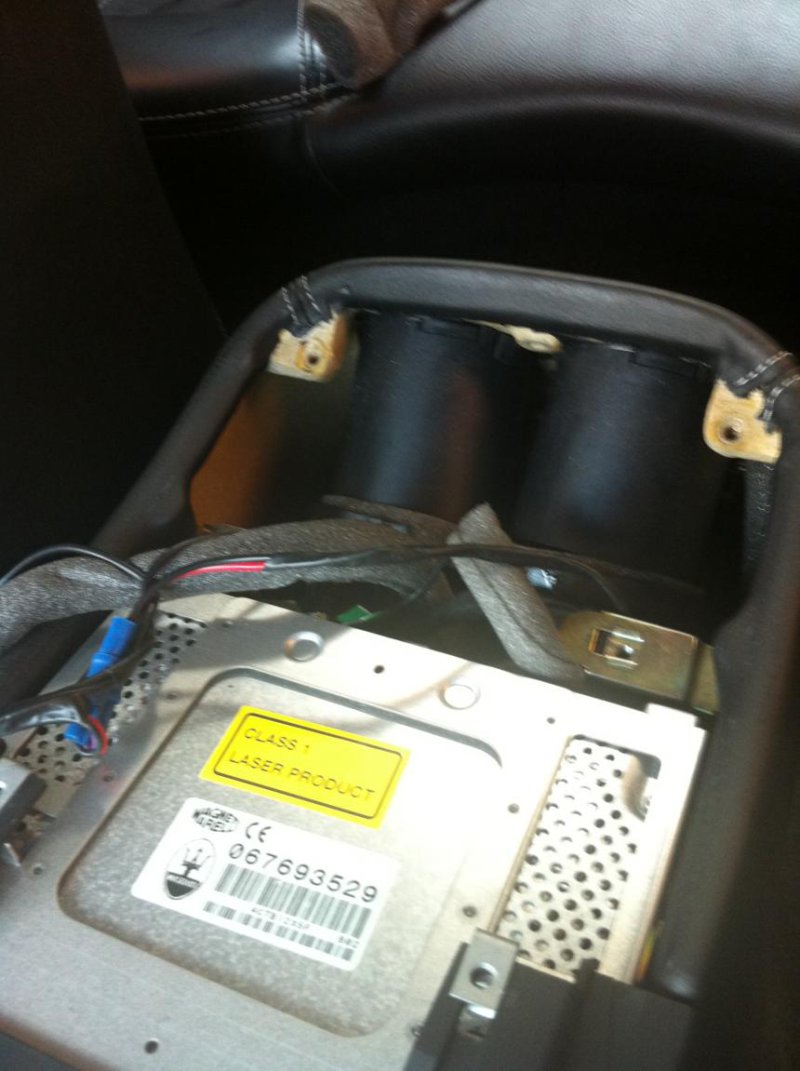
Another bonus of the whole caper was getting a close look at the guts of the device, clicking Satnav CD discernible:

IMG_3025.jpg

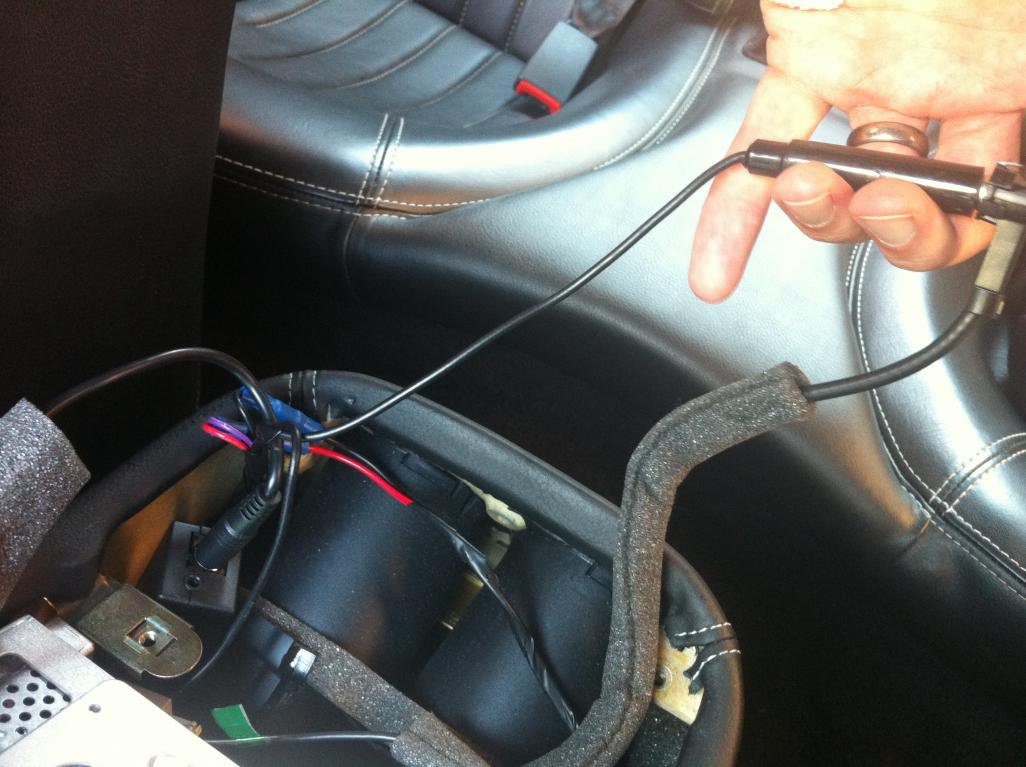
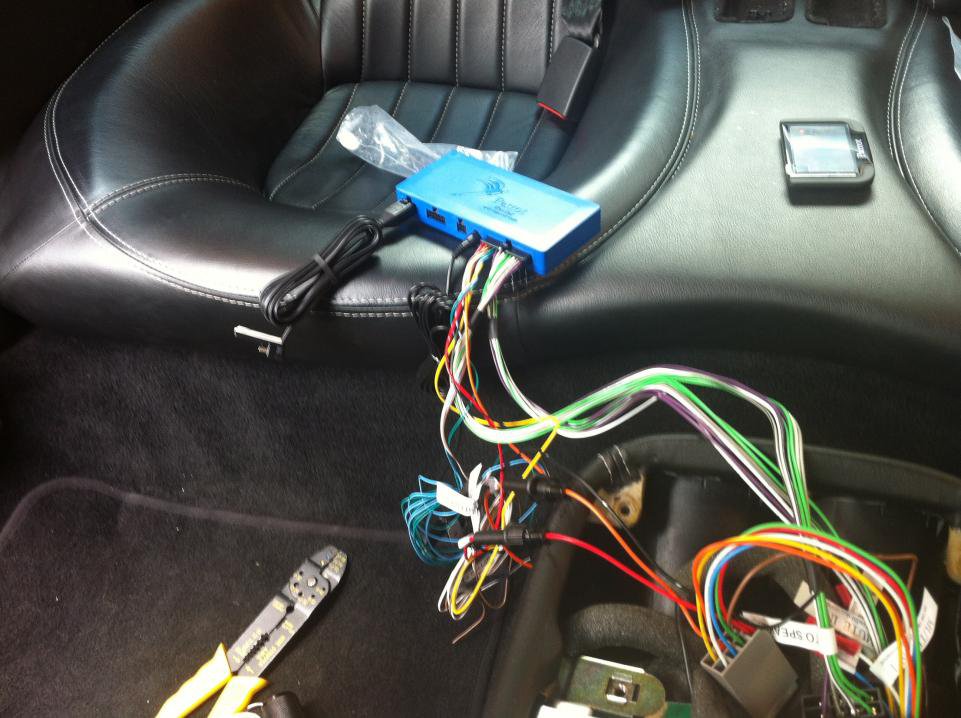
Having exposed a wiring tangle that the brush of Hieronymus Bosch would have hesitated to paint, Catman set to with gusto, cutting here and insulation taping there, in a process probably best left to his detailed instructions above. The main point, as I understood matters, was to expose this white nubbin here:

IMG_3026.jpg

A flurry of activity and the Parrot blue box was all connected up and ready for a road-test:

IMG_3028.jpg

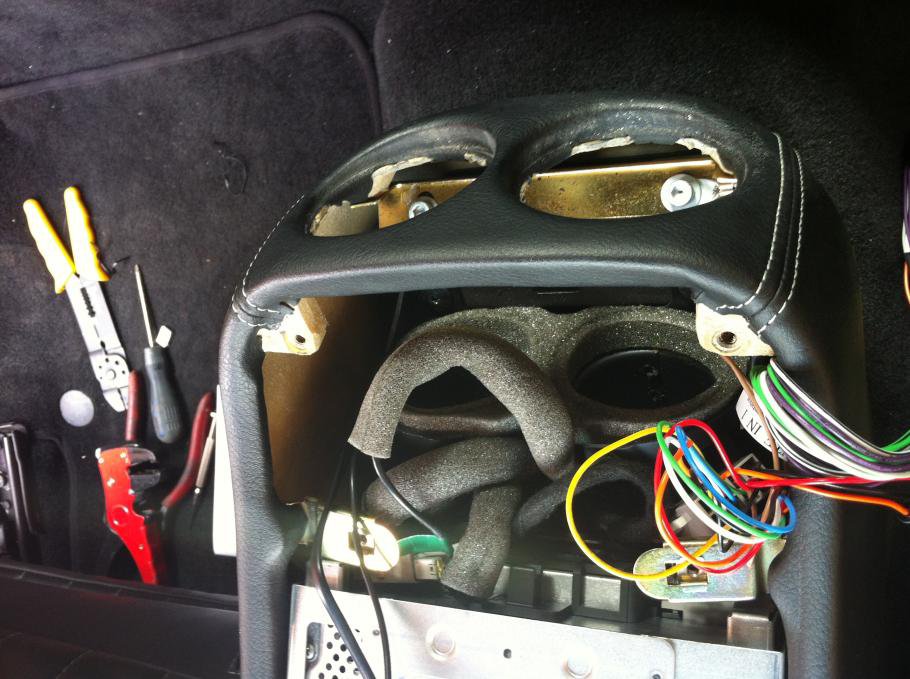
All seemed to be in fine working fettle so then came the hard part: essentially boiling down to getting it all shoved inside the armrest. While the blue thing itself could be slipped down the side of the ventilation ducts, there was no way the thing was going in with all leads attached. Bolts loosened all along the central column, up to and past the cup holder and ashtray provided considerable play in the armrest/NIT housing, but the thing was not going in.

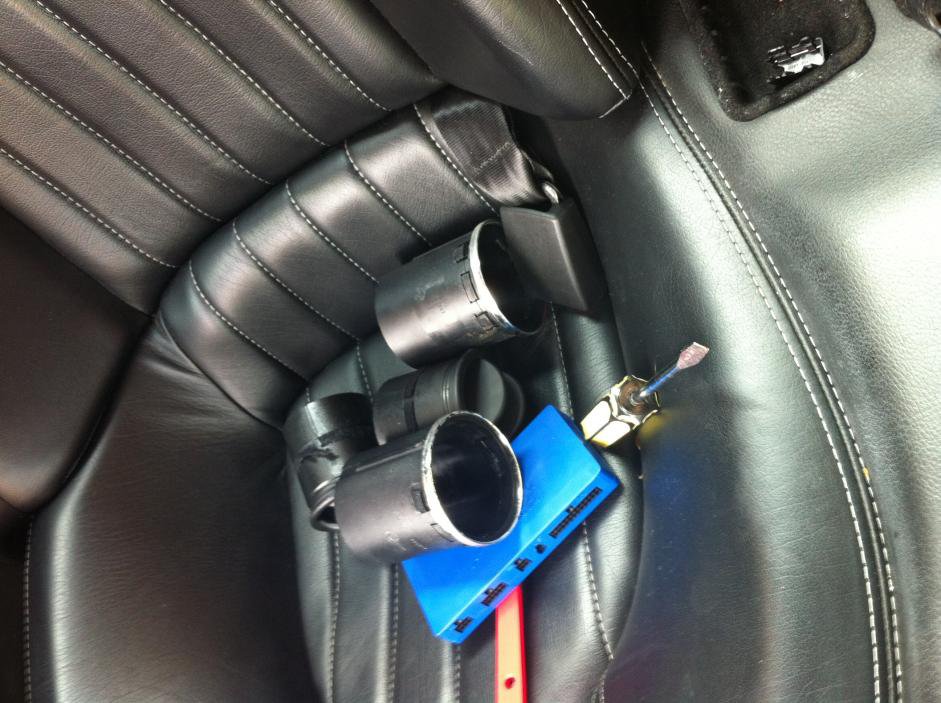
The vents had to go. In the absence of rotation, and the lower clips stubbornly refusing to budge without direct manipulation, what to do?

A pause, an application of principles distilled from Robert M Pirsig's estimable tome Zen and the Art of Motorcycle Maintenance, and a solution was found. The inner shafts of the vents themselves slide out on an application of the correct pressure, leaving the offending clips reachable from the inside. A swift pull, and they were out.

IMG_3030.jpgIMG_3029.jpg

This hindrance removed, it was a work of moments to slide the blue box with all connections into place down the inside of the armrest. A snug fit, but a fit nonetheless.

IMG_3031.jpg

Another roadtest of the electrics and we were good to go with reassembly of the central console. I even got to screw in a few screws at this point. ¡Muy macho!

Next, routing the wires for the microphone and for the screen. What appeared to be casual butchery of the interior was in fact a carefully orchestrated process effected with the precision of a surgeon.

IMG_3032.jpgIMG_3033.jpg

The microphone wire went over the door to the top of the windscreen pillar; the screen wire along the central tunnel, each artfully concealed by replacement of the trim. Siting the microphone was logical and easy, the same being equipped with a springy clip for the purpose:

IMG_3035.jpg

A remarkably more vexed question was where to put the screen. My initial thoughts of 'somewhere down near the cup holder' foundered on the rocks of visibility, the whole point being to maximise safety when using the telephone and browsing one's extensive music collection. The only sensible area seemed to be up near the instrument panel, but to avoid obscuring the dials the compromise had to be attaching it to the padded upholstery. Being less than keen (for the moment) to damage same by drilling holes we opted to attach it with some 3M Biddy Baxter-style double sided sticky tape. Probably a temporary fix until someone figures out a better solution.

IMG_3034.jpg

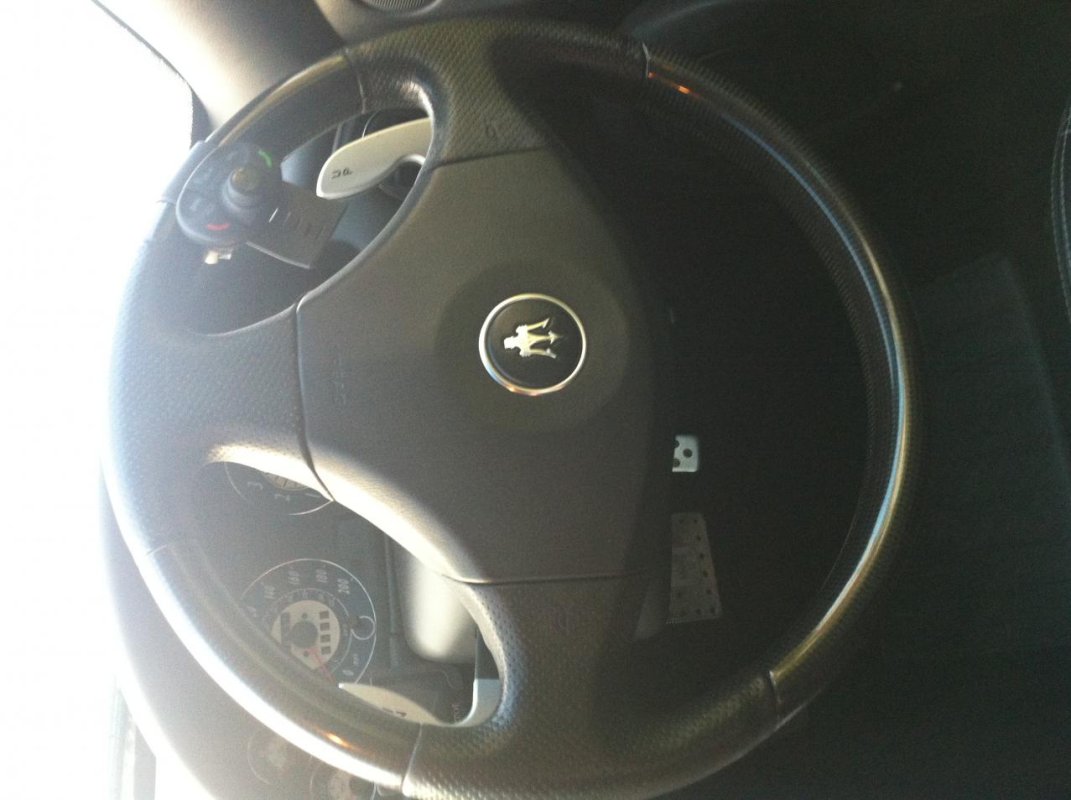
Finally, the control unit. An obvious place was on the steering wheel, using an attachment strap supplied:

IMG_3036.jpg

This is one bit that is going to be changed almost immediately: in a 45 minute road test back from Harlow to Barnet I must have accidently caught buttons on said unit half a dozen times, causing all manner of faintly exciting but undesired consequences.

The whole process took about 2 hours 45 minutes, the longest exercise of time being figuring out a way round the vent problem.

The verdict? Skill! The device synced effortlessly with my iPhone, enabling me to make and receive calls handsfree, and indeed to scroll through my address book to select recipients while tooling about the highways and byways and getting lost in the network of streets around Schloss Catman.

I was able to stream music from said phone by Bluetooth to the stereo. One oddity is that the volume for so doing is controlled by the Parrot unit and not by the normal stereo controls, but while other posts I've seen have slated said arrangement it sounded fine, and the volume seemed plenty loud enough at 65 or 70 on the M25.

Another oddity is that the CD that was playing in the autochanger seemed to keep going while I was using the Parrot - not audibly, but having been on track 1 when I set off, it was on track 13 when I finished. No doubt easily worked around by selecting a different audio source on the Maserati head unit.

The final oddity (or oddities) was/were this/these: the Parrot comes with an array of cables, now neatly routed into the armrest storage unit, for attaching Apple devices (pre-iPhone 5 connector), for a headphone jack style line-in, and for attaching USB devices. The Apple plug appears to be powered, enabling charging, while the USB does not. The Apple connection seems however to disregard my (2005) iPod photo, retained for its vast storage capacity - I am hoping that a software upgrade (soon to be performed) will resolve that issue. However when the iPhone (4) is connected to same, while the music library is recognised and can be readily scrolled through, and indeed appears to be playing, I couldn't get any sound out of the thing. Not a biggie, as Bluetooth streaming took care of my Foxy Shazam album, but something I need to play around with. Suspect it's something to do with the settings on either phone or Parrot, or a conflict between Bluetooth and cable connection.

All in all, unrestrained thanks to Catman for his time, blood, toil, tears and sweat and ready patience in the face of adversity, and a slew of daft questions and observations from me. Thanks also to Mrs Catman for allowing me free reign with her other half for the afternoon, and for the refreshments. The threatened rain held off just long enough to finish the job, and the only downer was the nasty scratch Catman found on his Argento Unhygienico while repairing thereto for tools. I hope the champagne and Lagavulin 16 went some trivial way towards easing the pain...

Now to set to with the leather cleaning gear to erase the traces of said blood, toil, tears and sweat before giving Mrs Moans her first entertaining experience of driving the thing :D
 
Last edited:

CatmanV2

Member
Messages
48,859
Cheers, JM. Sorry about the blood :)

Couple of observations:
Yes, CD will keep playing. The Parrot sits between the speaker output of the NIT and the speakers, and changes what the speakers are connected to, so all audio from the head unit just carries on. You can turn it off, and the Parrot will still be happy.
And yes, it is easy to get lost around Catman towers.

Lovely to meet you. As I said, any issues, give me a bell :)

C
 

jerkmoans

New Member
Messages
366
+++Update+++

As advised in the Parrot driving manual, a reboot of the iPhone and it all works fine and dandy - and charges - via the Apple cable :D

The iPod still resolutely refuses to work via said cable - a prowl around the nether reaches of the interweb reveals that my Stone Age version is not supported by these Parrot devices. Boo hiss. But hey! It works through the line-in jackplug, so all good, until Father Christmas brings me a more modern version.:numberone:
 

CatmanV2

Member
Messages
48,859
Which panels, ross? I'd have thought at those kind of price grab 8 item 13s, a couple of 7s and a couple of 9s

The issue might come if the metal sockets are worn, or if the leather needs to be removed from the panel to push the fixings through from the outside as it were. I didn't look that closely.

C
 

rossyl

Member
Messages
3,312
Which panels, ross? I'd have thought at those kind of price grab 8 item 13s, a couple of 7s and a couple of 9s

The issue might come if the metal sockets are worn, or if the leather needs to be removed from the panel to push the fixings through from the outside as it were. I didn't look that closely.

C

It's the one at the top of the B-Pillar (above seatbelt), and also the one above the rear side window.
A rear passenger leant forwards to say something, using the B-Pillar as leverage to pull himself forward, just as I went to overtake. The dropping of a gear sent him back into his seat with a thump and he's pulled the trim. It's now not seating properly.
 

Catalan3200

New Member
Messages
462
Quick question on the Parrot MKi9200 for you guys.

If you hook up your iphone via the line in jack, can you stream DAB radio through the system?

Thanks
 

davy83

Member
Messages
2,827
Great thread. Personally I got fed up with the dangly displays and fitted a parrot asteroid in my 2001 3200GTA and its pretty good. voice activated phone and text, and voice activated music search. it also has a dongle based 3G connection so you can stream digital radio and web cloud content. sound quality is not as good as the alpine unit i removed, but I quite like it!!! you have a map and speed camera detection inbuilt.
 

CatmanV2

Member
Messages
48,859
Quick question on the Parrot MKi9200 for you guys.

If you hook up your iphone via the line in jack, can you stream DAB radio through the system?

Thanks

I've not tried, but...
1) The iPhone is not a *DAB* receiver. It can get radio via tinternet, granted, but that uses your data allowance.
2) If you *do* do that, I would expect the Parrot to happily take the audio via either bluetooth or the cable connection. It does for every other bloody chirp and beep ;)

C
 

CatmanV2

Member
Messages
48,859
Great thread. Personally I got fed up with the dangly displays and fitted a parrot asteroid in my 2001 3200GTA and its pretty good. voice activated phone and text, and voice activated music search. it also has a dongle based 3G connection so you can stream digital radio and web cloud content. sound quality is not as good as the alpine unit i removed, but I quite like it!!! you have a map and speed camera detection inbuilt.

Pah! Swapping a head unit is nothing ;) I had a Kenwood with Parrot built in. The interface was *dreadful* :D

C
 

CatmanV2

Member
Messages
48,859
I feel soiled.
In a good way. My radio is totally shite.
Has it been tried on a 4200, or am I gonna have to be a guinea pig?

C
 

BennyD

Sea Urchin Pate
Messages
15,006
It looks good, but I don't really use my radio so I don't care if it's sh!te. No reason why it won't work on a 4200 but you'd be well advised to upgrade your speakers at the same time, otherwise the originals will turn digital radio to sh!te.
 

CatmanV2

Member
Messages
48,859
Digital radio is shite from and audiophile POV already, but I listen to R4. If I want music, I have the Parrot, and I shipped the upgraded speakers from the states in the spring :)
The original truly are shite.

C